1. Text to Image
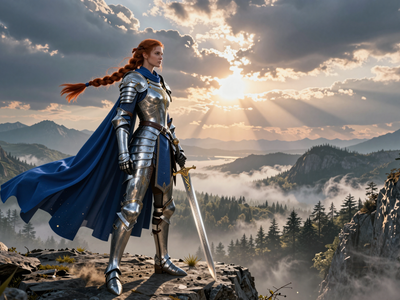
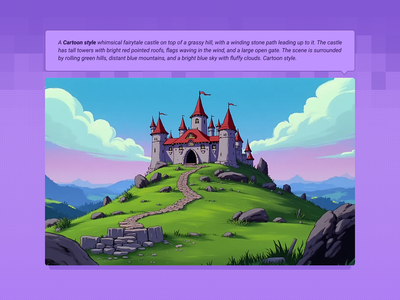
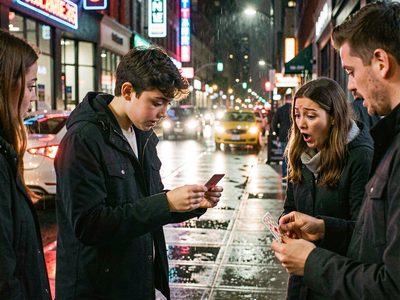
Write a prompt, get an image. These workflows turn text descriptions into photographs, illustrations, concept art, and product shots. The model you pick determines the look, the speed, and how well it follows your prompt.
Z-Image Turbo: Text or Image to Image
Workflow for text-to-image and image-to-image generation
Z-Image Base: High-Detail Text to Image
Create sunning images using z-image base model (non distlled).
Chroma 1 Radiance Text to Image
Chroma 1

Z Image Turbo Text to Image ( Latent + Model Upscale
DyPe and Z-Image Turbo for High Quality Text to Image
Flux Dev: Text to Image + Image Input
Text to Image with Multi-LoRA
Create consistent images with multiple LoRA models.
Text to Image + LoRA model
Create an image from a trained AI model of something specific ( a specific figure, outfit, art style, product etc) to ensure specific details within.
FLUX.2 Klein 9B: Text to Image
Create a high quality image using 9B model of Flux 2 Klein
Flux Text to Image
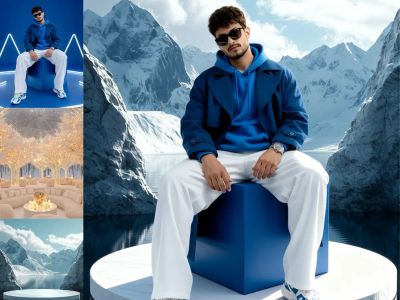
Create original images using only text prompts, which can be simple or elaborate. Key Inputs Prompt: as descriptive a prompt as possible Width & height: Optimal resolution settings are noted
Flux 2 Klein 9b - Text to Image
A simple text to image workflow using the Flux 2 Klein 9B model.
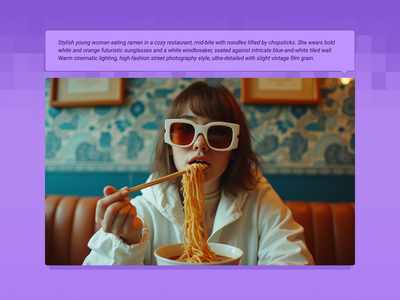
Qwen Image 2512 Text to Image
Text to image
Capybara for Text to Image
Create unique images using Capybara
2. Text to Video
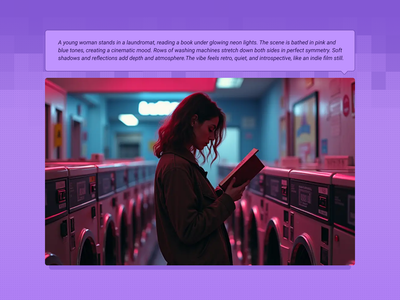
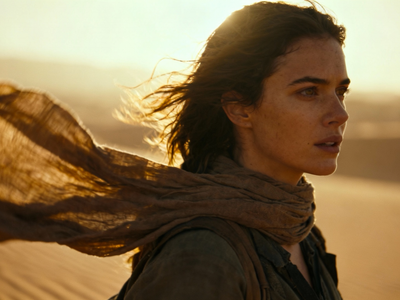
Describe a scene, get a video. These workflows generate motion, camera movement, lighting, and (in some cases) synchronized audio from a text prompt.
LTX-2 19B Fast: Text to Video + Audio
A text video model using LTX 2
Text to Video and Wan with optional LoRA
Generate a high-quality video from a text prompt and add in a LoRA for extra control over character or style consistency. Key Inputs Prompt: as descriptive a prompt as possible Load LoRA: Load your reference model here Width & height: Optimal resolution settings are noted File Format: H.264 and more
_1758800553742.webp?width=400&height=300&quality=80&resize=cover)
Text to Video + Hunyuan LoRA
Integrate a custom model with your text prompt to create a video with a consistent character, style or element. Key Inputs Prompt: as descriptive a prompt as possible. Make sure to include the trigger word from your LoRA below Load LoRA: Load your reference model here Width & height: resolution settings are noted in pixels Guidance strength (CFG): Higher numbers adhere more to the prompt Flow Shift: For temporal consistency, adjust to tweak video smoothness.
LTX 2 19B Pro for Text to Video
An open source LTX 2 Pro for Text to Video
Kandinsky for Text to Video
Creating excellent videos using Kandinsky
3. Image to Image
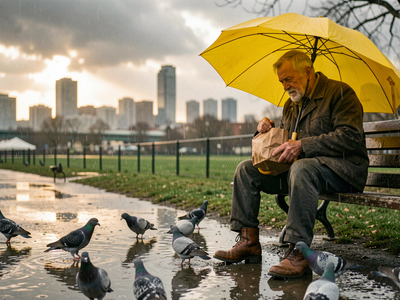
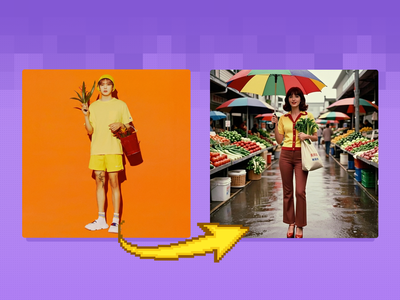
Upload an image, change it. These workflows cover face swaps, inpainting, outpainting, style transfer, upscaling, controlnet-guided generation, and image editing with text instructions.
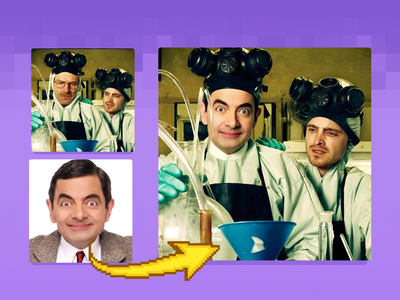
Qwen Image Edit 2509: Face Swap
Face Swap and Inpainting
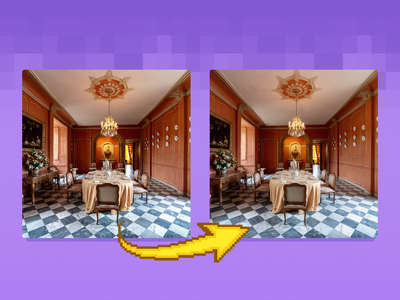
Z-Image Turbo: ControlNet Image to Image
Image to Image
Qwen Image Edit 2509: Change Camera Angle
FLUX.2 Klein 9B: Edit Images by Prompt
Unified workflow: one model for text‑to‑image, image‑to‑image, and image editing
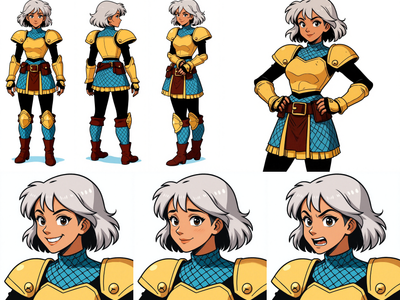
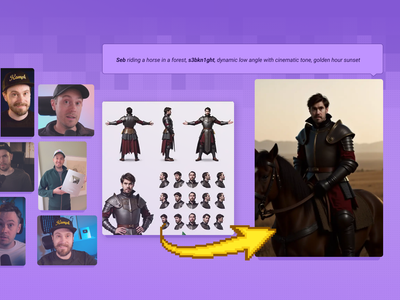
Image to Character Sheet with Kontext
Create a character sheet with multiple poses and expressions from a single image!
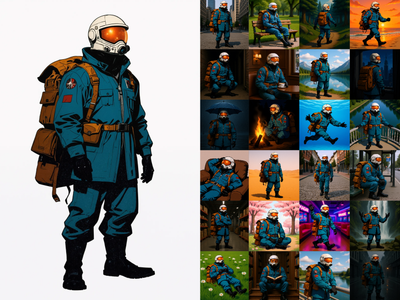
Flux Kontext - Single Image to Character LoRA
Generate a 60-Image LoRA Dataset from a Single Character Image

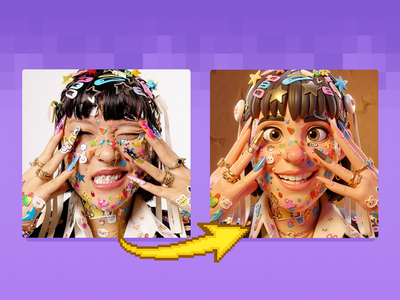
Image Inpainting with LoRA
Change specific details on just a portion of the image for inpainting or Erase & Replace, adding a LoRA for extra control.
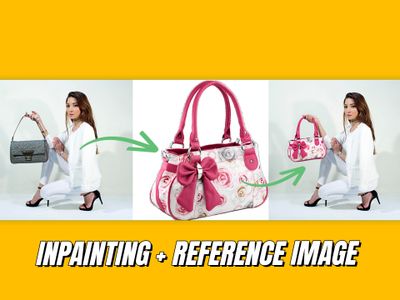
Inpainting with reference image
Qwen Image Edit 2509 + Multi-Angle LoRA for Camera
Re-render your subject from any camera angle with Qwen Image Edit 2509 and a Multi-Angle LoRA. Pan, tilt, rotate, wide-angle, or close-up. No trigger word.
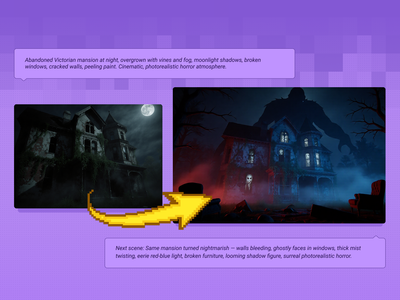
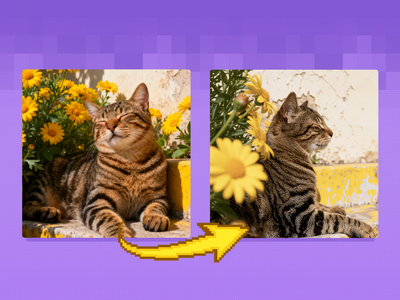
Qwen Image Edit 2509 + Flux Krea for Creating Next Scene
Qwen Image Edit - Edit Image Easily
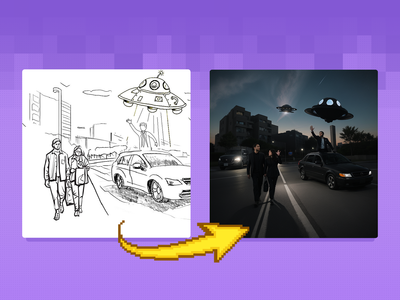
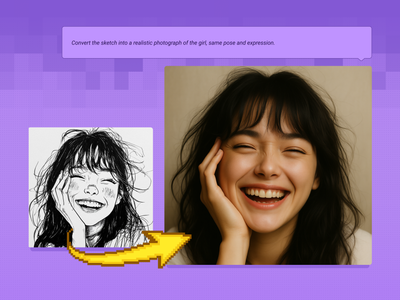
Sketch to Image
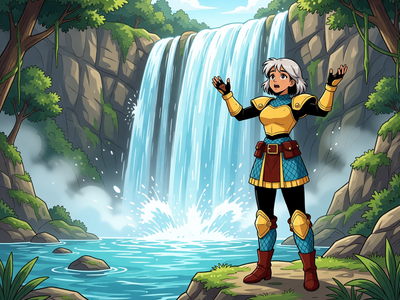
Turn your sketches into full blown scenes. Key Inputs Image reference: Use any JPG or PNG showing your subject clearly Prompt: as descriptive a prompt as possible Width & height: In pixels ControlNet Strength: The amount of adherence to the original image. Higher has more adherence. Start Percent: The point in the generation process where the control starts exerting influence. (Have it start later, to let AI imagine first.) End Percent: The point in the generation process where the control stops exerting influence. (Have it end sooner, to let AI finish it off with some variation.)
Flux Image Upscaler with UltimateSD
A simple workflow to enlarge & add detail to an existing image. Key Inputs Image: Use any JPG or PNG Upscale by: The factor of magnification Denoise: The amount of variance in the new image. Higher has more variance.
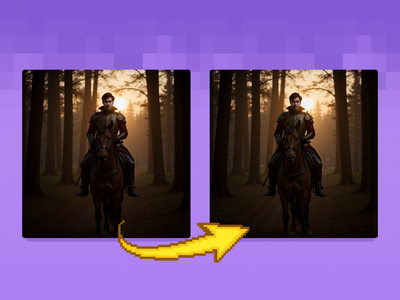
Image Upscaler with LoRA
Create a larger more detailed image along with an extra AI model for fine tuned guidance. Key Inputs Load Image: Use any JPG or PNG showing your subject clearly Load LoRA: Load your reference model here Prompt: as descriptive a prompt as possible Upscale by: The factor of magnification Denoise: The amount of variance in the new image. Higher has more variance.
Flux Kontext Multi-Image Reference
Combine up to 3 reference images into one with Flux Kontext Key Inputs Load Image (3x): Load 3 different reference images. Prompt: Describe how to combine these images, see default value for example.
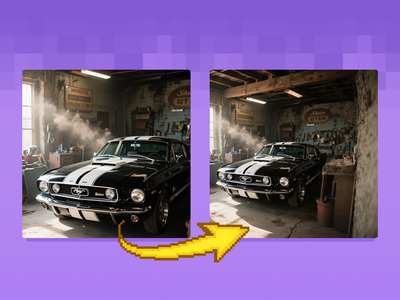
Flux Fill Dev Image Outpainting
Extend your images out for a wider field of view or just to see more of your subject. Expand compositions, change aspect ratios, or add creative elements while maintaining consistency in style, lighting, and detail while seamlessly blending with the existing artwork.
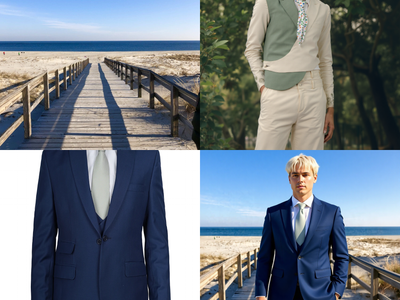
Qwen Image Edit 2511: Composite a Photoshoot
Drop a person into any background with the lighting you choose, using Qwen Image Edit 2511. Upload three images, hit run, and keep the identity intact.
Qwen 2511 Edit - Single Image to Character Dataset
Create a 60 image character dataset from one character image or sheet.
FlatLogColor LoRA and Qwen Image Edit 2509

Flux.2 Klein Image Expansion / Outpaint
4. Image to Video
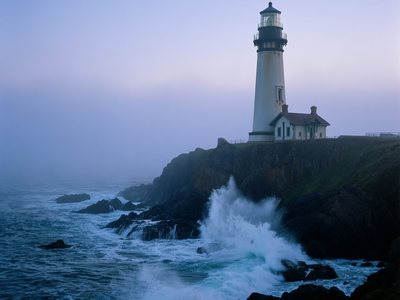
Upload a still image and animate it. These workflows turn photos, concept art, storyboard frames, and portraits into video clips with motion, camera movement, and in some cases audio and lip sync.
Wan 2.2 14B: Image to Video + End Frame
Generate high quality video from a start frame, as well as an optional end frame with this Wan2.2 14b Image to Video workflow!

Wan 2.1 FusionX: Cinematic Image to Video
Created by @vrgamedevgirl on Civitai, please support the original creator!
_1758870047277.webp?width=400&height=300&quality=80&resize=cover)
Wan2.1 FusionX and MultiTalk - Image to Video
Turn any portrait - artwork, photos, or digital characters - into speaking, expressive videos that sync perfectly with audio input. MultiTalk handles lip movements, facial expressions, and body motion automatically.
Wan2.1 Start & End Frame Image to Video
Used for image to video generation, defined by the first frame and end frame images.
_1747812083328.webp?width=400&height=300&quality=80&resize=cover)
Image to Video with Wan
Turn still images into amazing videos with just prompts, using the SOTA Wan video model.

LoRA Training Video with Hunyuan
Hunyuan is great at generating videos, but locking in a specific aesthetic or character is easier with a LoRA.
%20(1)_1774207669060.webp?width=400&height=300&quality=80&resize=cover)
Wan 2.1 Vid2Vid Style Transfer with Ditto
Upload any video, describe a new style, and Wan 2.1 rewrites every frame. Ditto keeps motion and structure intact across anime, Pixar, clay, and dozens more.
Segment Anything 2 for Creating Video Mask
Create a video mark frame by frame using Segment Anything 2
_1778514715081.png?width=400&height=300&quality=80&resize=cover)
One-Video Sprite Sheet Pipeline
Crate video sprite sheet character

Wan2.1 and FantasyTalking - Image2Video Lipsync
Create high quality lipsync video from image inputs with Wan2.1 FantasyTalking Key Inputs Load Image: Select an image of a person with their face in clear view Load Audio: Choose audio file Frames: How many frames generated
Wan2.1 Uni3C Image to Video
InfiniteTalk | Image to Video: Unlimited Talking Avatar with Lip-sync
5. Video to Video
Upload existing footage and transform it. Change the style, adjust the camera angle, extend the frame, reframe the aspect ratio, or apply a reference image as a visual style guide. The original motion carries through.

Wan2.1 and VACE for Video to Video Outpainting
Wan VACE video outpainting invites you to break free from the limits of the frame and explore endless creative possibilities.

Video to Video with Control Image
Breathe life into a character from an image reference using motion reference from a video. Key Inputs Image reference: Use any JPG or PNG showing your subject clearly and the style of your shot Load Video: Use any Mp4 that you would like to use for motion reference

Video to Video with Camera Control with Wan
Adjust the camera angle of an existing video, like magic.

Wan2 Video to Video
Upload a video and the edited first frame
Video to Video Restyle with Wan
Create a new video by restyling an existing video with a reference image.
Vertical to Horizontal Video Reframe
Horizontal to Vertical Video Reframe