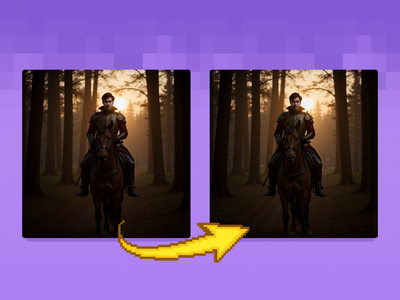
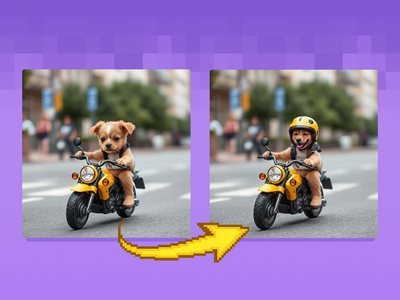
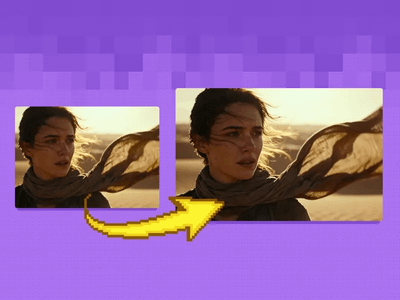
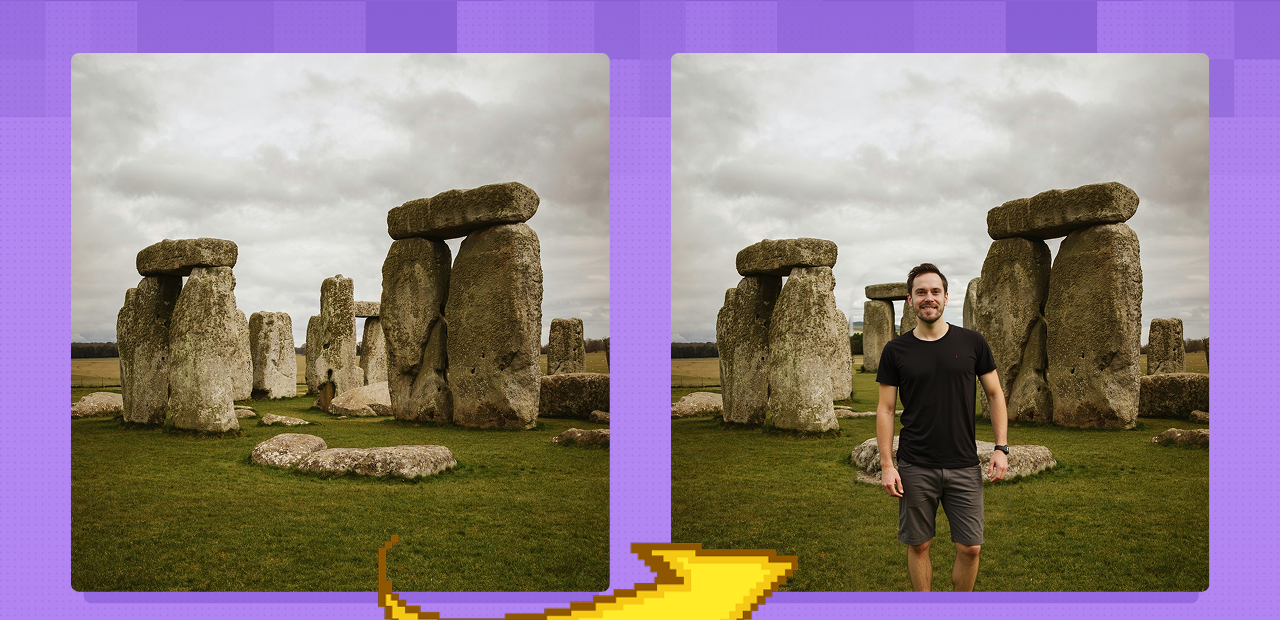
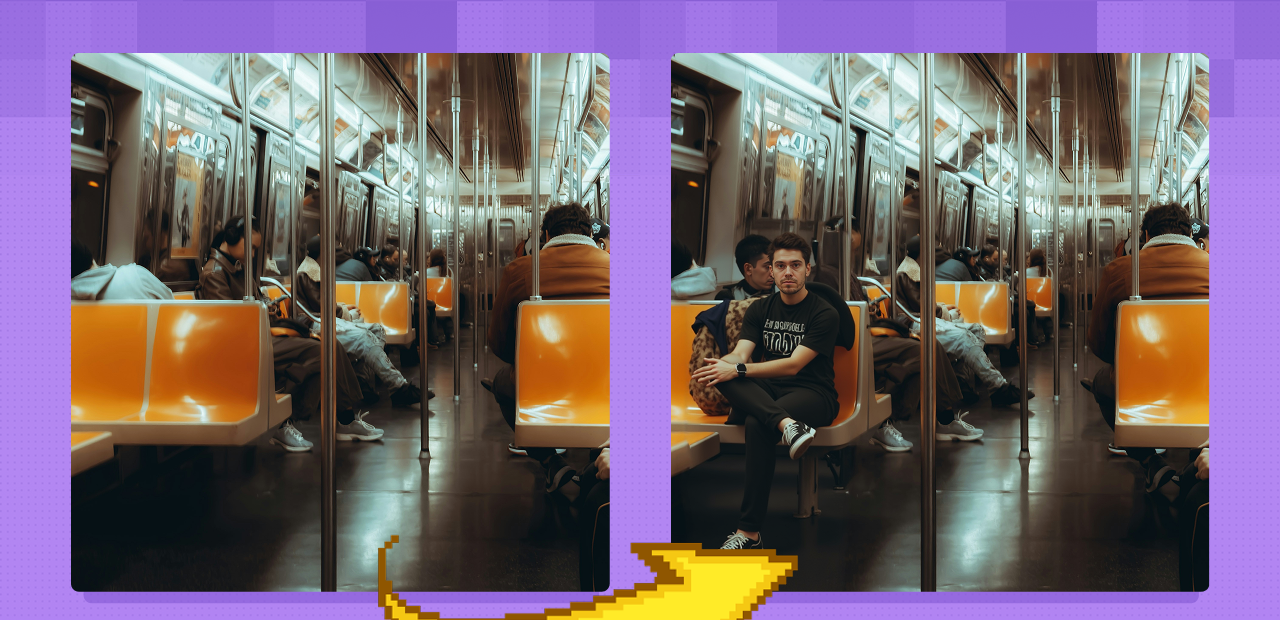
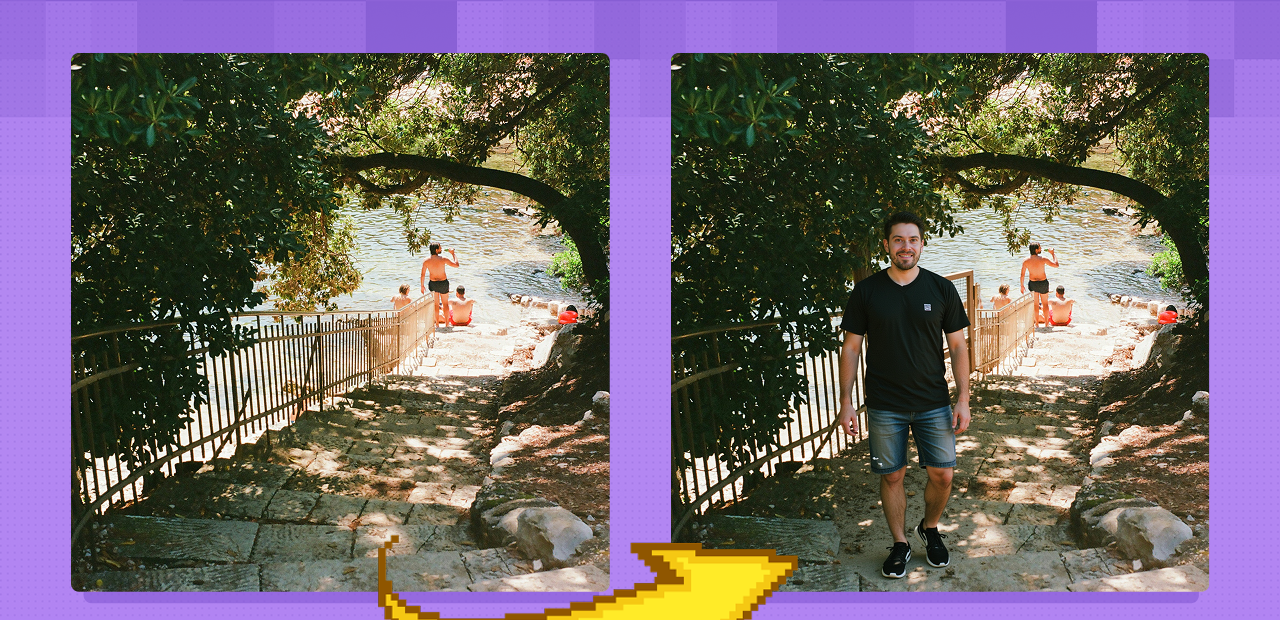
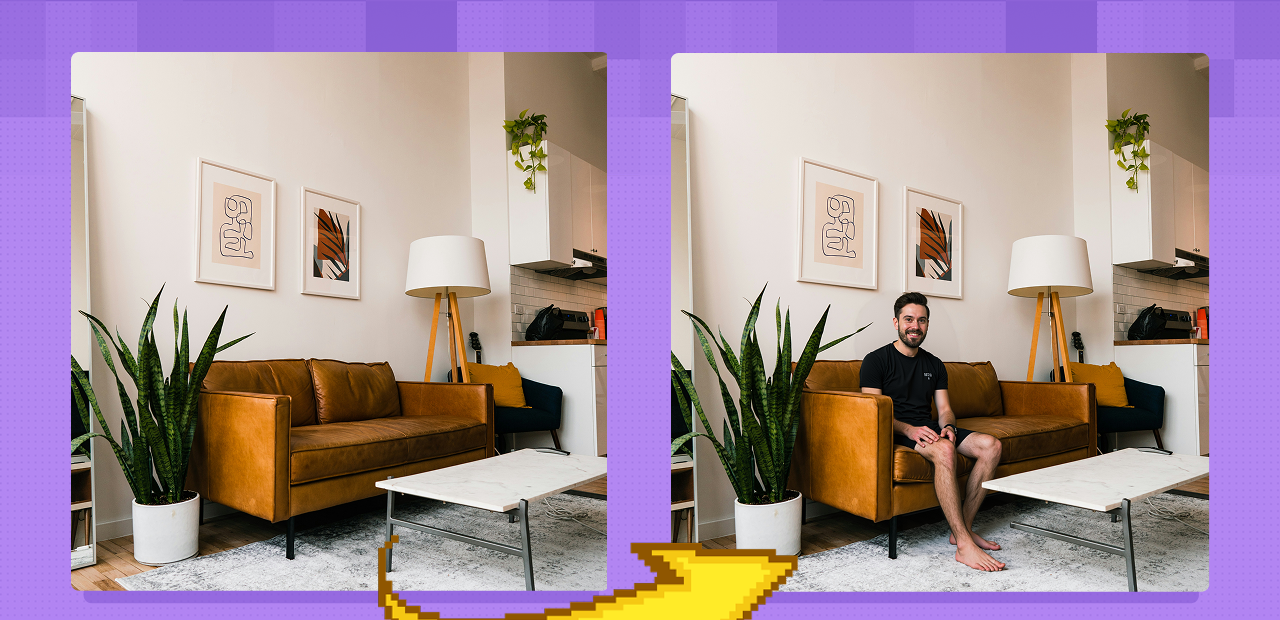
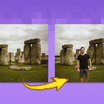
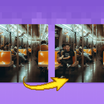
Image Inpainting with LoRA
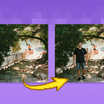
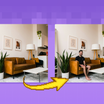
Change specific details on just a portion of the image for inpainting or Erase & Replace, adding a LoRA for extra control.
Image
Inpaint
LoRa
4
2.0k
Nodes & Models
GetNode
UpscaleModelLoader
4x-UltraSharp.pth
Ver Private
Comm Use
Label (rgthree)
UNETLoader
flux1-fill-dev.safetensors
Ver Private
Comm Use
flux1-dev-fp8.safetensors
Ver Private
Comm Use
DualCLIPLoader
clip_l.safetensors
Ver Private
Comm Use
t5xxl_fp8_e4m3fn.safetensors
Ver Private
Comm Use
VAELoader
ae.safetensors
Ver Private
Comm Use
LoadImage
DifferentialDiffusion
Reroute
SetNode
LoraLoaderModelOnly
Seb_FluxPortrait.safetensors
Ver Private
Comm Use
GrowMask
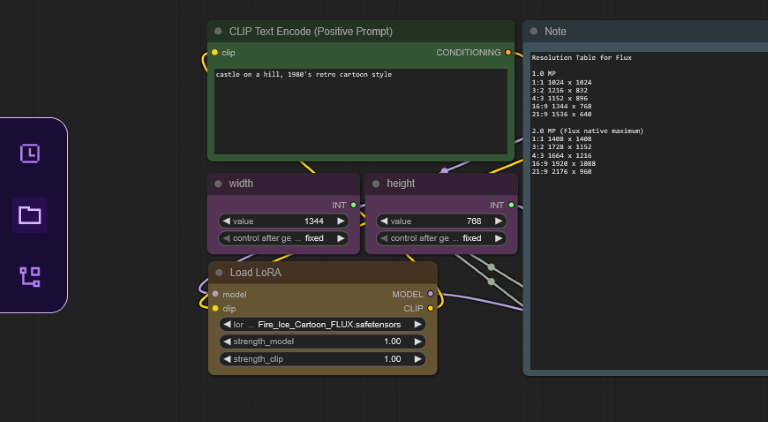
CLIPTextEncodeFlux
ConditioningZeroOut
InpaintModelConditioning
KSampler
VAEDecode
SaveImage
PreviewImage
ImageScaleToTotalPixels
ImageUpscaleWithModel
ImageScale
ImageCompositeMasked
UltralyticsDetectorProvider
LayerMask: LoadFlorence2Model
LayerUtility: Florence2Image2Prompt
easy positive
easy promptConcat
Mask Fill Holes
Text Field
GrowMaskWithBlur
GetImageSizeAndCount
ResizeMask
BboxDetectorSEGS
SegsToCombinedMask
MaskBoundingBox+
MaskPreview+
ImageResize+
GetImageSizeAndCount
Change specific details on just a portion of the image, sometimes known as inpainting or Erase & Replace, adding a LoRA for extra control.
Key Inputs
Image reference: Use any JPG or PNG showing your subject clearly
Masking tools: Right-click to reveal the masking tool option, and create a mask of the desired area to inpaint
Prompt: as descriptive a prompt as possible to help guide what you would like replaced in the masked area
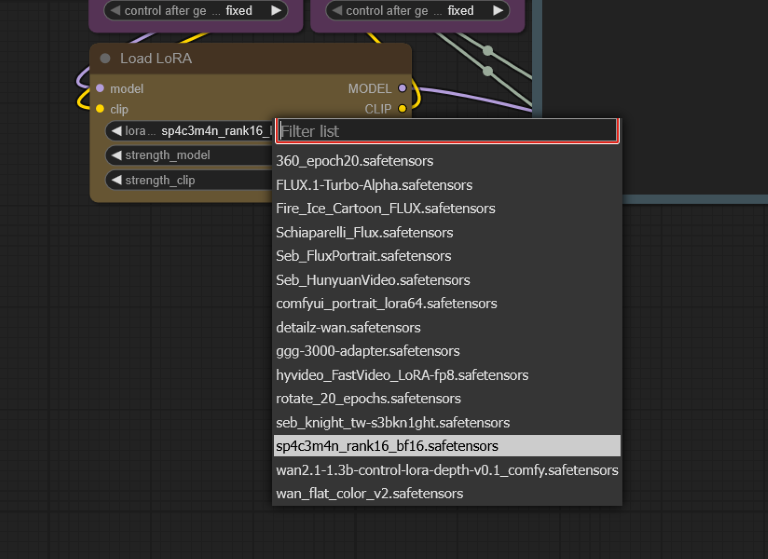
Load LoRA: Load your reference model here
Uploading LoRAs to Floyo
Launch App or Run Workflow
On the left side of the canvas, click the middle file button
In "My Files" navigate to models/loras, select "Upload a File" and choose a LoRA file
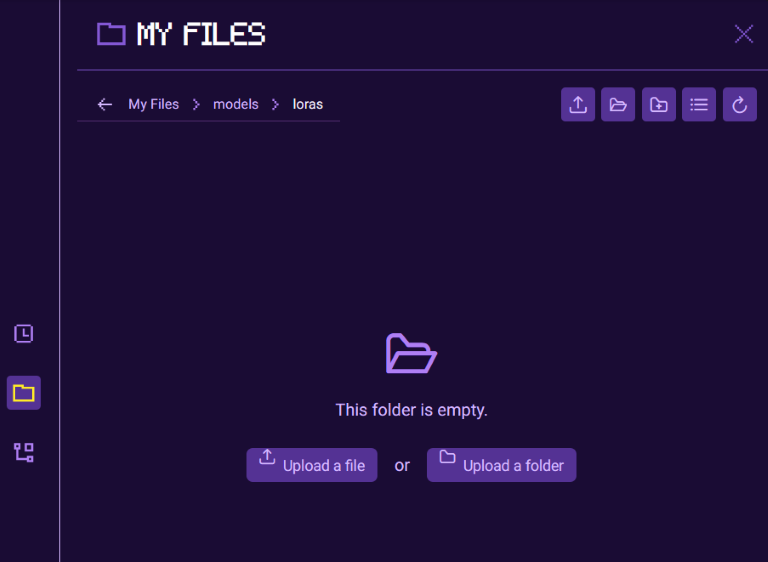
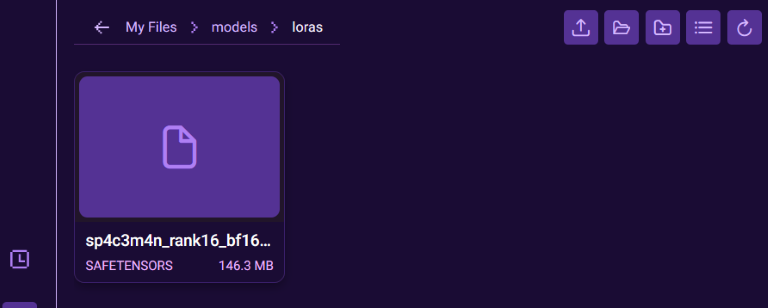
Once your LoRA is uploaded, close the file browser and refresh your ComfyUI canvas by pressing "R", this will update all model lists
Select your LoRA in the Load LoRA node
Read more
N