MoGe 2 for Perspective Image to 3D Mesh
Upload one photo and MoGe 2 by Microsoft Research converts it into a textured 3D mesh with depth maps, normal maps, and a downloadable GLB file. Hit run.
3d mesh
depth map
glb
image to 3d
microsoft
MoGe 2
normal map
panorama
1
7

Nodes & Models
LoadImage
MoGeInference
MoGePointMapToMesh
SaveGLB
MoGeRender
PreviewImage
LoadMoGeModel
moge_2_vitl_normal_fp16.safetensors
ComfyMathExpression
GetImageSize
ComfySwitchNode
ResizeImagesByLongerEdge
ABOUT THE WORKFLOW
Turn a Photo Into a 3D Mesh
Upload a single image. MoGe 2 estimates the full 3D geometry of the scene and builds a textured mesh from it. You get a downloadable GLB file plus depth, normal, and mask previews. One photo in, one 3D model out.
Model
MoGe 2 by Microsoft Research. An open-source monocular geometry estimation model (CVPR'25 Oral) that recovers metric-scale 3D point maps, depth maps, and normal maps from a single image in one forward pass.
HOW IT WORKS
Step 1. Upload your photo
Any single image that shows a clear scene or environment. The workflow auto-resizes images wider than 2048px.
Works great with: interiors · landscapes · streets · architecture
Step 2. Hit run
The settings are already configured. For a first run, change nothing. The model estimates the depth and geometry of your scene and builds a 3D mesh from it.
Step 3. Preview your maps
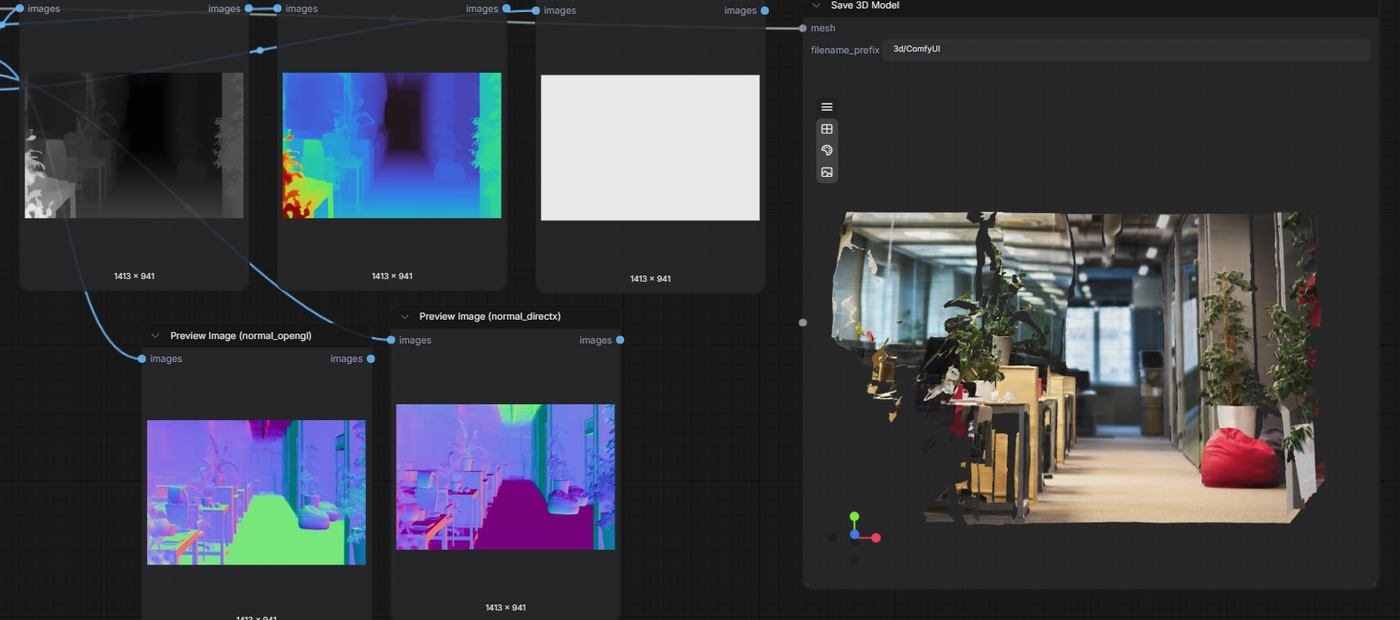
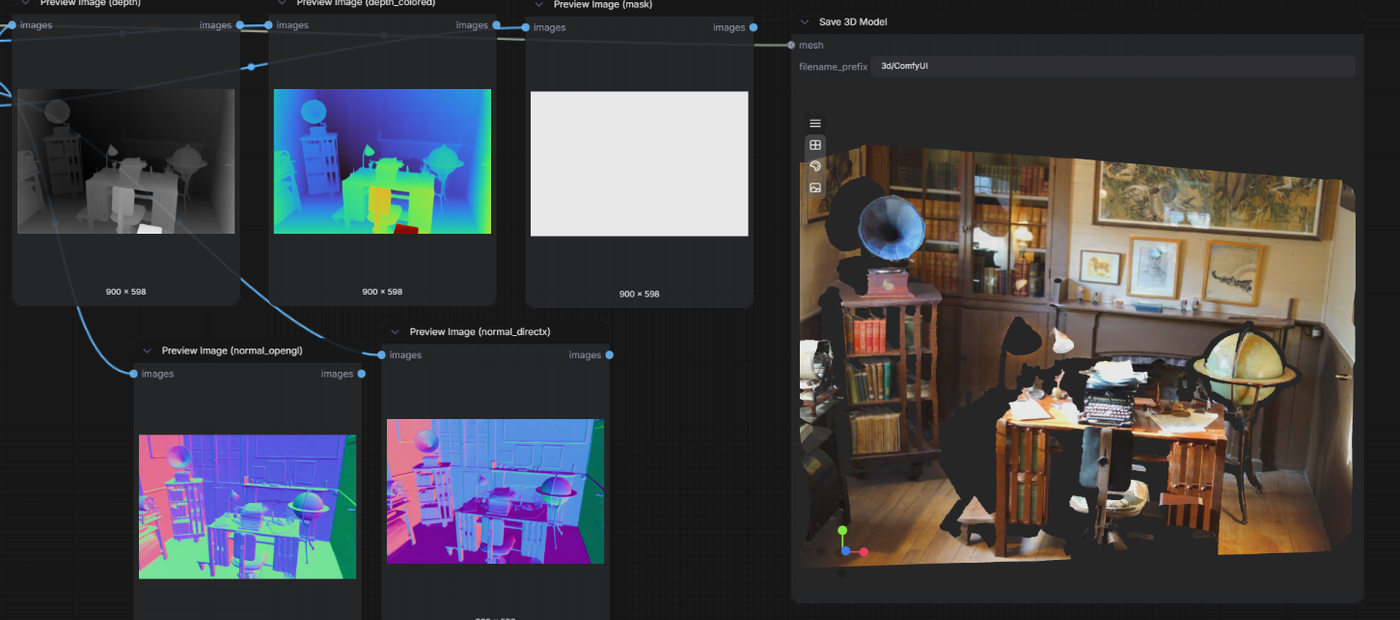
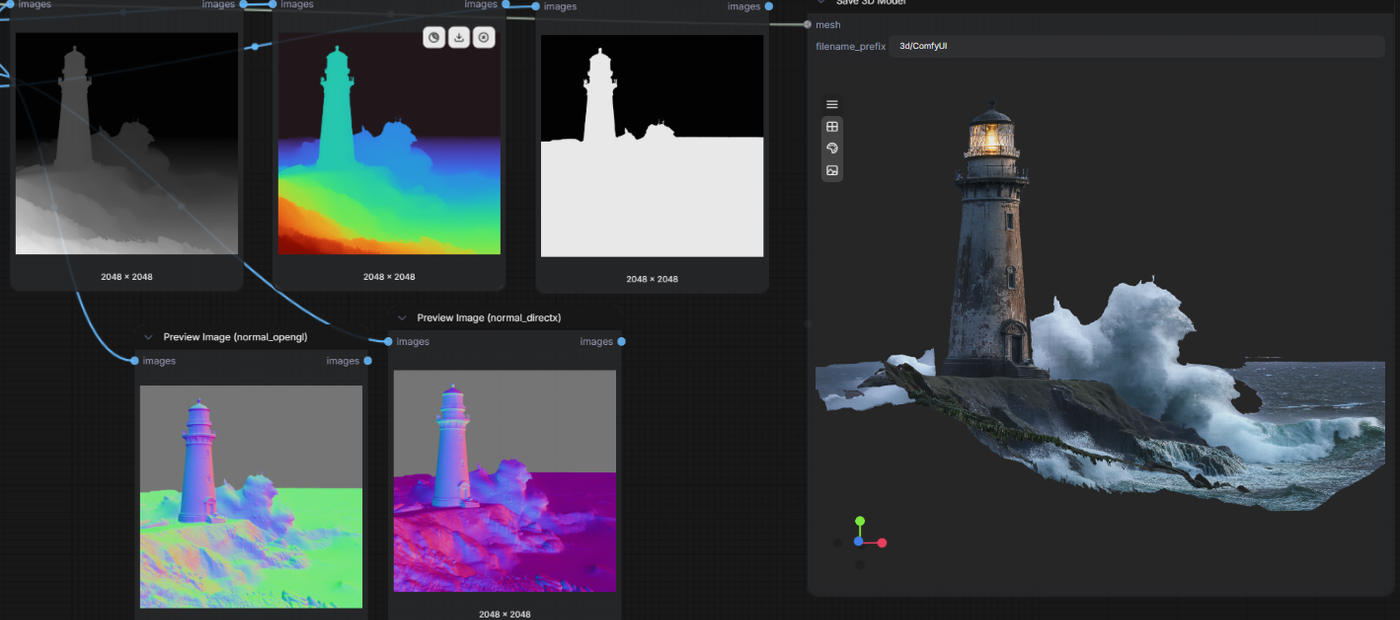
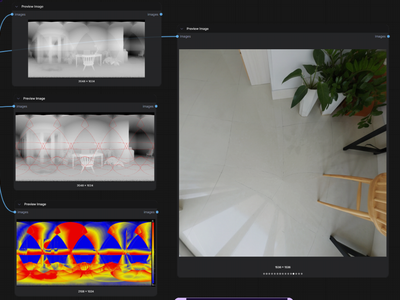
The workflow outputs five preview images: colored depth, raw depth, OpenGL normals, DirectX normals, and a mask. Use these to check the geometry before downloading.
Step 4. Download your GLB
The textured 3D mesh saves as a standard GLB file. Open it in any 3D viewer, import it into a game engine, or use it as a base for further modeling.
Ready for: Blender · Unity · Unreal · any GLB viewer
First time? Leave every setting as-is. The defaults (resolution level 9, full mesh detail, texture on) are the right starting point for almost everyone.
RECOMMENDED SETTINGS
Quick-start guide. Find the goal that matches yours and copy the settings.
Standard use (most people) — Resolution level 9 · decimation 1 · texture on · auto resize on. The right starting point for almost everyone.
Want a faster preview — Drop resolution level to 5 or 6. Lower values run faster with less detail. Good for checking if the geometry reads well before committing to a full-detail pass.
Need a lighter mesh for a game engine — Raise decimation above 1. A value of 2 keeps every second vertex. Higher values reduce poly count further. Good for real-time applications where performance matters.
Getting broken faces at depth edges — Lower the discontinuity threshold below 0.04 to keep more faces, or raise it to drop faces at sharper depth jumps. This controls how aggressively the mesh breaks at depth boundaries.
Want an untextured mesh — Turn texture off. The mesh saves without baked colors, which is useful when you plan to re-texture in Blender or another DCC tool.
Source image is very large — Auto resize is on by default and scales anything wider than 2048px down to 2048px before inference. Turn it off if you want to feed in the full resolution, but expect longer generation times.
Model selection: The workflow defaults to MoGe 2, which predicts metric-scale geometry with normal maps. MoGe 1 is lighter but produces relative-scale geometry and no normals. Stick with MoGe 2 unless you have a specific reason to switch.
LEARN
📹 Videos
ComfyUI 101 Free Course ft. Sebastian Kamph
Floyo 101 for Team Collaboration
✨ Quick links
USE CASES
🏠 Architects & Interior Designers
Turn a photo of a room or building into a 3D mesh you can walk through, measure, or drop into a presentation.
🎮 Game Developers
Generate environment meshes from reference photos. Use them as blockout geometry, skybox anchors, or starting points for level design.
🎨 3D Artists & Motion Designers
Extract depth and normal maps from a photo to use as lighting reference, displacement sources, or projection targets in Blender, Maya, or Cinema 4D.
🎬 VFX & Previsualization
Build rough 3D scenes from location photos for camera matching, set extension planning, or quick previz layouts without a full photogrammetry shoot.
📐 E-commerce & Product Visualization
Turn a product photo into a 3D model for web viewers, AR previews, or catalog renders from new angles.
WHAT WORKS BEST / WHAT TO AVOID
✅ Works great
Photos with clear depth (rooms, streets, landscapes)
Well-lit scenes with visible structure
Single-environment images
Architecture and interiors
⚠️ May produce softer results
Flat subjects with no depth variation (a wall, a piece of paper)
Heavy motion blur or extreme low light
Close-up macro shots
Collages or heavily composited images
FAQ
What is MoGe 2 and how does it turn a photo into a 3D mesh?
MoGe 2 is a monocular geometry estimation model by Microsoft Research, presented at CVPR 2025. It analyzes a single photo and predicts the 3D structure of the scene, including metric-scale depth, surface normals, and a point cloud. This workflow converts that point cloud into a textured GLB mesh you can open in any 3D application.
What file format does the 3D mesh come in?
The workflow outputs a GLB file, which is the binary version of glTF 2.0. GLB is supported by Blender, Unity, Unreal Engine, Three.js, Windows 3D Viewer, and most web-based 3D viewers. No conversion needed.
What is the difference between MoGe 1 and MoGe 2?
MoGe 1 predicts relative-scale geometry and does not generate normal maps. MoGe 2 adds metric-scale depth (real-world proportions), sharper surface detail, and built-in normal map output. This workflow defaults to MoGe 2 because it produces better meshes with cleaner edges.
Can I use the output mesh commercially?
Yes. MoGe is released under the MIT license by Microsoft Research. Outputs generated from your own images carry no additional restrictions. You can use them in games, client work, product renders, and published projects.
Do I need multiple photos or a 360 scan for this to work?
No. MoGe 2 works from a single perspective photo. One image is all you need. The model estimates the depth and geometry from that one view. For full 360 reconstruction you would need a photogrammetry pipeline, but for single-view mesh extraction this is the workflow.
What do the depth, normal, and mask preview images show?
The colored depth map visualizes distance from the camera. The raw depth map is a grayscale version for use in compositing or shading. The normal maps (OpenGL and DirectX variants) show surface orientation, useful for relighting or baking textures. The mask shows which parts of the image produced valid geometry.
How to run MoGe 2 image to 3D mesh online?
You can run MoGe 2 image to 3D mesh online through Floyo. No installation, no setup, no API key to wire up. Open the workflow in your browser, upload your image, and hit run. Free to try.
WHY FLOYO?
Floyo is the only platform with team collaboration for ComfyUI in the browser. You run workflows with no install. You share run history, assets, and models across your team. You pay only when you generate. Floyo supports open-source and closed-source models.
A designer runs an edit and likes the result. A teammate opens that exact run from shared history and keeps going. No file handoffs. No version confusion.
For studios and enterprise teams, Floyo adds private workspaces, pooled resources, and a team usage dashboard. Other ComfyUI cloud tools run for one person at a time. Floyo runs for the whole team, with transparent per-generation costs.
Ready to try it?
Upload a photo and turn it into a 3D mesh. The settings are already set.
Questions? Watch the free course or check the FAQ above.
Read more

_1758863167371.webp?width=400&height=300&quality=80&resize=cover)
_1783028563354.gif?width=400&height=300&quality=80&resize=cover)