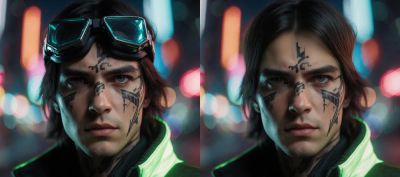
Luma Uni-1 Max for Image Editing
Edit any image with a text instruction using Luma Uni-1 Max, Luma AI's highest-quality image model. Upload an image, describe the change, add optional reference images, and hit run.
Image
Image Editing
Luma Uni-1 Max
52



Nodes & Models
LumaUni1MaxEdit_floyo
LoadImage
PreviewImage
ABOUT THE WORKFLOW
Edit an Image
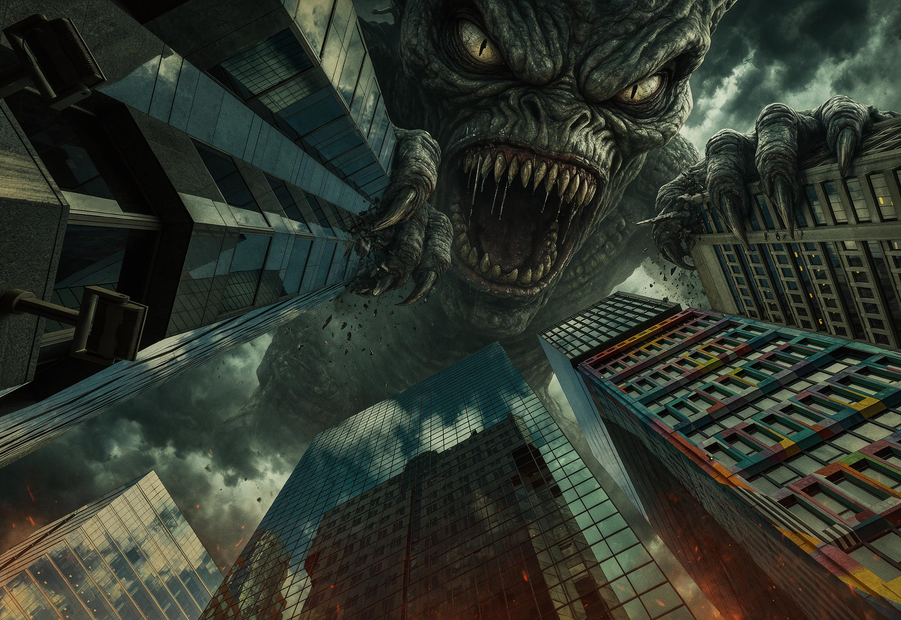
Upload an image, describe what to change, and the model applies the edit while keeping the rest of the composition intact. Add up to eight reference images to guide style, subject, or palette. One edited image comes back per run.
Partner node. This workflow calls an external API, so each run uses credits from your API wallet. No API key needed. Floyo handles the connection.
Model
Luma Uni-1 Max by Luma AI. The higher-quality tier of Luma's Uni-1 image model, strong at controlled edits that preserve composition, reference-guided style transfer, and complex multi-part prompts. Uses a reasoning step before rendering.
HOW IT WORKS
Step 1. Upload your image
The photo or artwork you want to edit. The model preserves the overall composition and changes only what your prompt asks for.
Works great with: photos · portraits · product shots · artwork
Step 2. Describe the change
Say what to add, remove, or change in plain language. Be specific about what stays and what changes, like "remove the two people in the middle of the image" or "change the background to a sunset beach."
Step 3. Add reference images (optional)
Connect up to eight reference images to guide the edit. Use them to match a style, bring in a texture, lock a color palette, or reference a specific subject.
Step 4. Hit run and download
The model reads your instruction, reasons about the edit, and returns the result. Preview it in the workflow, then download.
Ready for: Photoshop · Figma · Canva · any editor
First time? Leave every setting as-is. The defaults (auto style, JPEG output) are the right starting point for almost everyone.
RECOMMENDED SETTINGS
Quick-start guide. Find the goal that matches yours and copy the settings.
Standard edit (most people) — Auto style, JPEG. The right starting point for almost everyone.
Need a transparent background or lossless file — Switch output format to PNG.
Want to match a style from another image — Connect a reference image and describe what it contributes in your prompt, like "apply the watercolor style from the reference image."
Editing or removing objects — Name the object and its position. "Remove the person on the left" lands better than "clean up the image."
The edit is not landing — Rewrite the prompt before changing a setting. Say what to keep and what to change. The model preserves composition, so vague instructions like "make it better" give vague results.
Need multiple reference images — Connect up to eight. Each one can guide a different aspect: one for color, one for texture, one for subject. Describe each role in your prompt.
Prompt: Be specific about the change and what to preserve. "Change the background to a snowy mountain, keep the person and their outfit" is clearer than "add snow." When using references, describe what each reference contributes so the model knows what to pull from where.
LEARN
📹 Videos
ComfyUI 101 Free Course ft. Sebastian Kamph
Floyo 101 for Team Collaboration
✨ Quick links
USE CASES
🖼️ Object & Background Edits
Remove unwanted objects, swap backgrounds, or change details in a shot while keeping the subject and layout intact.
🎨 Style Transfer with References
Upload a reference image with the look you want and apply that style, texture, or palette to your source image in one run.
🛍️ Product Photography
Restyle product shots, swap environments, or adjust props and staging for campaign variations without a reshoot.
👤 Portrait Retouching & Restyling
Edit clothing, change hair, adjust lighting, or restyle a portrait while keeping the subject's pose and expression.
🎬 Concept Art & Pre-Production
Iterate on a reference frame by editing mood, time of day, weather, or set dressing from a single base image.
WHAT WORKS BEST / WHAT TO AVOID
✅ Works great
Clear, specific edit instructions
Single clean source images with defined subjects
Reference images for style, palette, or texture guidance
Object removal, background swaps, and restyling
⚠️ May produce softer results
Vague prompts like "make it better" or "improve this"
Fine typography or exact in-image text edits
Too many conflicting instructions in one prompt
Heavily composited or collage-style source images
FAQ
What is Luma Uni-1 Max?
Luma Uni-1 Max is the higher-quality tier of Luma AI's Uni-1 image model. It uses a unified architecture that reasons about your instruction before rendering, which gives it strong spatial awareness and composition control. In edit mode, it takes a source image and a text prompt, applies the described changes, and preserves the rest of the composition. It also accepts up to eight reference images for style, subject, or palette guidance.
How does Luma Uni-1 Max image editing work?
You upload the image you want to edit and describe the change in a text prompt. The model reads your instruction, reasons about what to change and what to keep, then renders the edited result. You can connect reference images to guide the output toward a specific style, texture, or subject look. The model preserves the original layout and composition, changing only what your prompt asks for.
What are reference images and how many can I use?
Reference images guide the edit without being the source. You can connect up to eight. Use them to match a color palette from one photo, pull a texture from another, or show the model a specific subject or style to incorporate. Describe what each reference contributes in your prompt so the model knows what to draw from each one.
Can Luma Uni-1 Max render text in images?
Text rendering is a weaker area for this model. It handles large, simple text reasonably well, but fine typography, small text, and exact letterforms may not render cleanly. For edits that depend on precise text, a model built for text accuracy (such as Nano Banana Pro) is a better fit.
Is Luma Uni-1 Max open source?
No. Luma Uni-1 Max is a proprietary model by Luma AI. There are no open weights available. It runs through the Luma API, and commercial use is governed by Luma AI's terms of service.
What is the difference between Luma Uni-1 and Luma Uni-1 Max?
Both share the same architecture, inputs, and parameter set. The difference is output quality. Uni-1 Max is tuned for higher detail, polish, and final-image quality. Use Uni-1 for exploration and fast iteration, and Uni-1 Max when the result needs to be production-ready.
How to run Luma Uni-1 Max image editing online?
You can run Luma Uni-1 Max image editing online through Floyo. No installation, no setup, no API key to wire up. Open the workflow in your browser, upload your image, describe the edit, and hit run. Free to try.
WHY FLOYO?
Floyo is the only platform with team collaboration for ComfyUI in the browser. You run workflows with no install. You share run history, assets, and models across your team. You pay only when you generate. Floyo supports open-source and closed-source models.
A designer runs an edit and likes the result. A teammate opens that exact run from shared history and keeps going. No file handoffs. No version confusion.
For studios and enterprise teams, Floyo adds private workspaces, pooled resources, and a team usage dashboard. Other ComfyUI cloud tools run for one person at a time. Floyo runs for the whole team, with transparent per-generation costs.
Ready to try it?
Upload an image, describe the change, and run it. The settings are already set.
Questions? Watch the free course or check the FAQ above.
Read more
_1786522681696.png?width=400&height=300&quality=80&resize=cover)