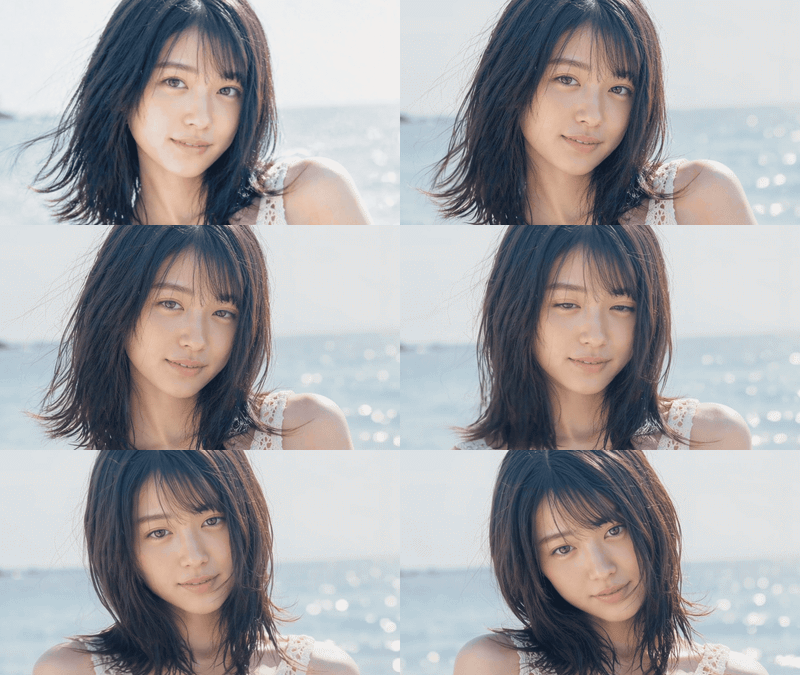
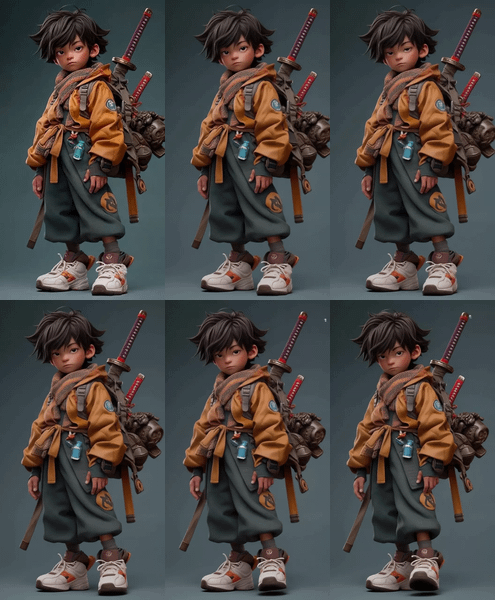
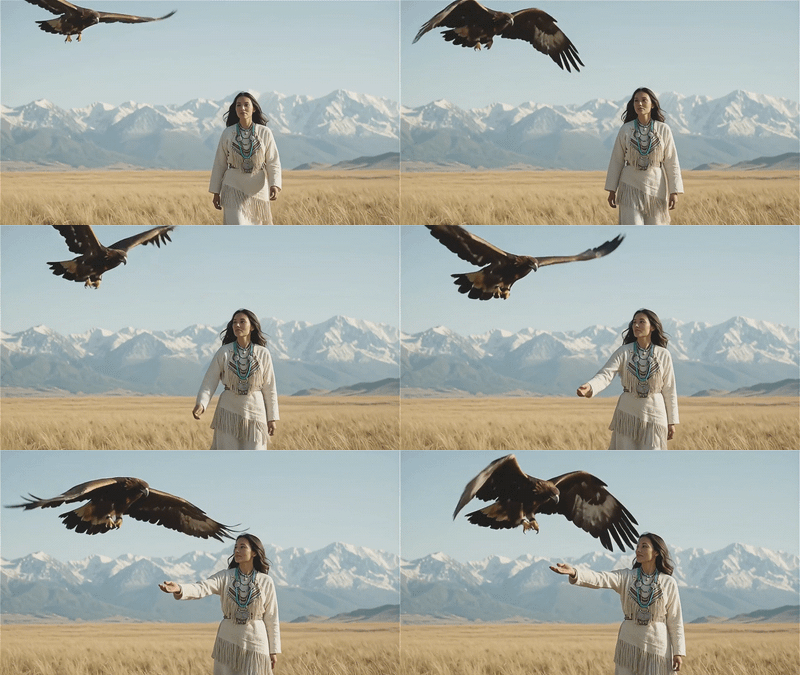
Minimax_H3_Image_to_Video_OpenWeight
Minimax H3を使用したImage to Videoワークフローです。オープンウェイトモデルのためAPIウォレットを消費せず、Load Imageにスタートフレーム画像をアップロードし、aspect_ratio、duration、promptを設定するだけで、すぐに動画生成できます。This is an Image to Video workflow using Minimax H3. Since it uses an open-weight model, it does not consume your API wallet.
Audio
I2V
Image to Video
Minimax H3
Open Weight
Video
8.6k
Nodes & Models
LoadImage
KSamplerSelect
ResolutionSelector
UNETLoader
minimax_h3_fl2va_bf16.safetensors
MarkdownNote
BasicScheduler
Note
VAEDecode
VAELoader
minimax_h3_video_vae_fp16.safetensors
minimax_h3_audio_vae_fp32.safetensors
SaveVideo
CLIPLoader
qwen3vl_32b_minimax_h3_bf16.safetensors
SamplerCustomAdvanced
RandomNoise
BasicGuider
VAEDecodeAudio
CreateVideo
MiniMaxH3ImageToVideo
ComfyMathExpression
PrimitiveFloat
1. Overview|概要
このワークフローは、Minimax H3を使用したImage to Video用の動画生成ワークフローです。
This workflow is an Image to Video generation workflow using Minimax H3.
Minimax H3はオープンウェイトモデルのため、APIウォレットを消費せずに動画生成できます。
Since Minimax H3 is an open-weight model, you can generate videos without consuming your API wallet.
スタートフレーム画像をもとに、自然な動きのある動画を生成できます。
You can generate a moving video based on a start frame image.
人物画像、キャラクター画像、商品画像、SNS用ビジュアルの動画化に活用できます。
It can be used to animate portraits, character images, product images, and social media visuals.
画像をアップロードし、アスペクト比、動画の長さ、プロンプトを設定するだけで使えます。
You can use it by uploading an image, selecting the aspect ratio, setting the duration, and entering a prompt.
APIウォレットを気にせず試せるため、検証、学習、量産テストにも向いています。
Because it does not consume your API wallet, it is suitable for testing, learning, and repeated generation.
シンプルな構成なので、Image to Videoをすぐに試したい人にもおすすめです。
Because the setup is simple, it is also recommended for users who want to quickly test Image to Video generation.
2. How It Works|使い方
Load Imageに、スタートフレームとして使いたい画像をアップロードしてください。
Upload the image you want to use as the start frame to Load Image.
aspect_ratioで、生成したい動画のアスペクト比を選択してください。
Select the aspect ratio you want for the generated video in aspect_ratio.
durationで、生成する動画の長さを指定してください。
Set the video length in duration.
promptに、任意のプロンプトを入力してください。
Enter any prompt you want in prompt.
上記の項目を設定するだけで、すぐに動画生成できます。
You can generate a video immediately by setting only the items above.
生成ボタンを押すと、アップロードした画像をもとに動画が生成されます。
Press the Generate button to create a video based on the uploaded image.
オープンウェイトモデルを使用しているため、APIウォレットを消費せずに実行できます。
Because it uses an open-weight model, it can run without consuming your API wallet.
初めて使う場合は、まずデフォルト設定のまま試すのがおすすめです。
For first-time use, it is recommended to start with the default settings.
3. Prompt Control|プロンプトによる調整
プロンプトには、画像をどのように動かしたいかを具体的に書いてください。
In the prompt, clearly describe how you want the image to move.
被写体の動き、表情の変化、カメラワーク、背景の動き、映像の雰囲気を書いてください。
Describe the subject movement, expression changes, camera work, background movement, and video mood.
人物を自然に動かしたい場合は、小さな表情変化や自然なジェスチャーを指定してください。
If you want to animate a person naturally, specify subtle expression changes and natural gestures.
カメラワークを入れたい場合は、ゆっくり寄る、横にスライドする、回り込み、手持ちカメラ風などを指定してください。
If you want camera movement, specify slow push-in, side slide, orbit, or handheld camera style.
映像の雰囲気を作りたい場合は、cinematic lighting、soft light、dramatic mood などを追加してください。
If you want to create a stronger video mood, add terms such as cinematic lighting, soft light, or dramatic mood.
動きが強すぎる場合は、gentle movement、subtle motion、natural expression などを指定してください。
If the motion is too strong, specify gentle movement, subtle motion, or natural expression.
動きが弱い場合は、walking、turning around、waving、looking at camera など具体的な動作を追加してください。
If the motion is too weak, add specific actions such as walking, turning around, waving, or looking at camera.
短いプロンプトでも生成できますが、動きと演出を具体的に書くほど結果をコントロールしやすくなります。
Short prompts can work, but describing motion and direction clearly makes the result easier to control.
4. Settings|設定
基本設定では、Load Image、aspect_ratio、duration、promptを設定するだけですぐに使えます。
With the basic settings, you can use it immediately by setting Load Image, aspect_ratio, duration, and prompt.
Load Imageには、スタートフレームの画像をアップロードしてください。
Upload the start frame image to Load Image.
aspect_ratioでは、出力したい動画のアスペクト比を選択してください。
Select the aspect ratio of the output video in aspect_ratio.
durationでは、生成したい動画の長さを指定してください。
Set the length of the video you want to generate in duration.
promptには、動画の動きや演出を入力してください。
Enter the motion and direction of the video in prompt.
必要に応じて、megapixelsを変更することでアウトプットのサイズを変更できます。
If needed, you can change the output size by adjusting megapixels.
megapixelsを変更する場合は、表を参考にしてください。
When changing megapixels, refer to the table on the left.
高画質にしたい場合はmegapixelsを上げることで、より大きなサイズで出力できます。
If you want higher resolution, increase megapixels to output a larger size.
生成時間を抑えたい場合は、megapixelsを上げすぎない設定がおすすめです。
If you want to reduce generation time, it is recommended not to set megapixels too high.
オープンウェイトモデルのため、APIウォレットを消費せずに繰り返し検証できます。
Since it is an open-weight model, you can repeatedly test it without consuming your API wallet.
まずはデフォルト設定のまま生成し、必要に応じてaspect_ratio、duration、megapixelsを調整してください。
Start with the default settings, then adjust aspect_ratio, duration, and megapixels if needed.
Read more
0
Reply