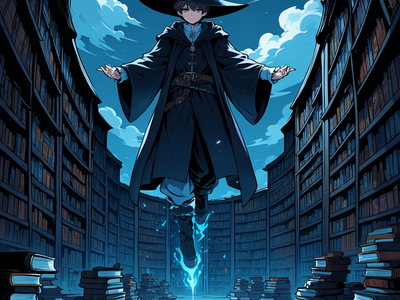
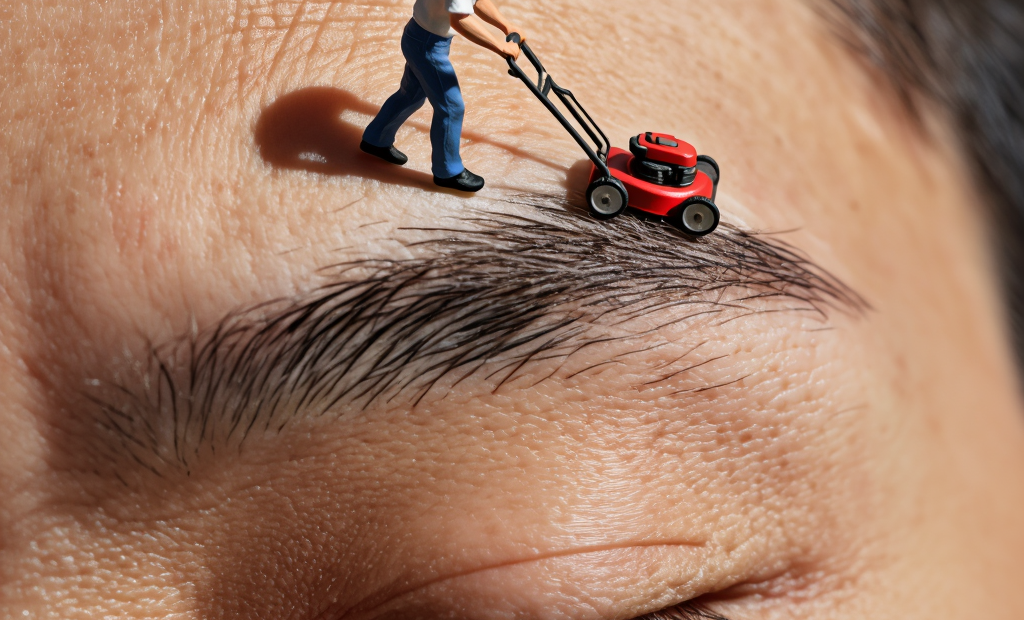
Z-Image Base: High-Detail Text to Image
Create sunning images using z-image base model (non distlled).
concept art
Fine-tuning
Text2Image
Z-Image
Z-image-base
7
4.6k


HOW IT WORKS
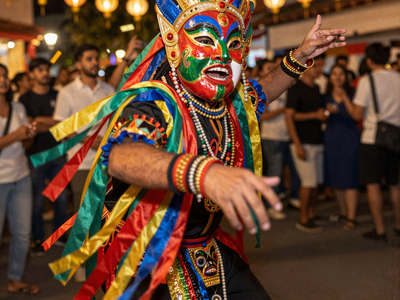
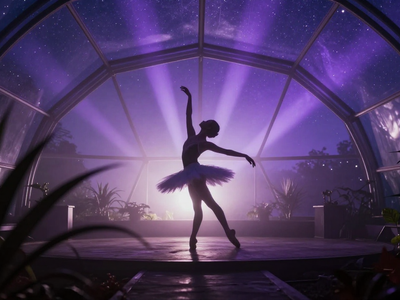
Step 1. Write your prompt Describe the image you want. Z-Image Base handles photorealism and a wide range of artistic styles, and it rewards detail, so name the subject, lighting, and composition. Works great with: photorealistic scenes · stylized art · detailed compositions
Step 2. Set a negative prompt (optional) List what to keep out of the image. Unlike the Turbo model, Base uses real guidance, so the negative prompt and CFG steer the result.
Step 3. Hit run and download You get back a 1024px image with rich detail. The full model runs more steps than Turbo, so give it a moment to finish. Ready for: Photoshop · Figma · Canva · any editor
First time? Leave every setting as-is. The defaults (1024 x 1024 · 30 steps · CFG 4 · random seed) are the right starting point for almost everyone.
RECOMMENDED SETTINGS
Quick-start guide. Find the goal that matches yours and copy the settings.
Standard generation (most people) Start here — 1024 x 1024 · 30 steps · CFG 4. The right starting point for almost everyone.
Want the last bit of detail — Raise the steps toward 50. More steps bring richer micro-detail in fabric, foliage, and skin, at the cost of time.
The prompt is not being followed closely — Raise the CFG toward 5. Higher guidance sticks closer to your text and your negative prompt. Push it too far and the image hardens.
Looks over-cooked or harsh — Lower the CFG toward 3 for a softer, more natural result.
Use a negative prompt — Base respects it. List what to avoid, like extra fingers, blur, or harsh light, and the model steers away.
Going for a specific style — Describe it plainly. Base has a wider style range than the Turbo model, so style cues land more reliably.
Reproduce a result you liked — Lock the seed to the number that produced it. Same prompt and seed give you the same image again.
Prompt: Name the subject, the lighting, and the composition. Base follows guidance closely and rewards detail, so a specific prompt pays off more here than on a fast model.
USE CASES
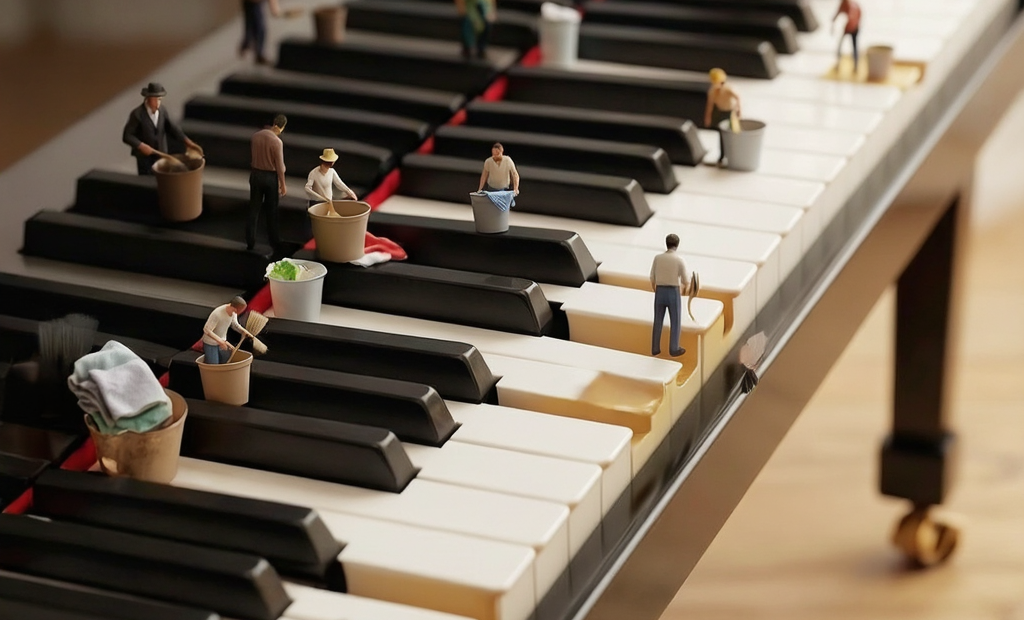
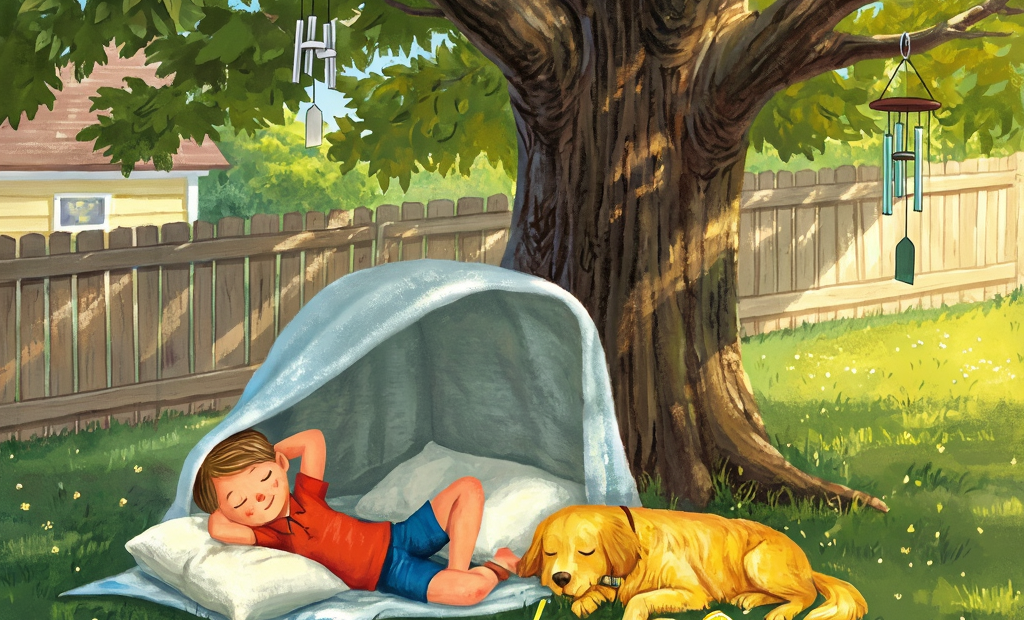
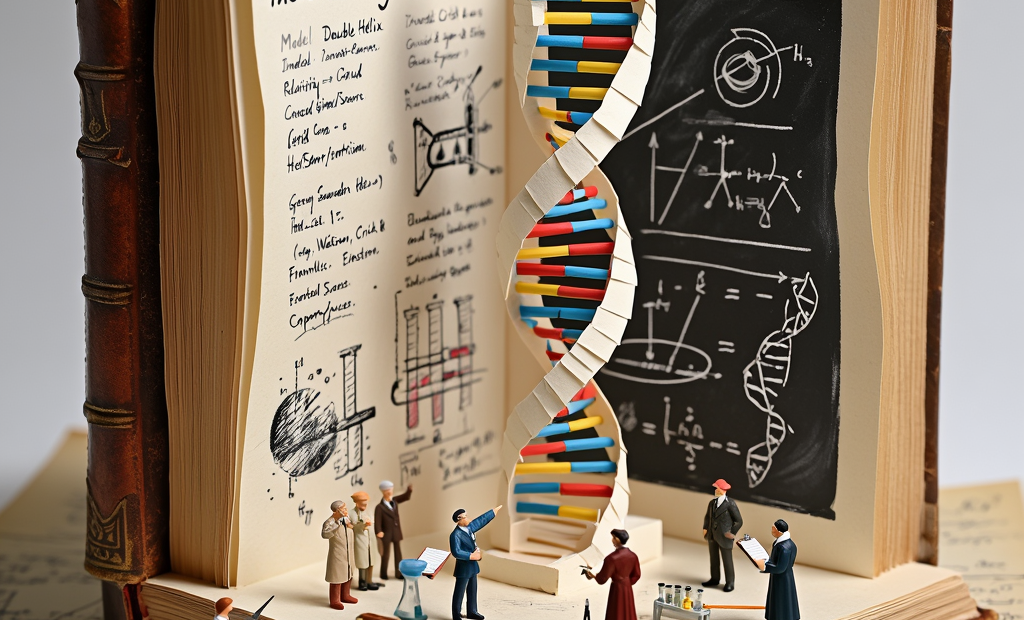
🎨 Detailed Art & Illustration Render high-detail scenes across a wide range of styles, where the extra steps and full guidance earn their keep.
📸 Print & Large-format Keep richer micro-detail that holds up at print sizes and on large displays.
🧪 Fine-tuning & LoRA Training Base is the non-distilled model, which makes it the right foundation for training LoRAs and building custom checkpoints.
🖼️ Precise Iteration Use full CFG and negative prompts to make small, controlled tweaks that stick instead of throwing off the whole image.
WHAT WORKS BEST / WHAT TO AVOID
✅ Works great
Detailed, photorealistic, or stylized scenes
Prompts with clear lighting and composition
A negative prompt to steer the result
Work headed for print or fine-tuning
⚠️ May produce softer results
Crowded scenes with people in the background
Vague prompts with no detail
CFG pushed too high or too low
Cutting the steps below 30
NEW TO COMFYUI?
Start with the free ComfyUI for Beginners Course on Floyo. Sixteen short videos take you from zero to running your own AI workflows. No setup headaches, no jargon, clear hands-on lessons. Watch the course, then run any workflow here in your browser.
👉 Watch the free ComfyUI for Beginners Course →
FAQ
What is Z-Image Base? Z-Image Base is the full, non-distilled version of Alibaba Tongyi Lab's Z-Image model, released in January 2026 under the Apache 2.0 license. It is a 6-billion parameter text-to-image model that supports full classifier-free guidance, negative prompts, and reference guidance. It runs more sampling steps than the Turbo model and produces richer detail and a wider range of styles.
What is the difference between Z-Image Base and Z-Image Turbo? Turbo is the distilled, speed-focused model: about 8 steps, fixed CFG, sub-second generation, and it is the photorealism pick of the family. Base is the full model: 30 to 50 steps, CFG in the 3 to 5 range, real negative prompts, and a higher ceiling for detail and style. Base is not automatically better at photorealism, but it gives you more control and is the model to fine-tune on. Use Turbo for speed and quick photoreal work, Base for control, style range, and training.
What settings should I use for Z-Image Base? Use 1024 x 1024 resolution, 30 to 50 steps, and CFG between 3 and 5, with the res_multistep sampler and simple scheduler. Start at 30 steps and CFG 4, raise the steps for more micro-detail, and adjust CFG up for tighter prompt adherence or down for a softer look.
Does Z-Image Base support negative prompts? Yes. Because Base uses full classifier-free guidance, negative prompts and CFG changes steer the output, which is a key difference from Turbo. List what you want to avoid in the negative prompt and raise the CFG a little if you want it enforced more strongly.
Can I train a LoRA on Z-Image Base? Yes, and that is one of its main purposes. As the non-distilled model, Base gives more stable training than the distilled Turbo, so it is the recommended foundation for LoRAs and fine-tunes. LoRAs trained on Base also tend to work on Turbo, usually at a higher strength.
Can I use the results commercially? Yes. Z-Image Base is released under the Apache 2.0 license, which permits commercial use, and images you generate on Floyo carry full commercial rights. You can use the results in client work, products, and marketing.
How to run Z-Image Base online? You can run Z-Image Base online through Floyo. No installation, no setup, no GPU to rent. Open the workflow in your browser, type a prompt, and hit run. Free to try.
WHY FLOYO?
Floyo is the only platform with team collaboration for ComfyUI in the browser. You run workflows with no install. You share run history, assets, and models across your team. You pay only when you generate. Floyo supports open-source and closed-source models.
A designer runs a prompt and likes the result. A teammate opens that exact run from shared history and keeps going. No file handoffs. No version confusion.
For studios and enterprise teams, Floyo adds private workspaces, pooled resources, and a team usage dashboard. Other ComfyUI cloud tools run for one person at a time. Floyo runs for the whole team, with transparent per-generation costs.
Ready to try it? Type your first prompt and run it. The settings are already set.
Questions? Watch the free course or check the FAQ above.
Read more
0
Reply