


There are many possible paths to get from a character idea to consistent and controllable character renders because everyone has different ways of thinking and working, unique starting assets and output requirements.
So here's a curated selection of several ways to get from A to B, designed to be as flexible as the creative process.
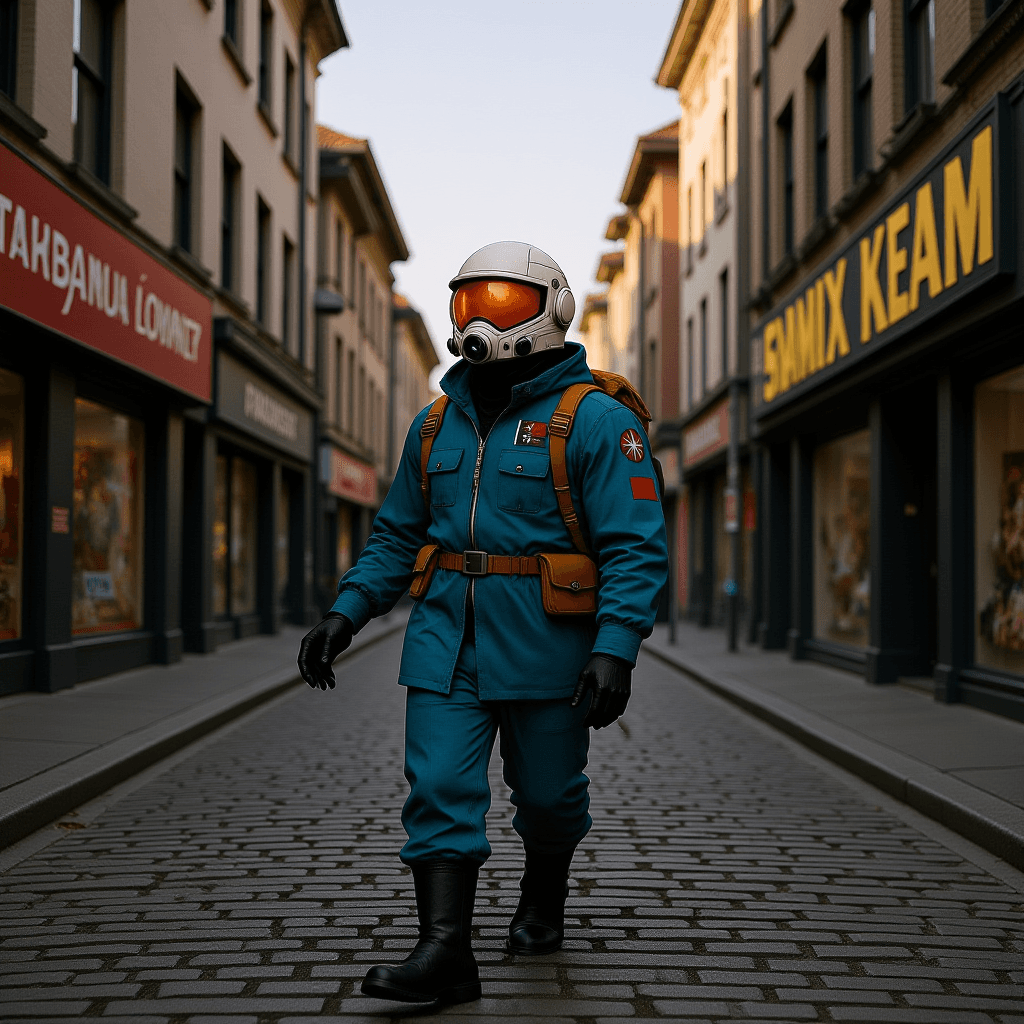
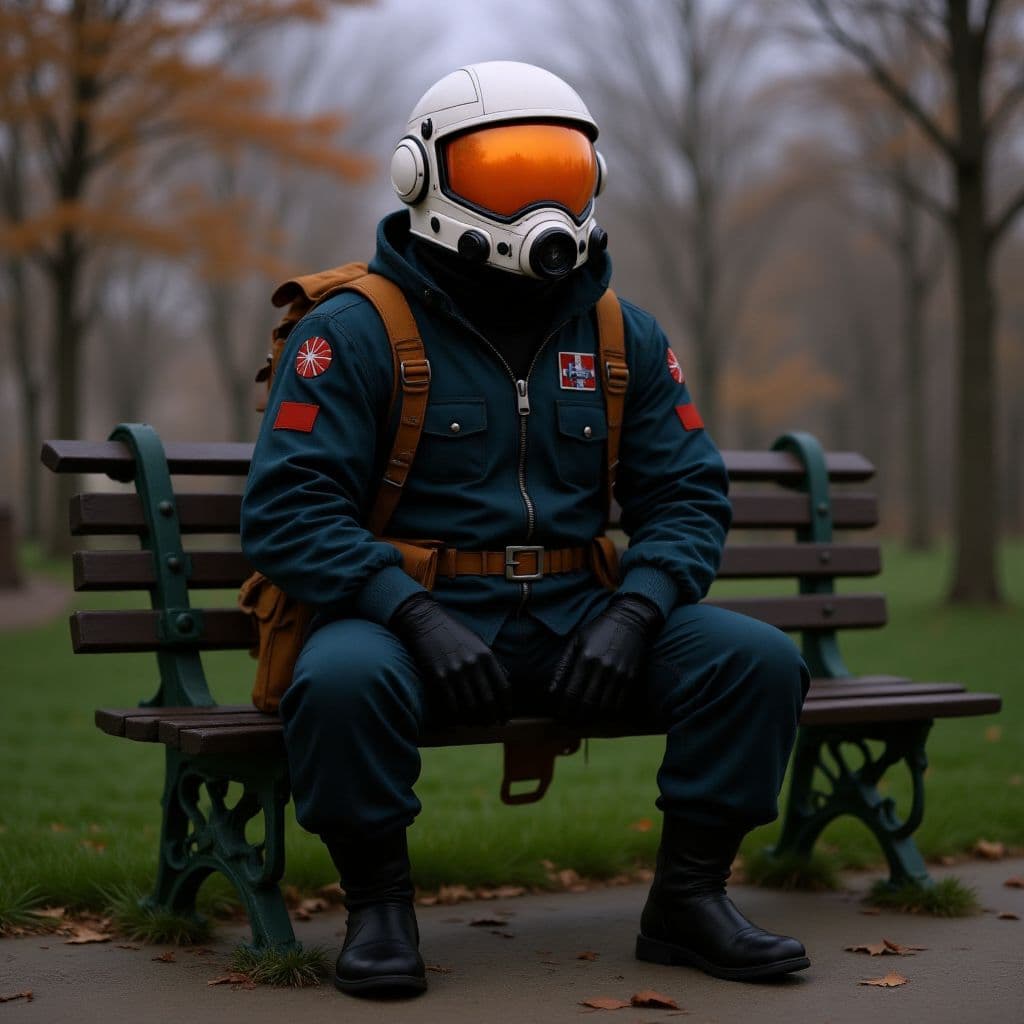
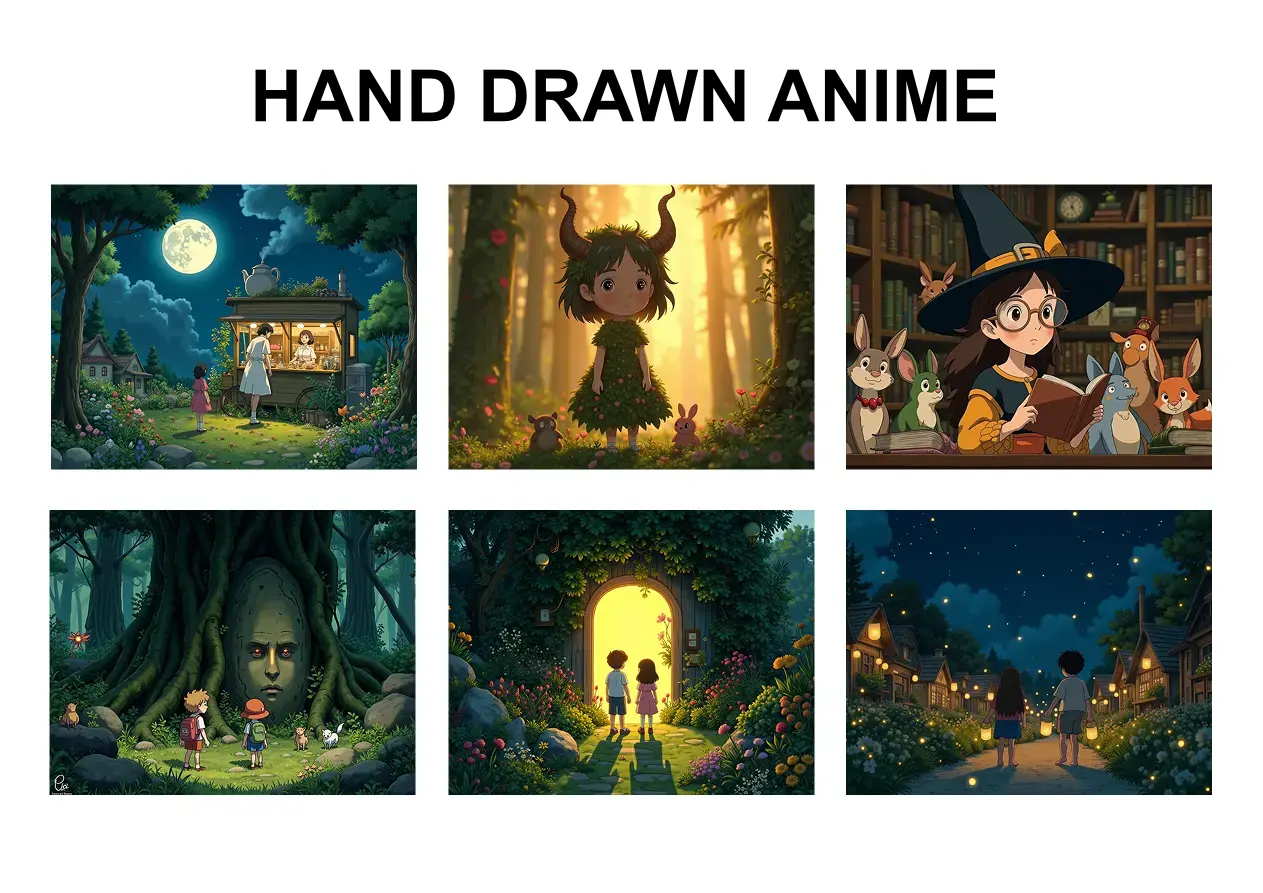
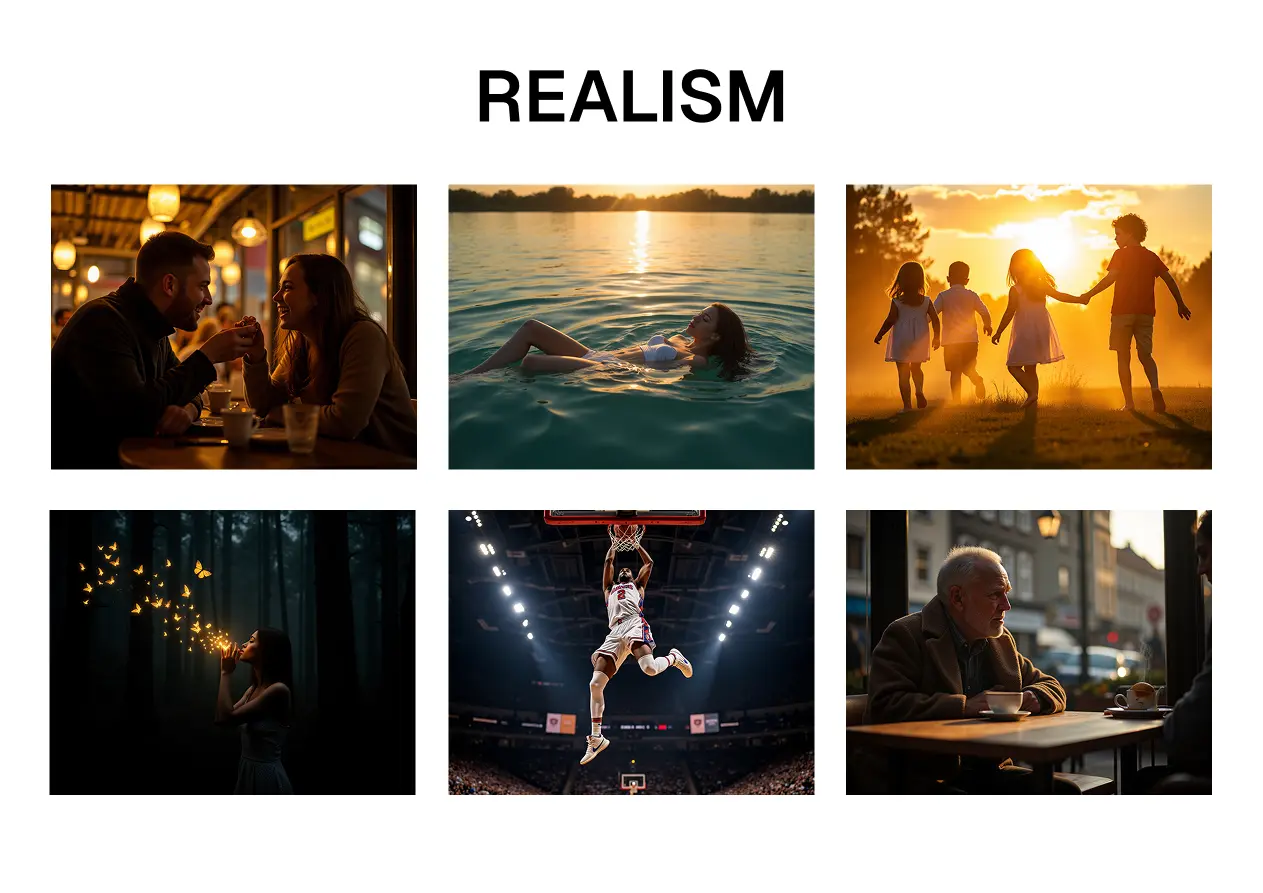
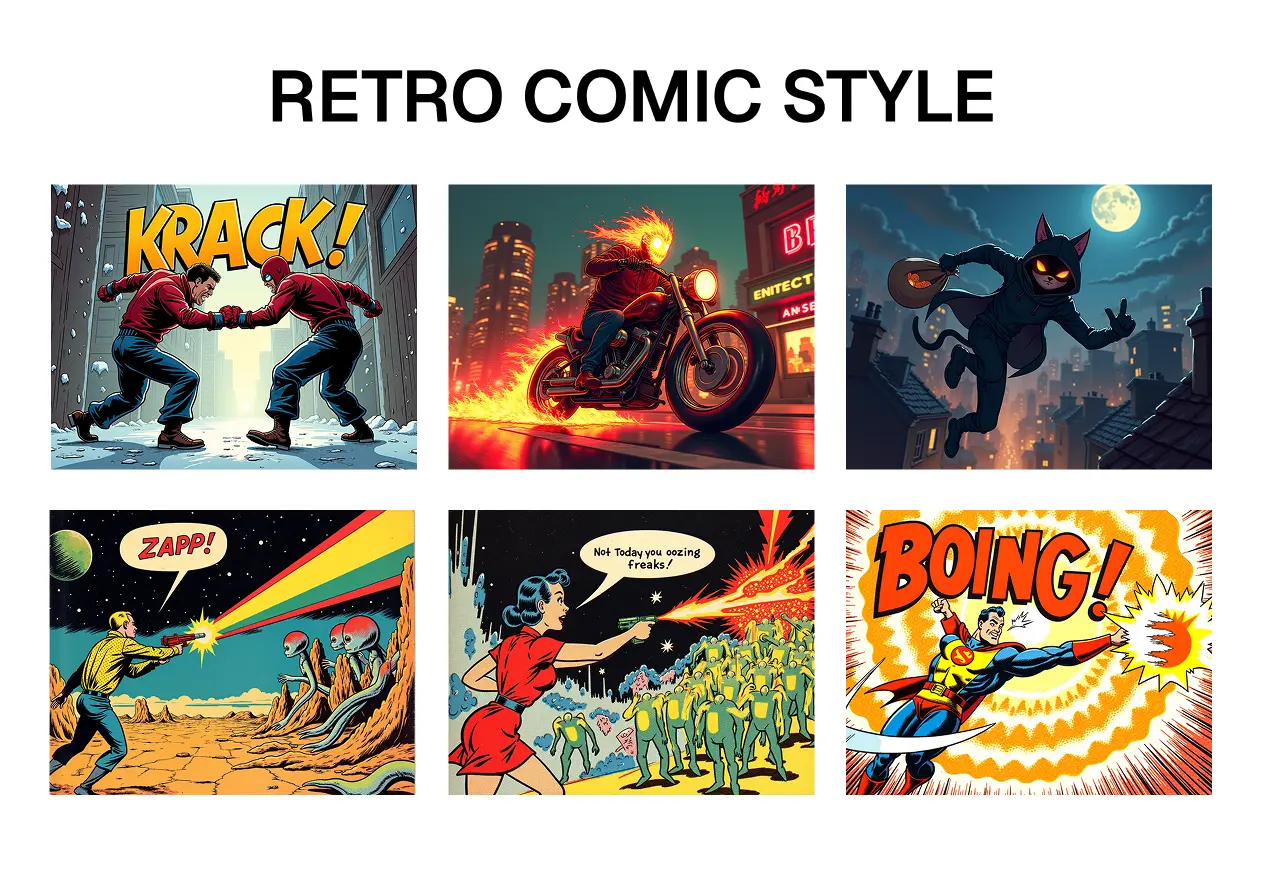
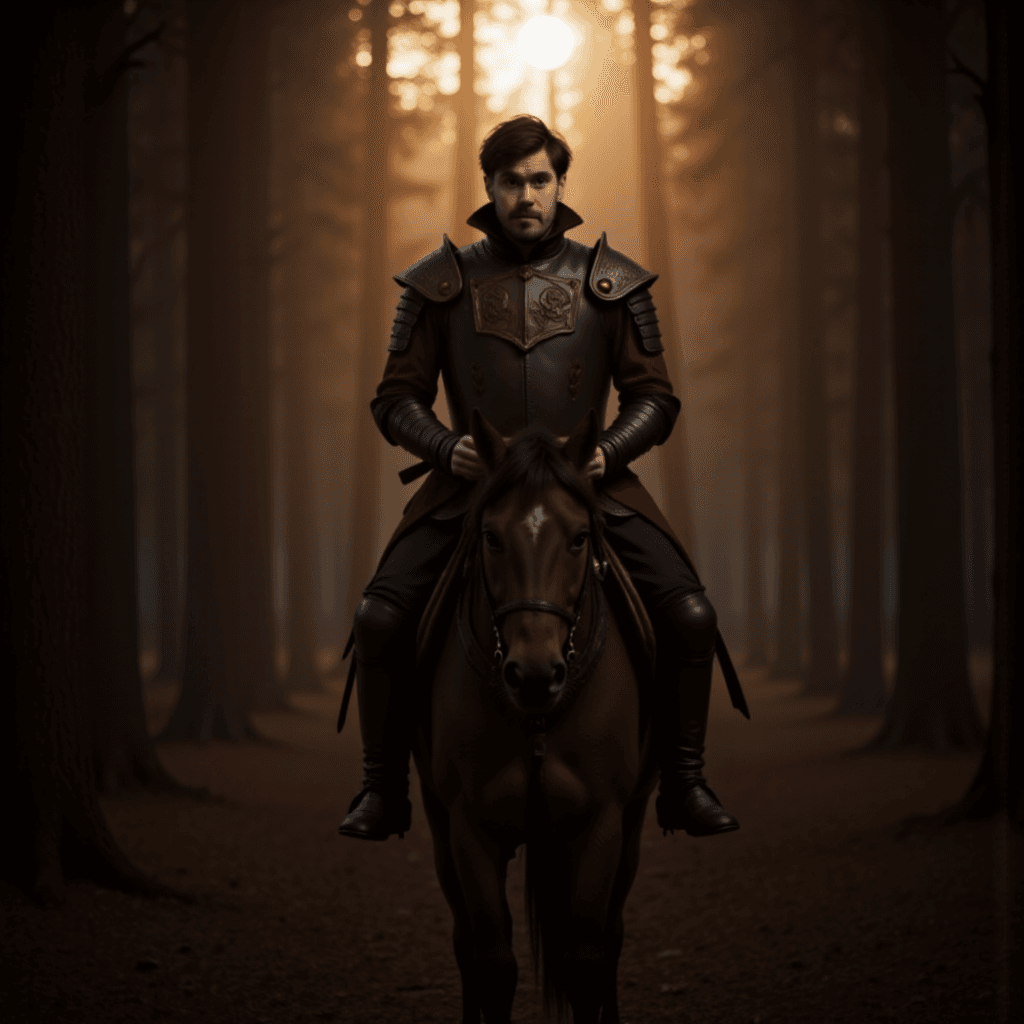
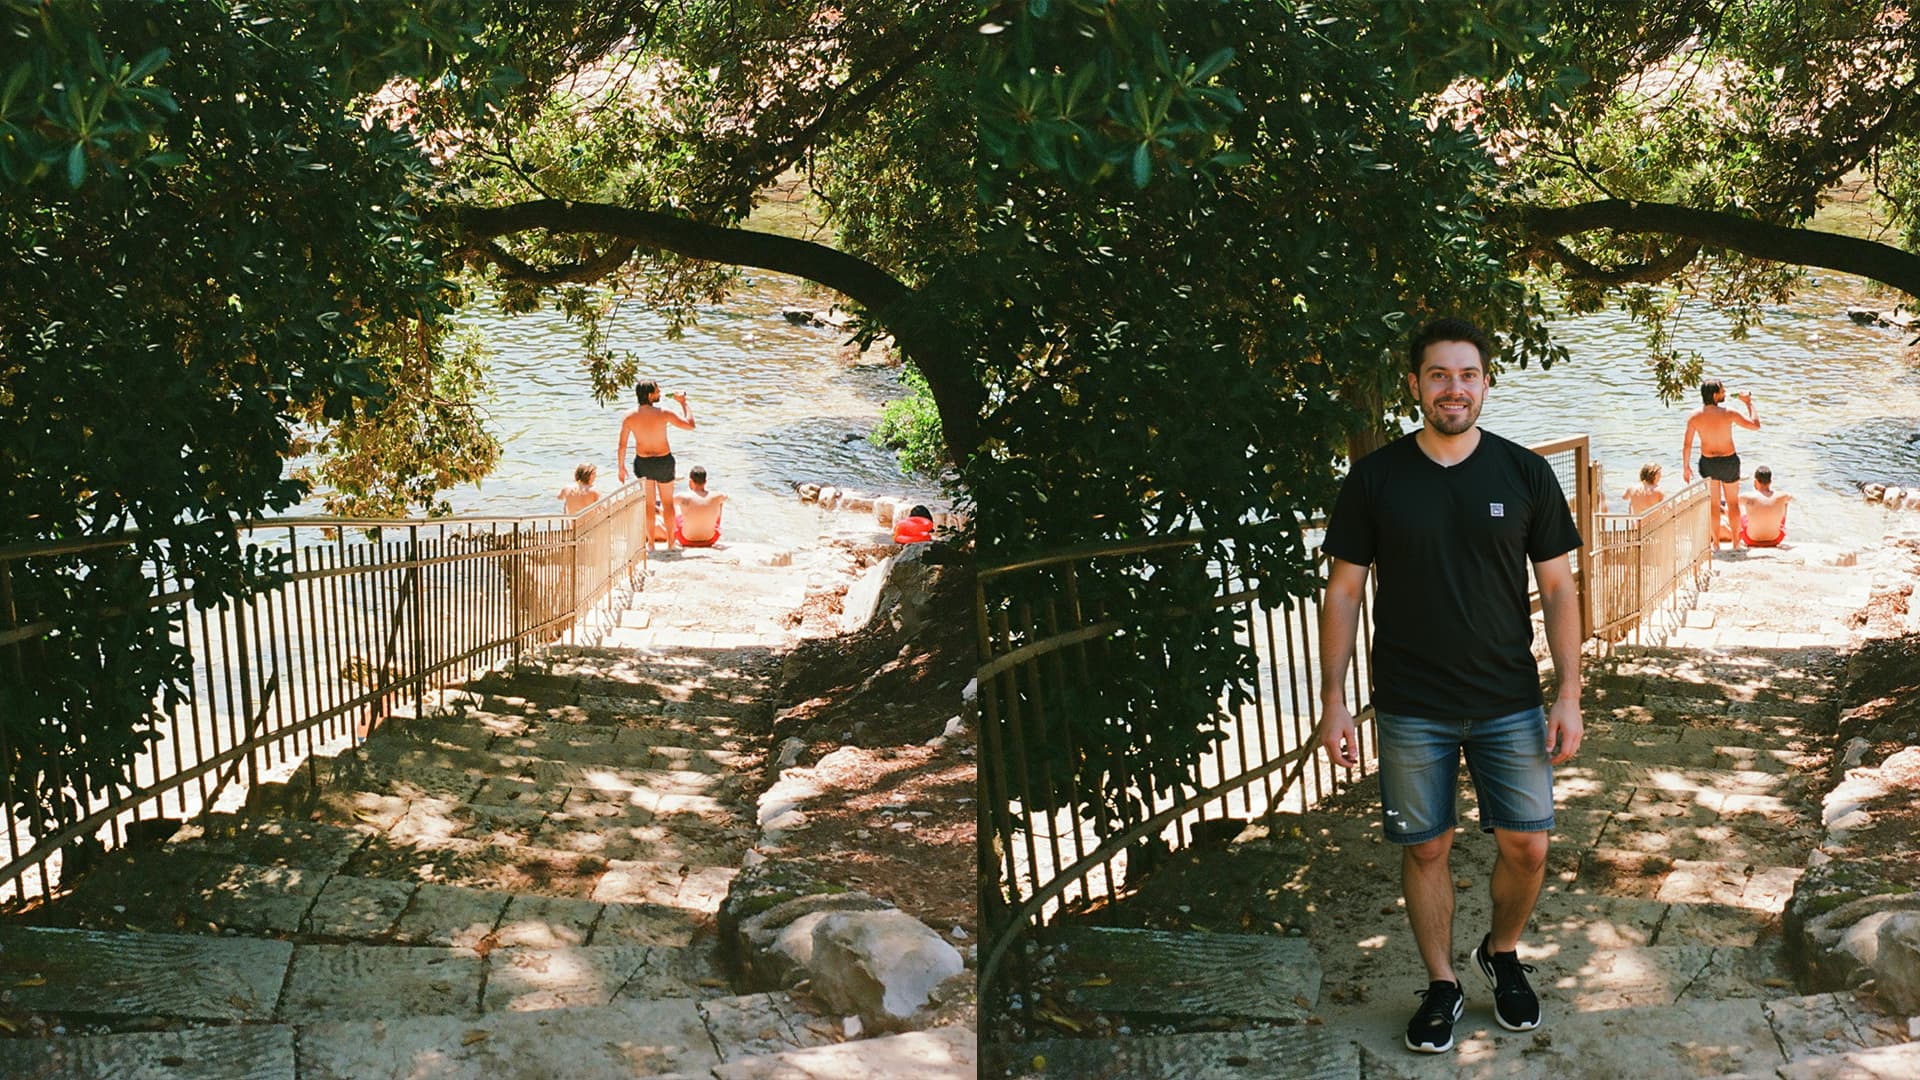
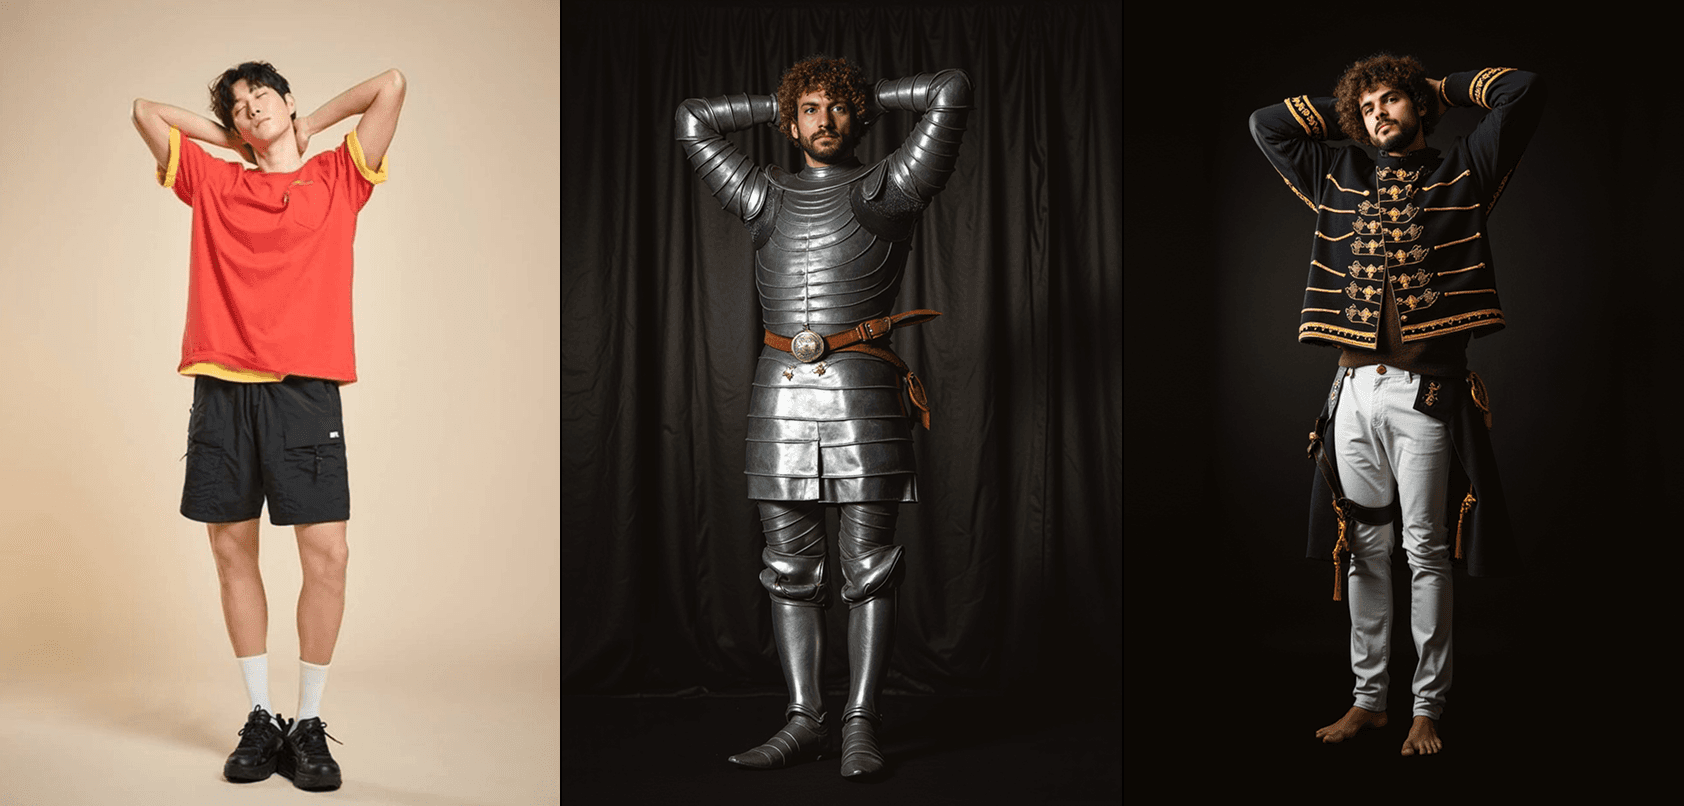
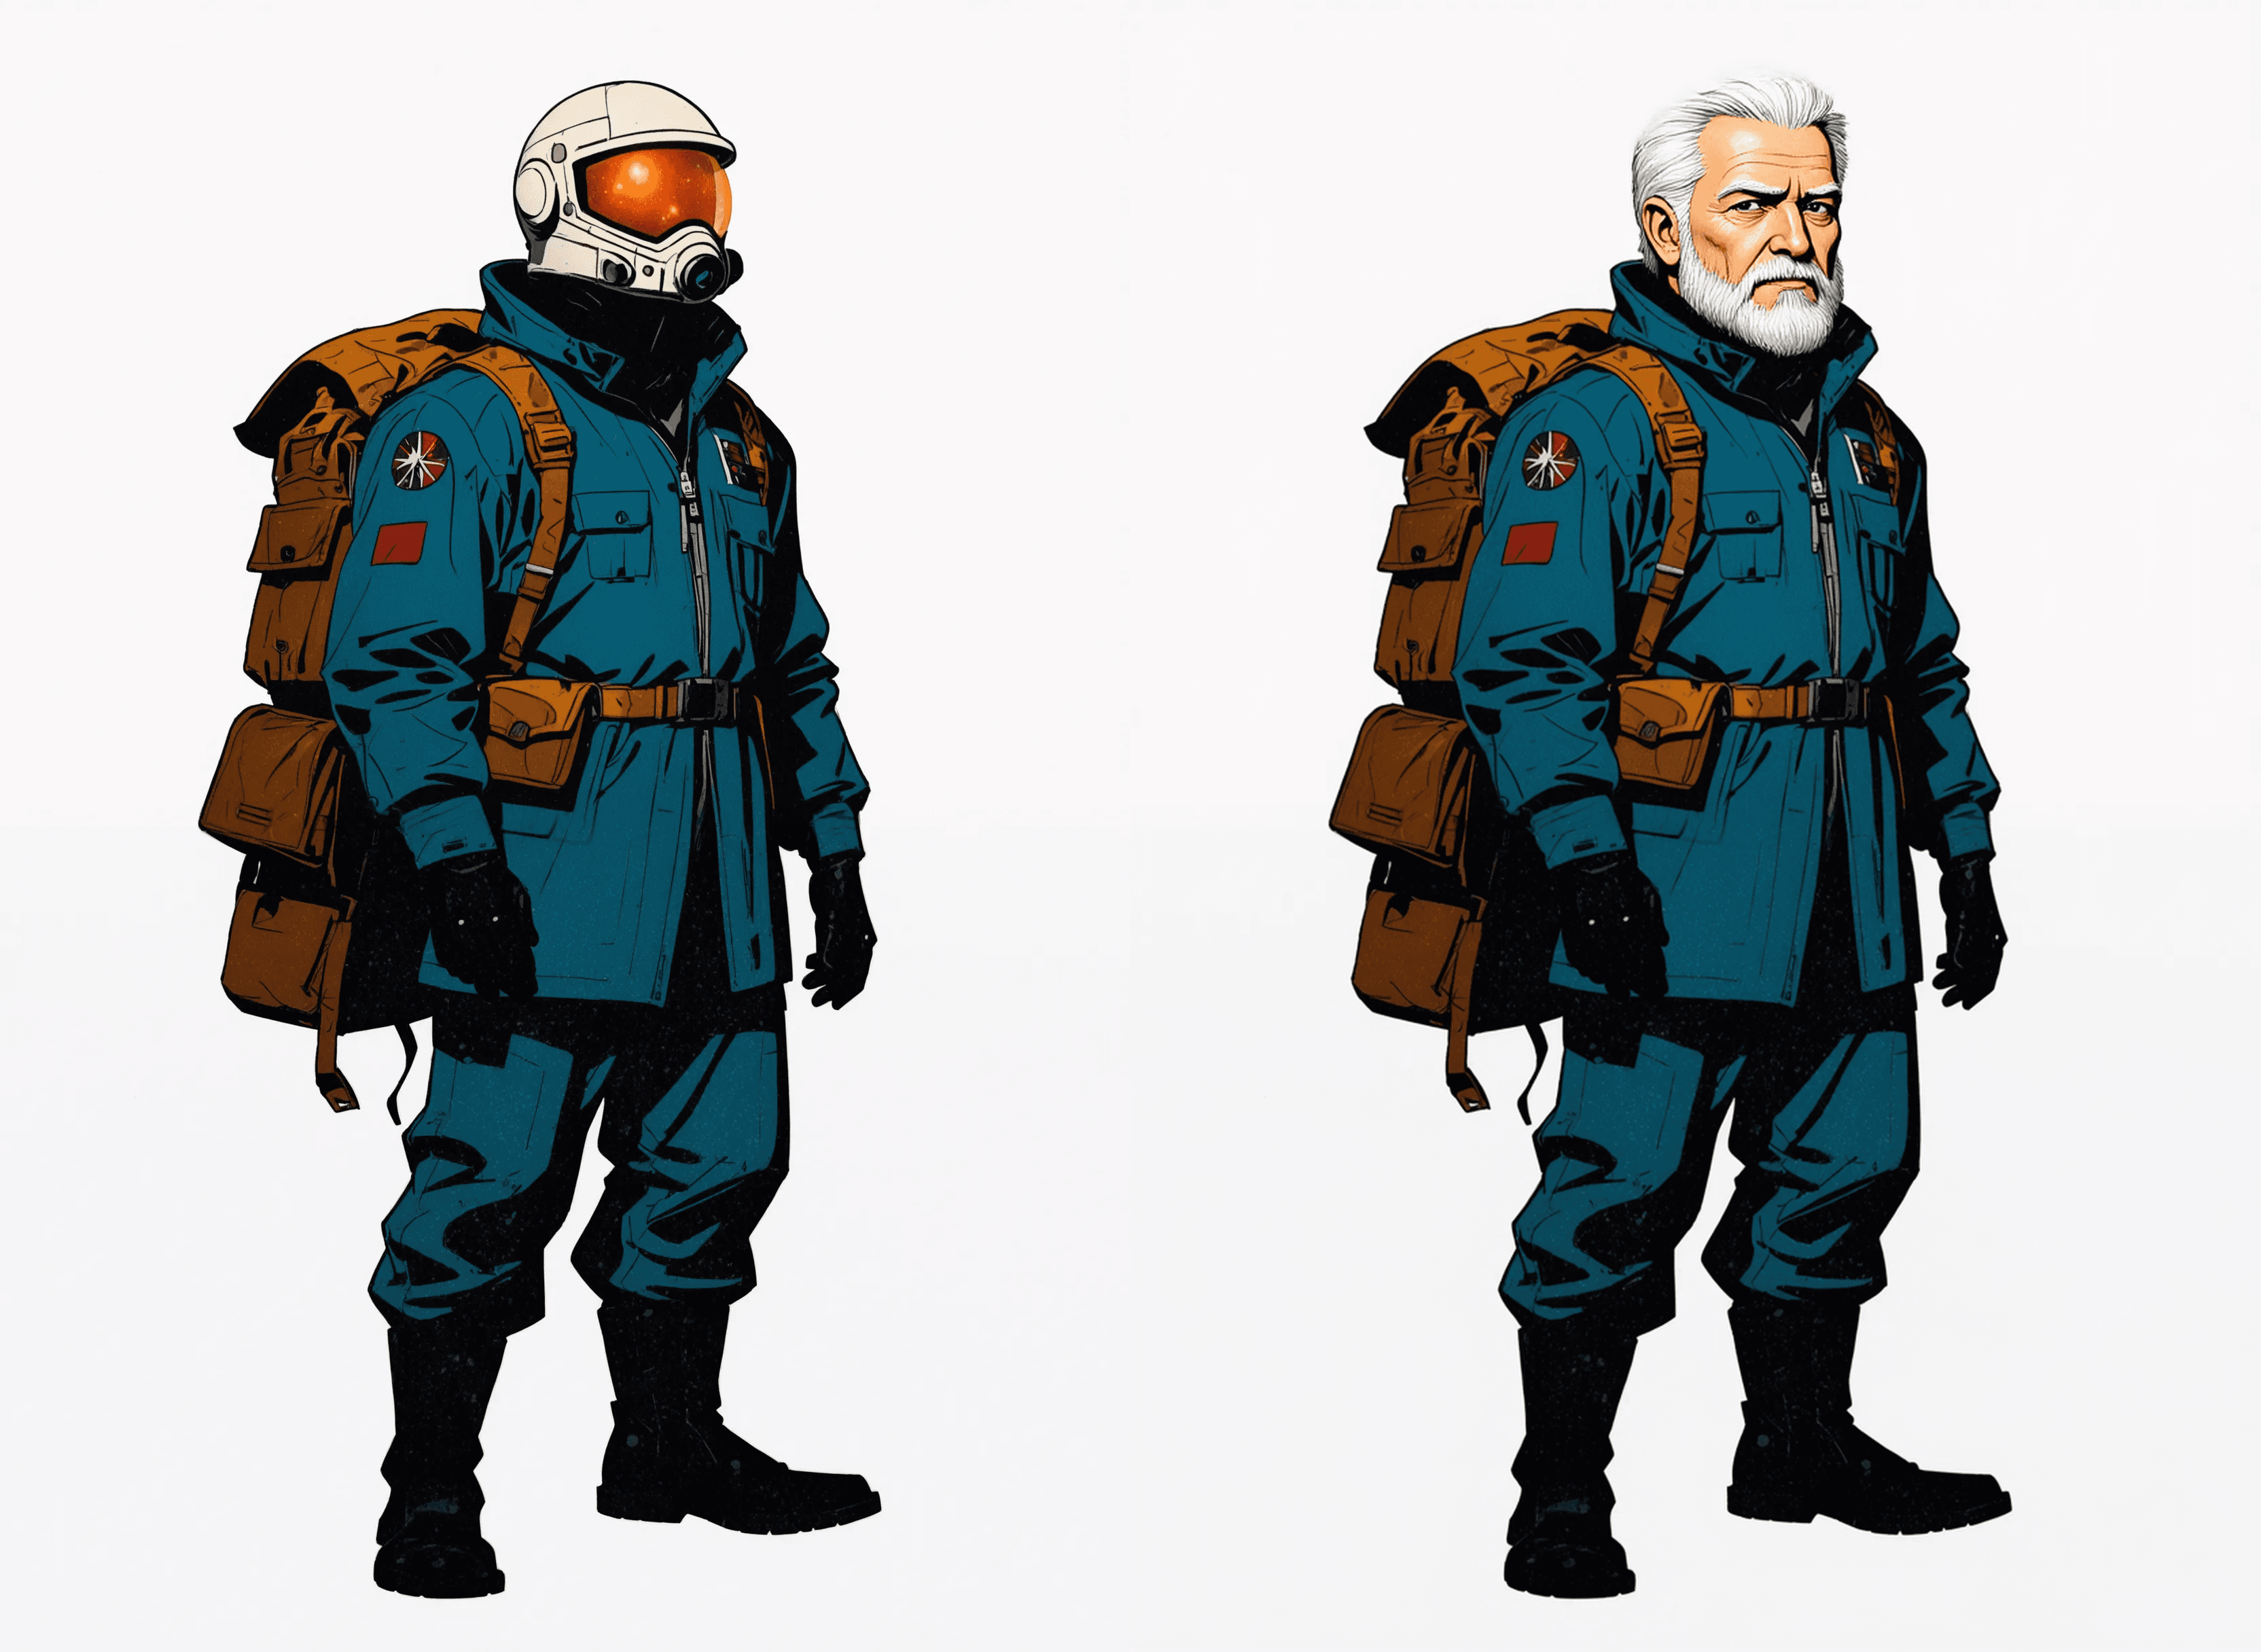
Character design
Start with a written description, a sketch or an existing image for starters. Add in a face of someone if there's a particular person you have in mind.


_1756288507000.png&w=3840&q=75)
_1756288507000.png&w=3840&q=75)
_1756288507000.png&w=3840&q=75)
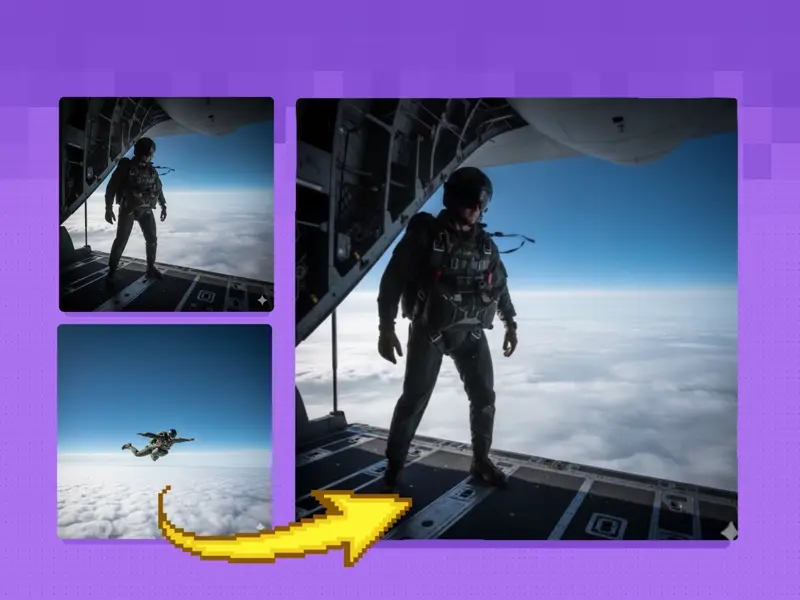
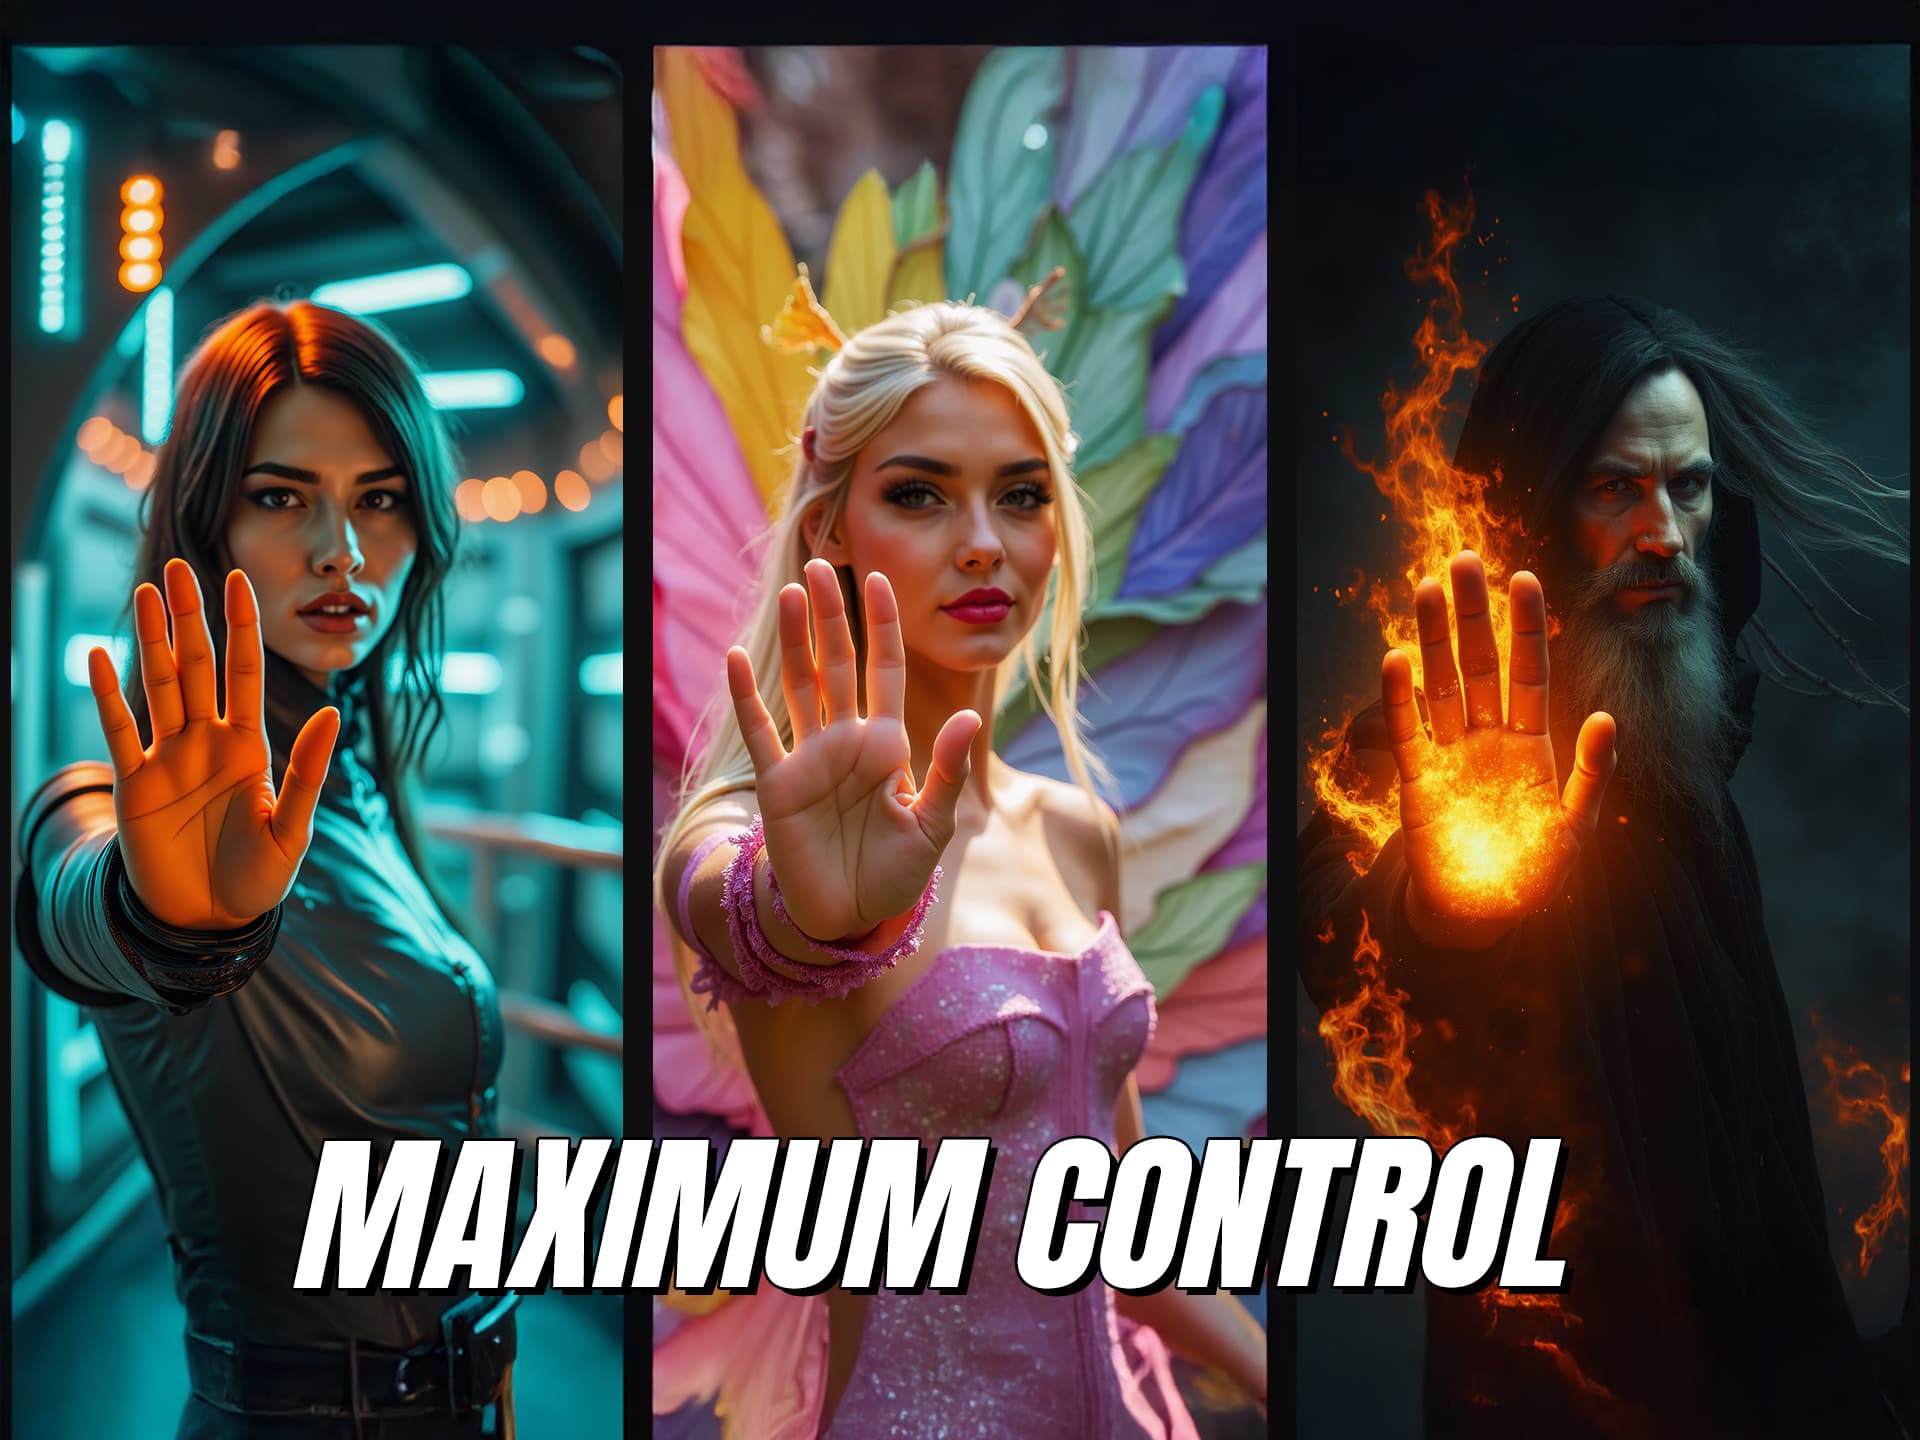
Text to Multi-Image with Flux Ultra, Pro, Dev, Recraft+
326
Input a prompt into multiple image models simultaneously.

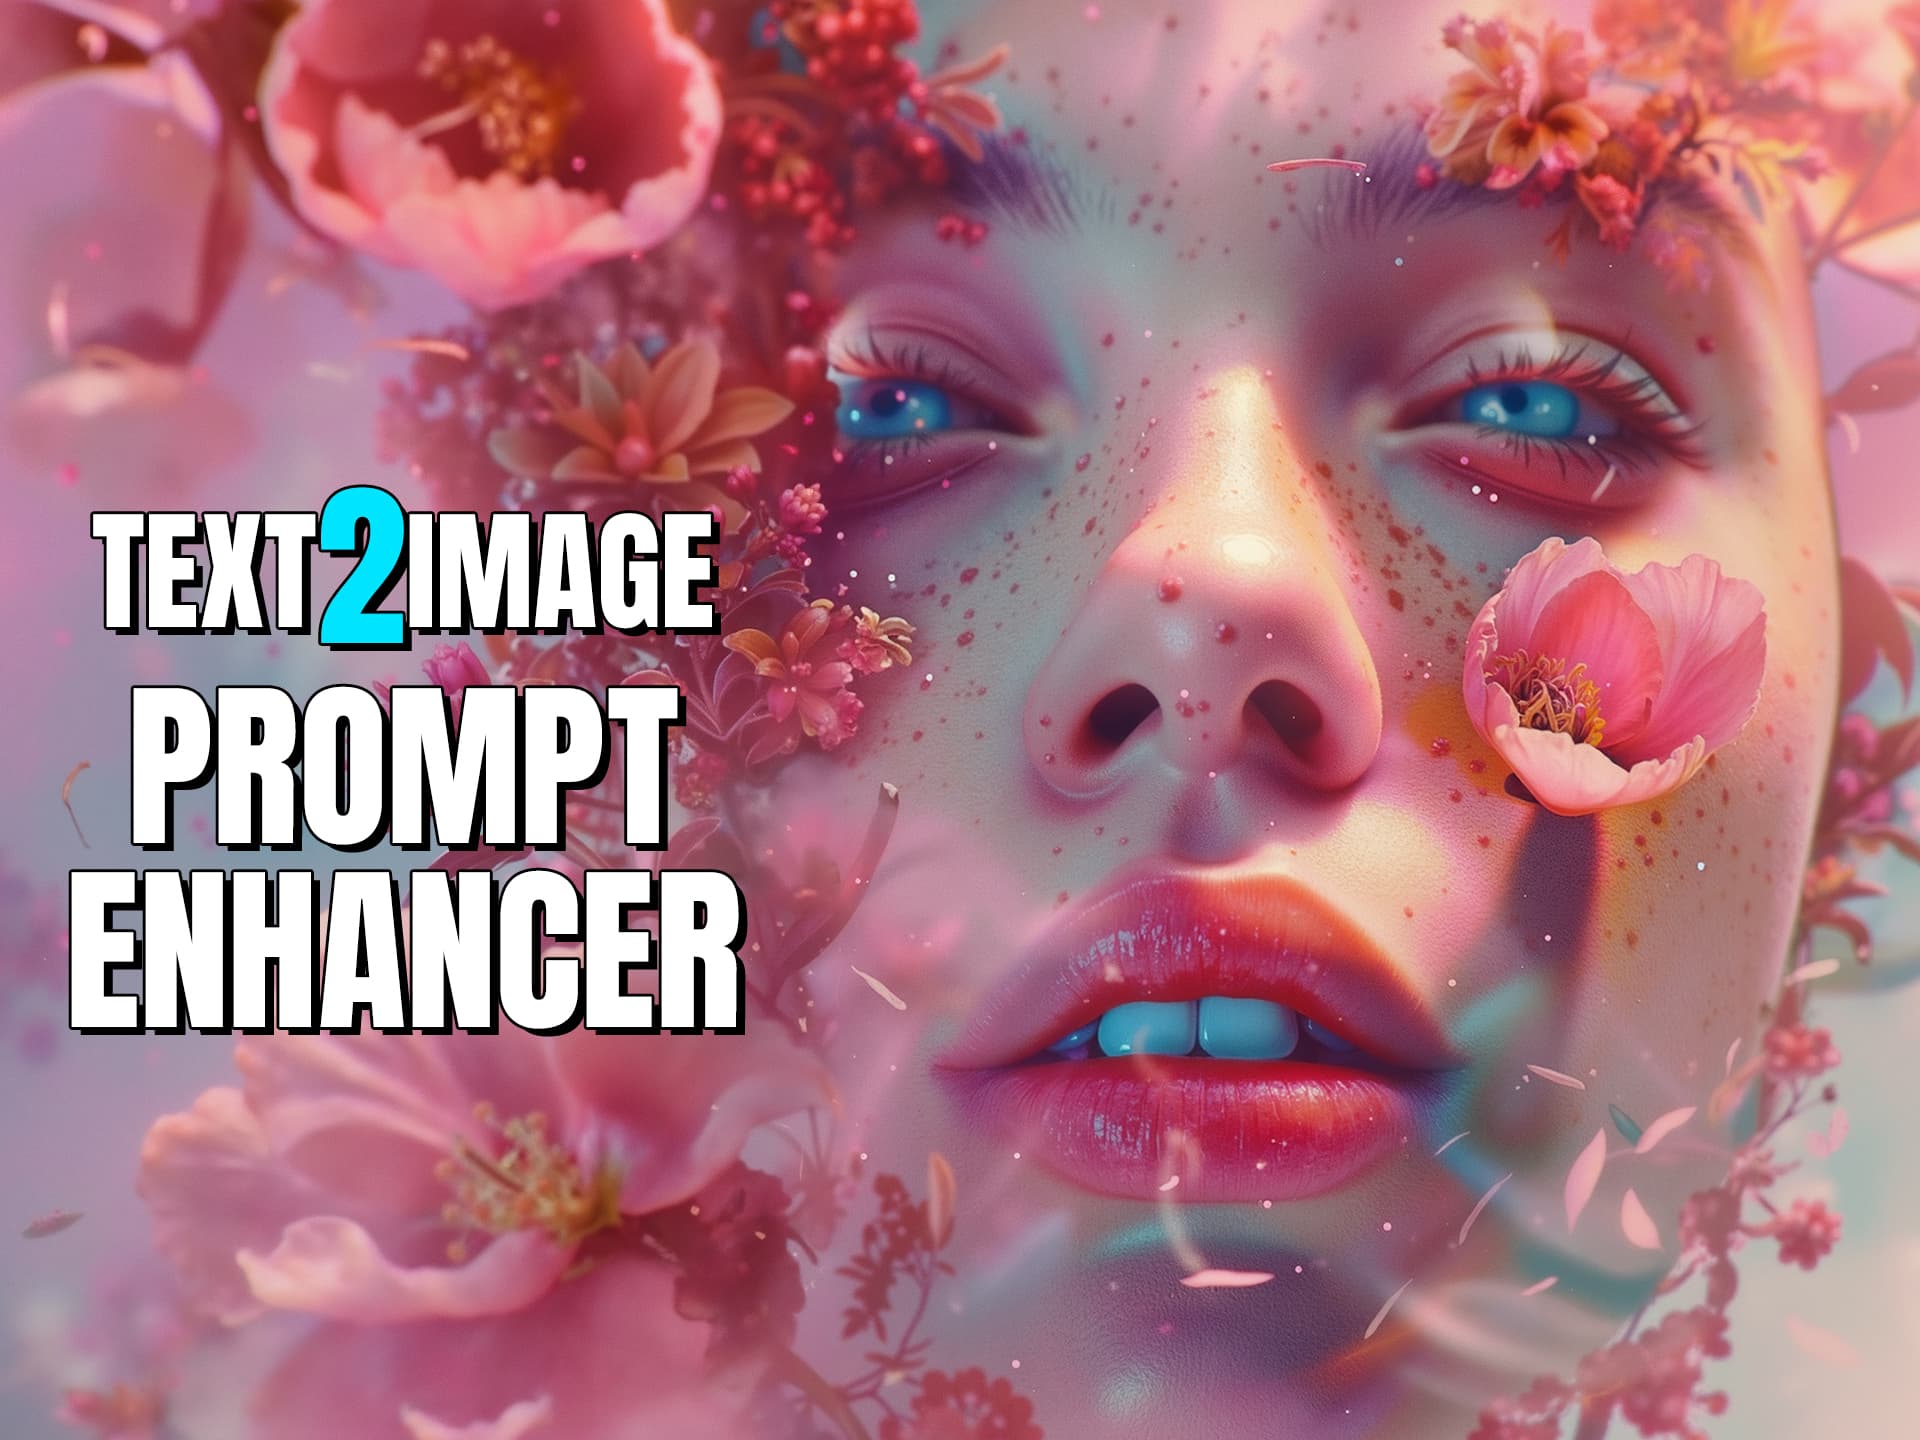
Text2Image + Prompt Enhancer LLM for Flux
253
Use LLMs to elaborate on your prompt and create richer images.
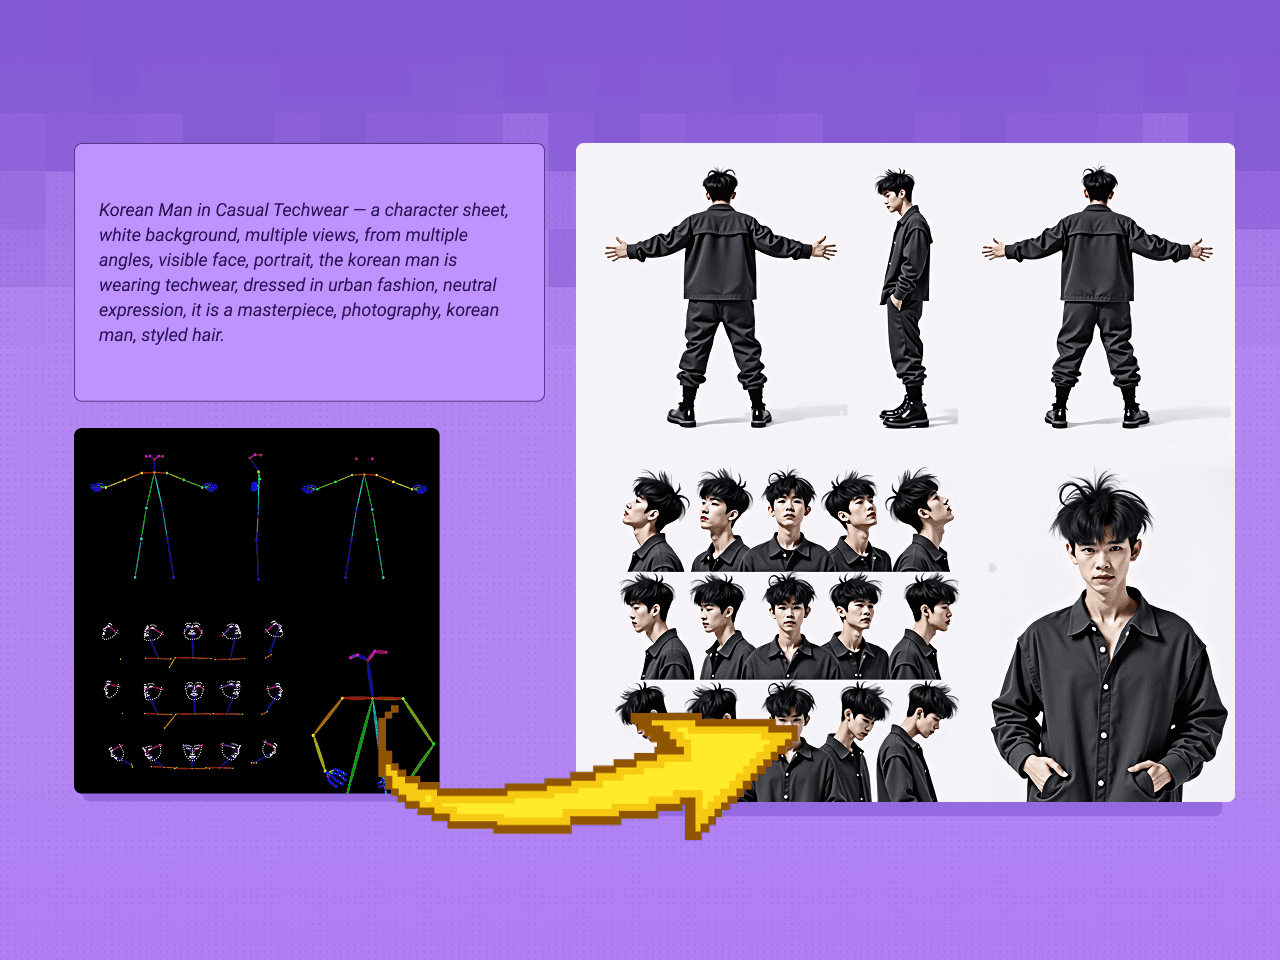
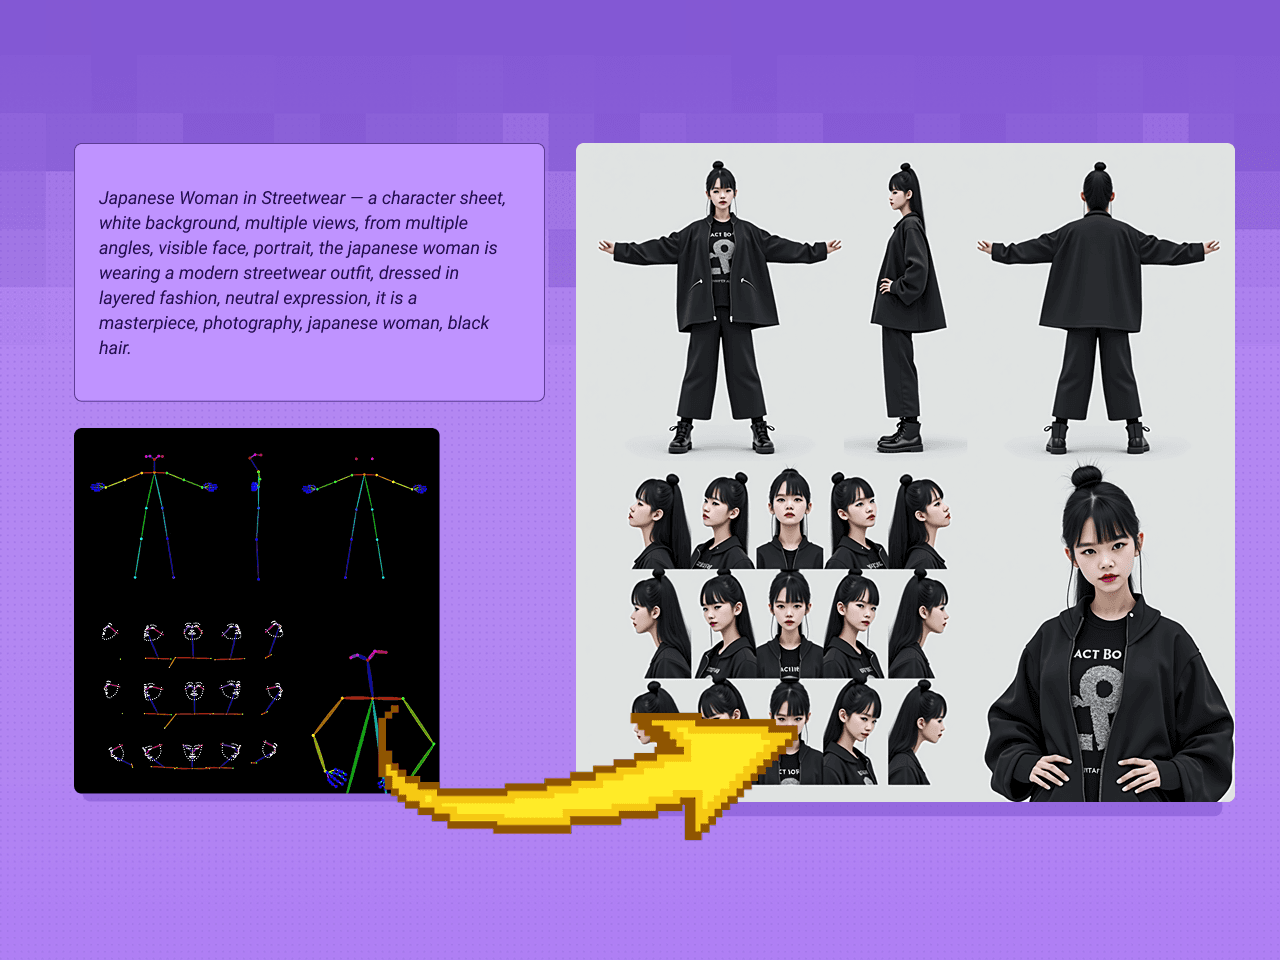
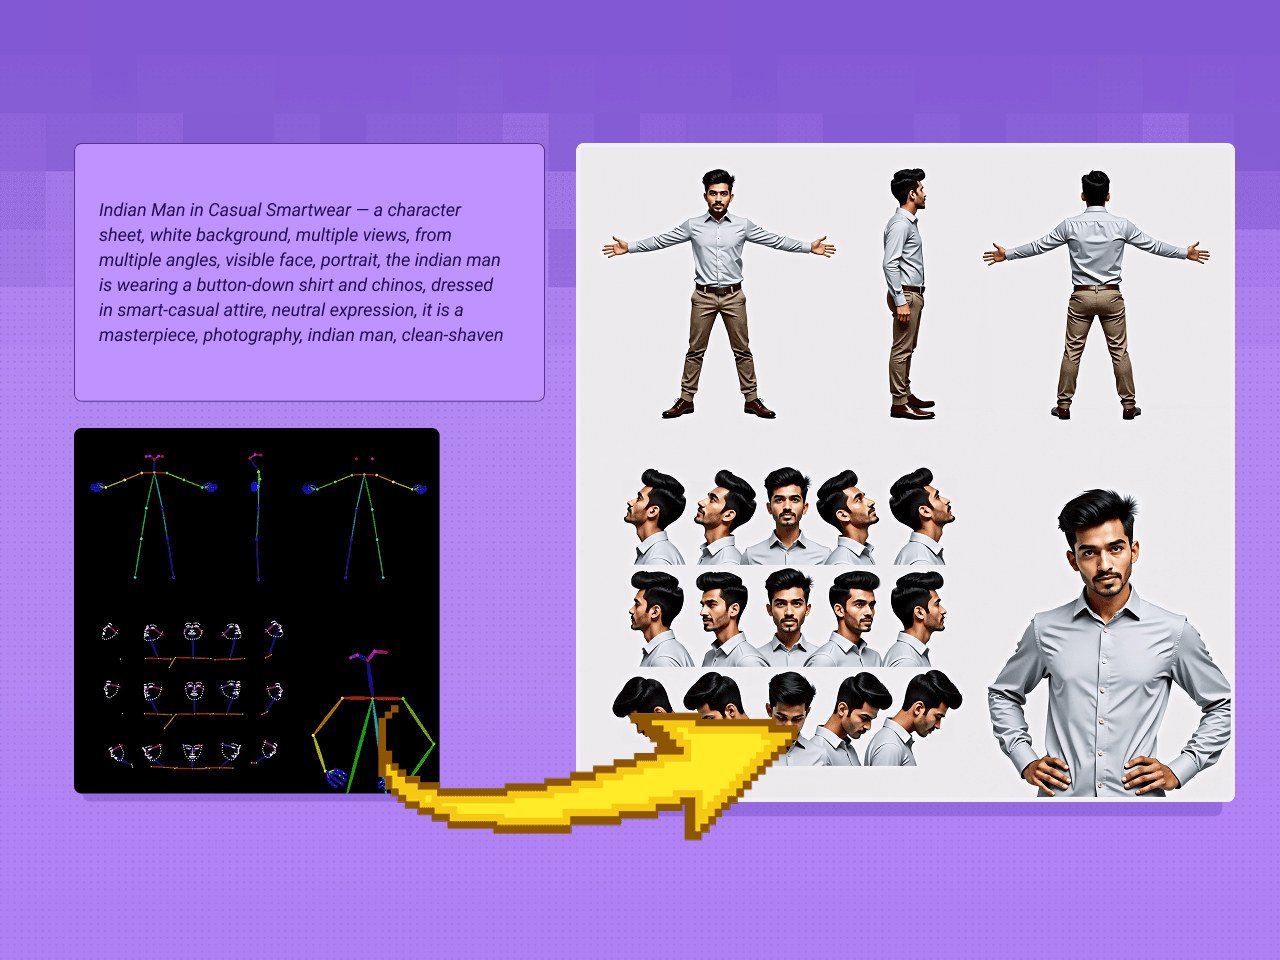
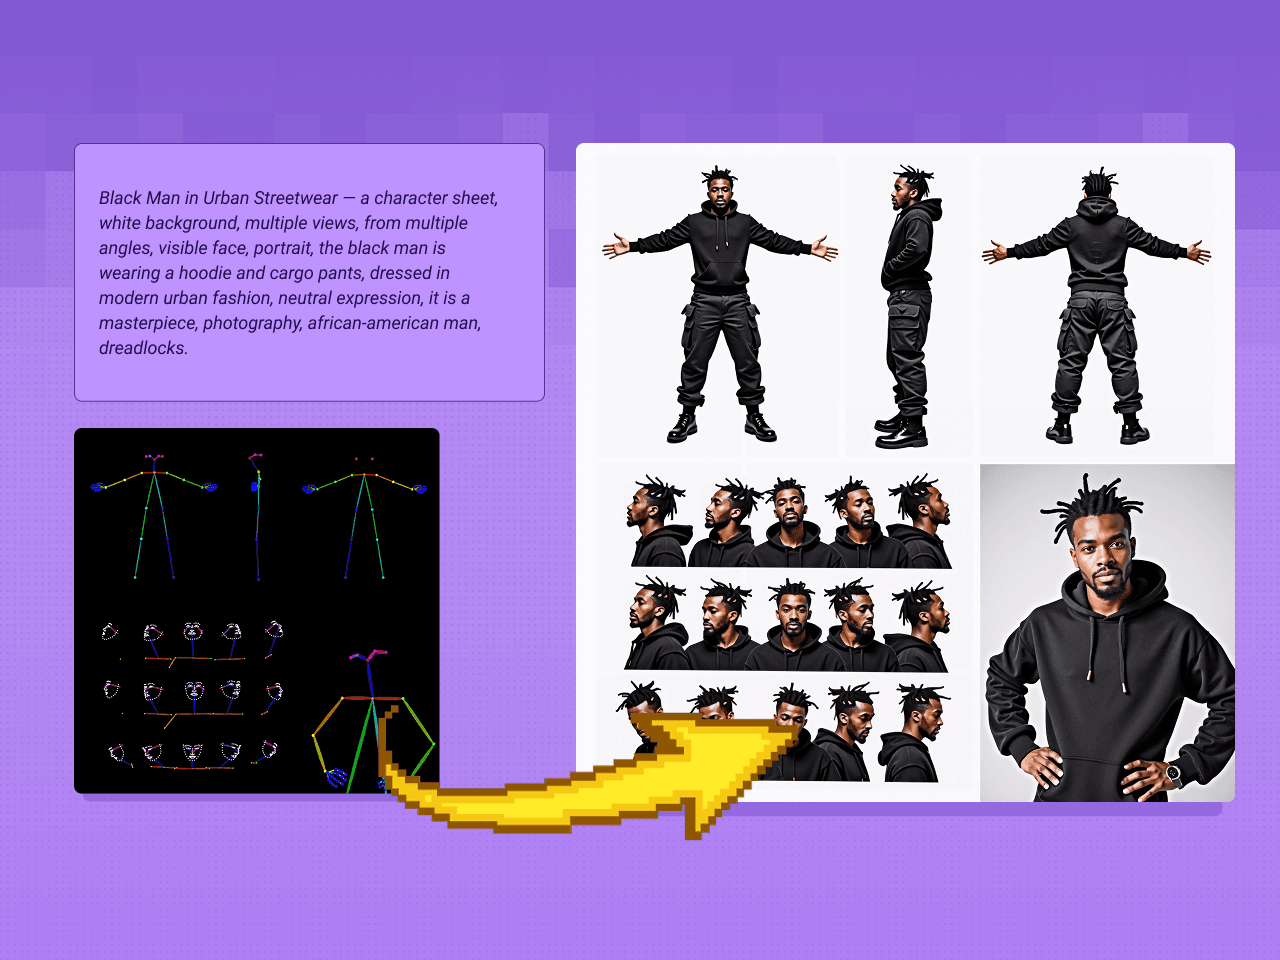
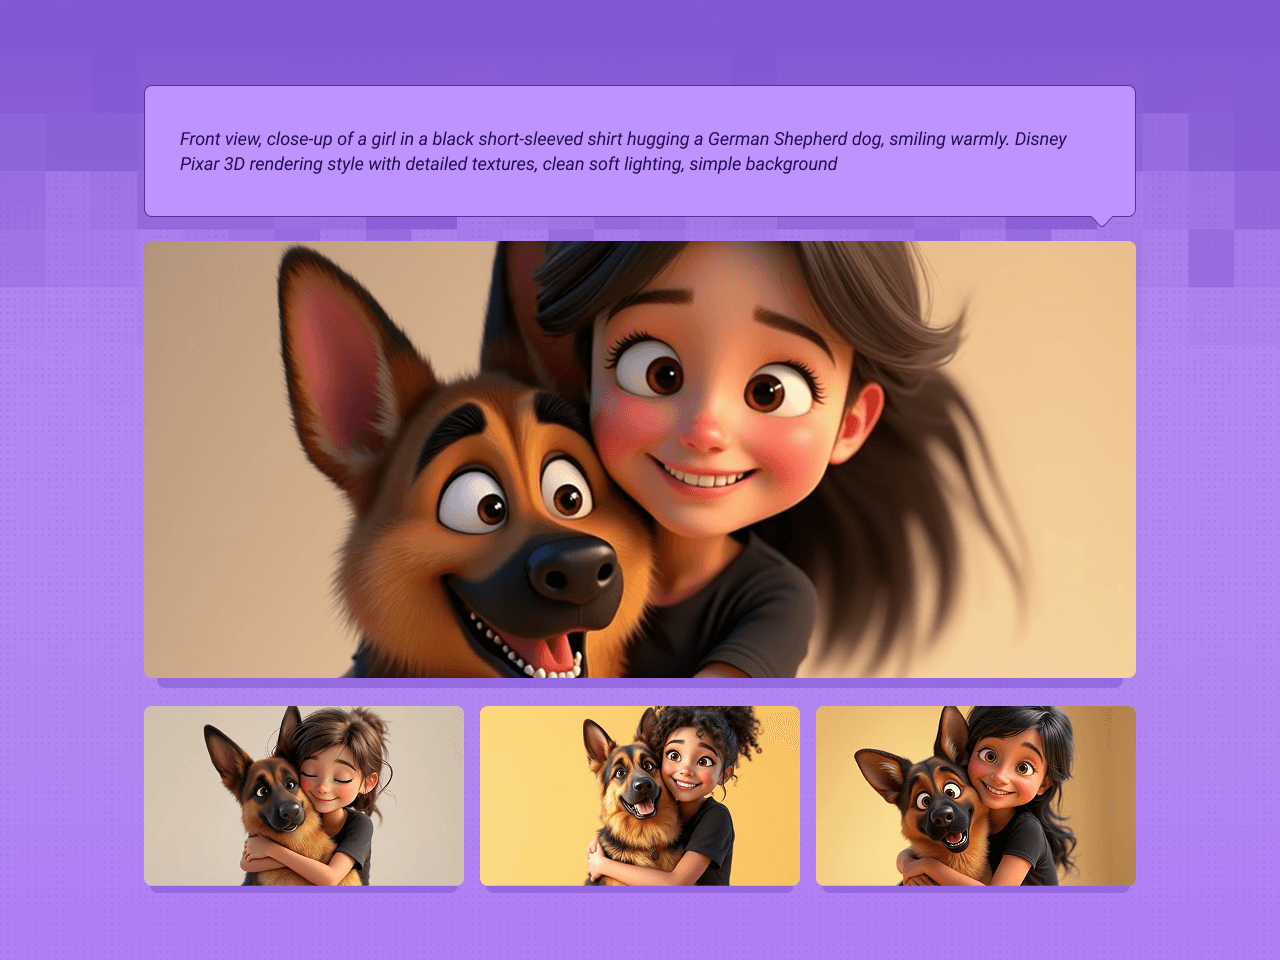
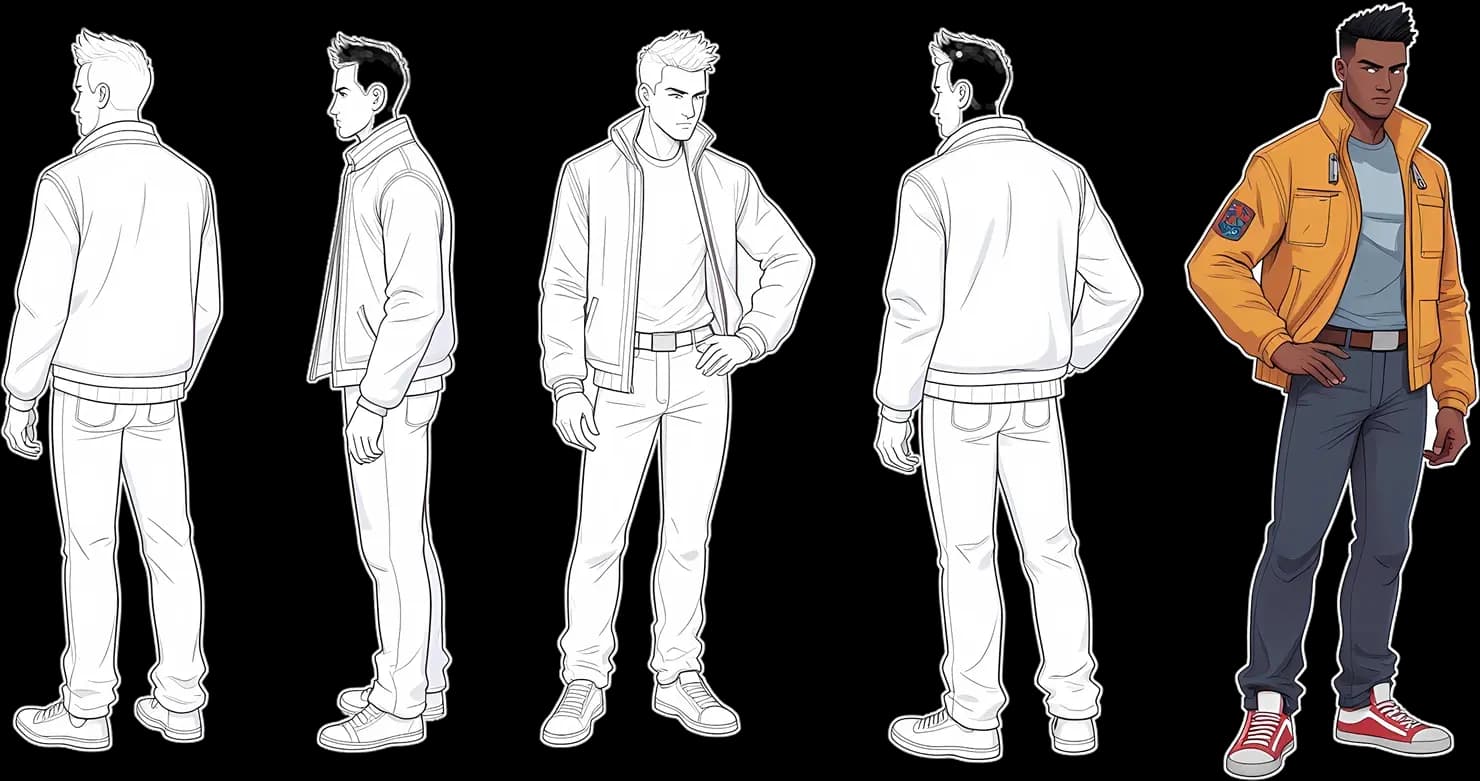
Text to Character Sheet
205
Turn a prompt description directly into a character sheet.
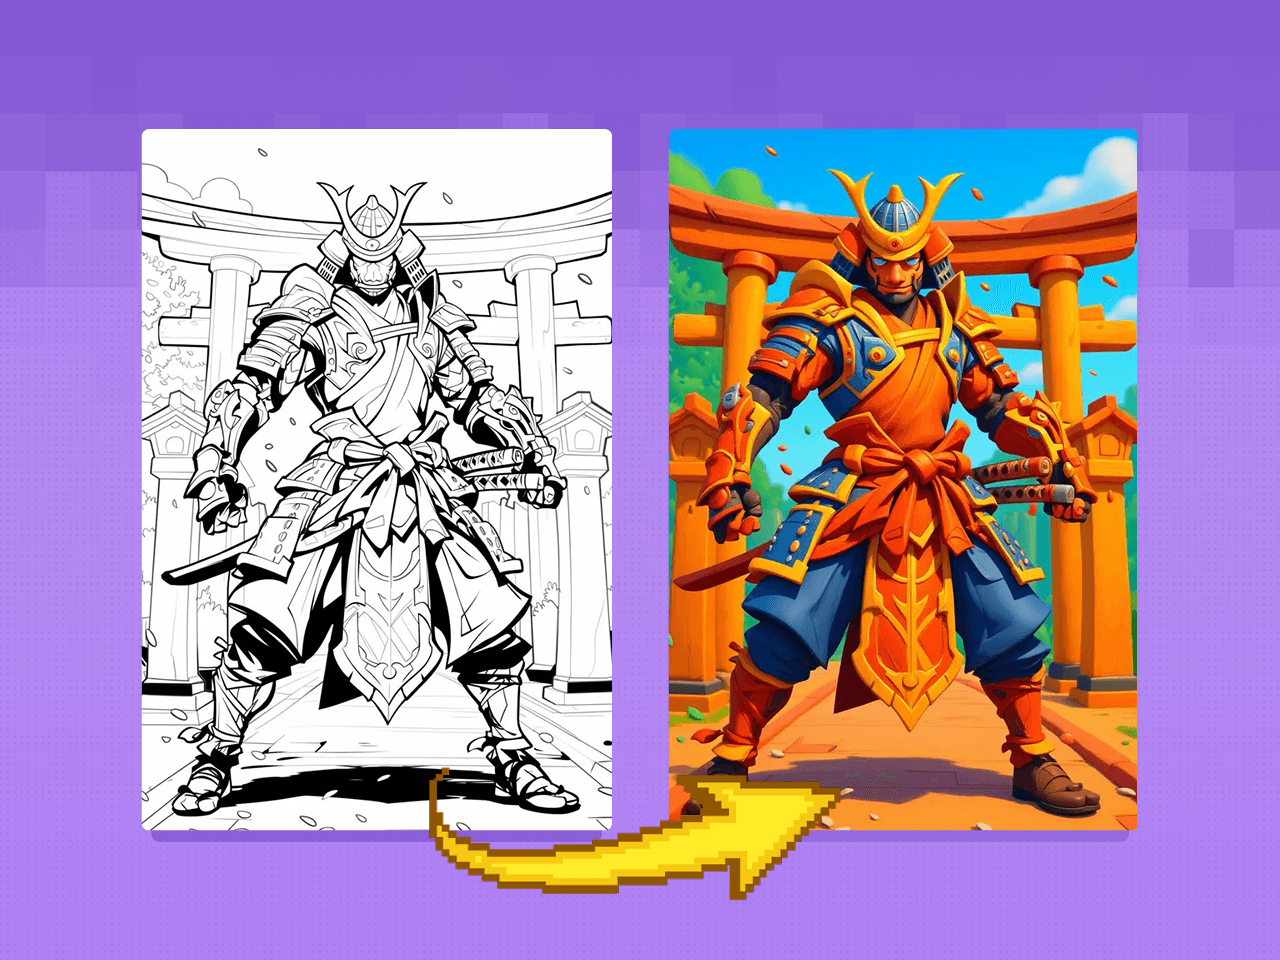

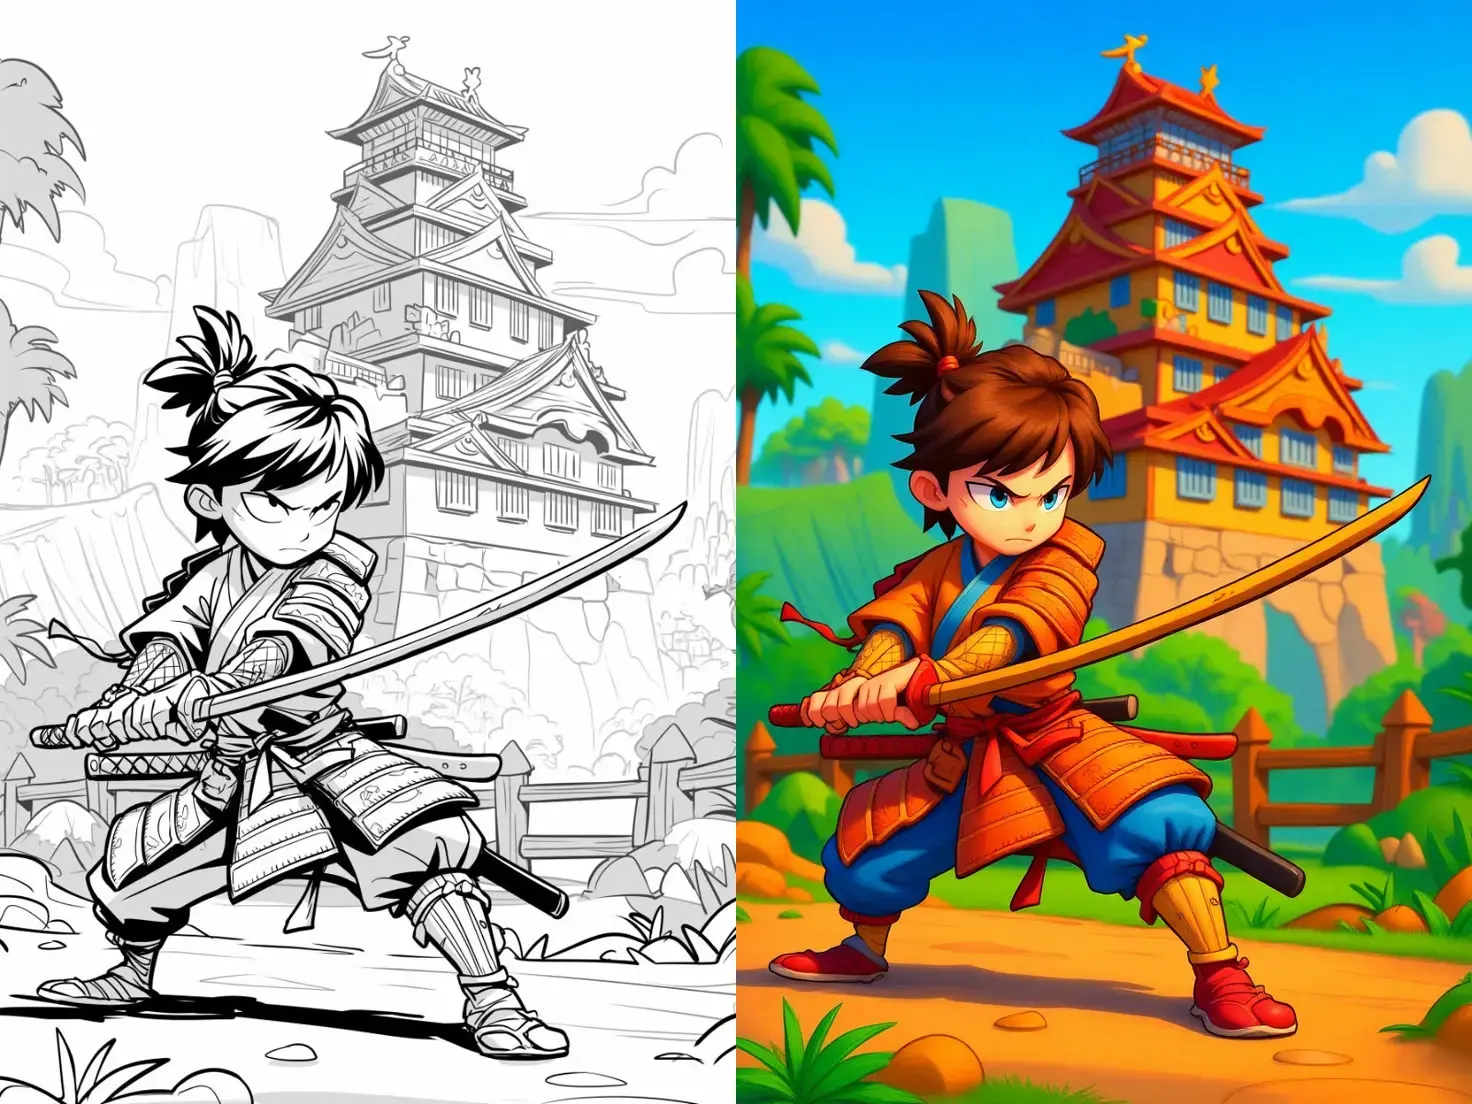
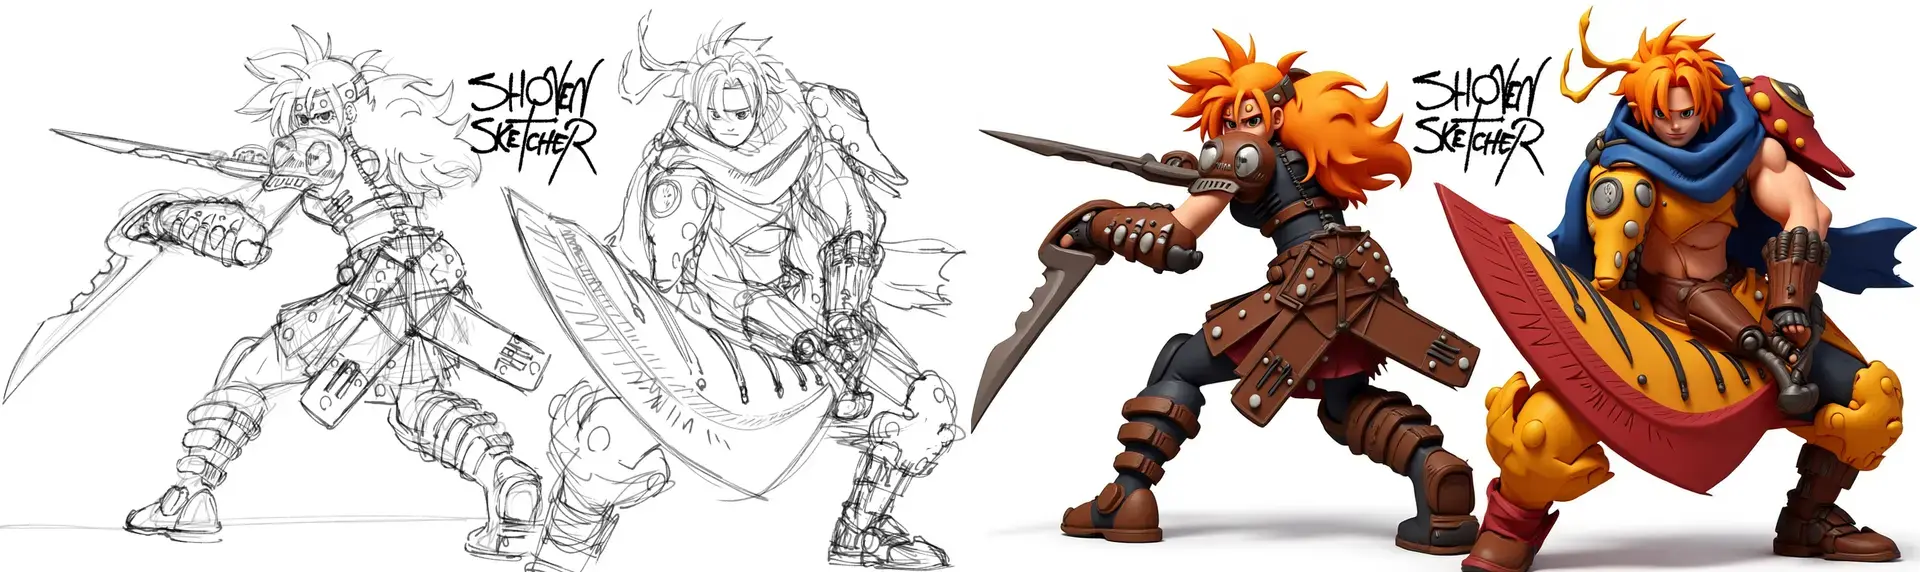
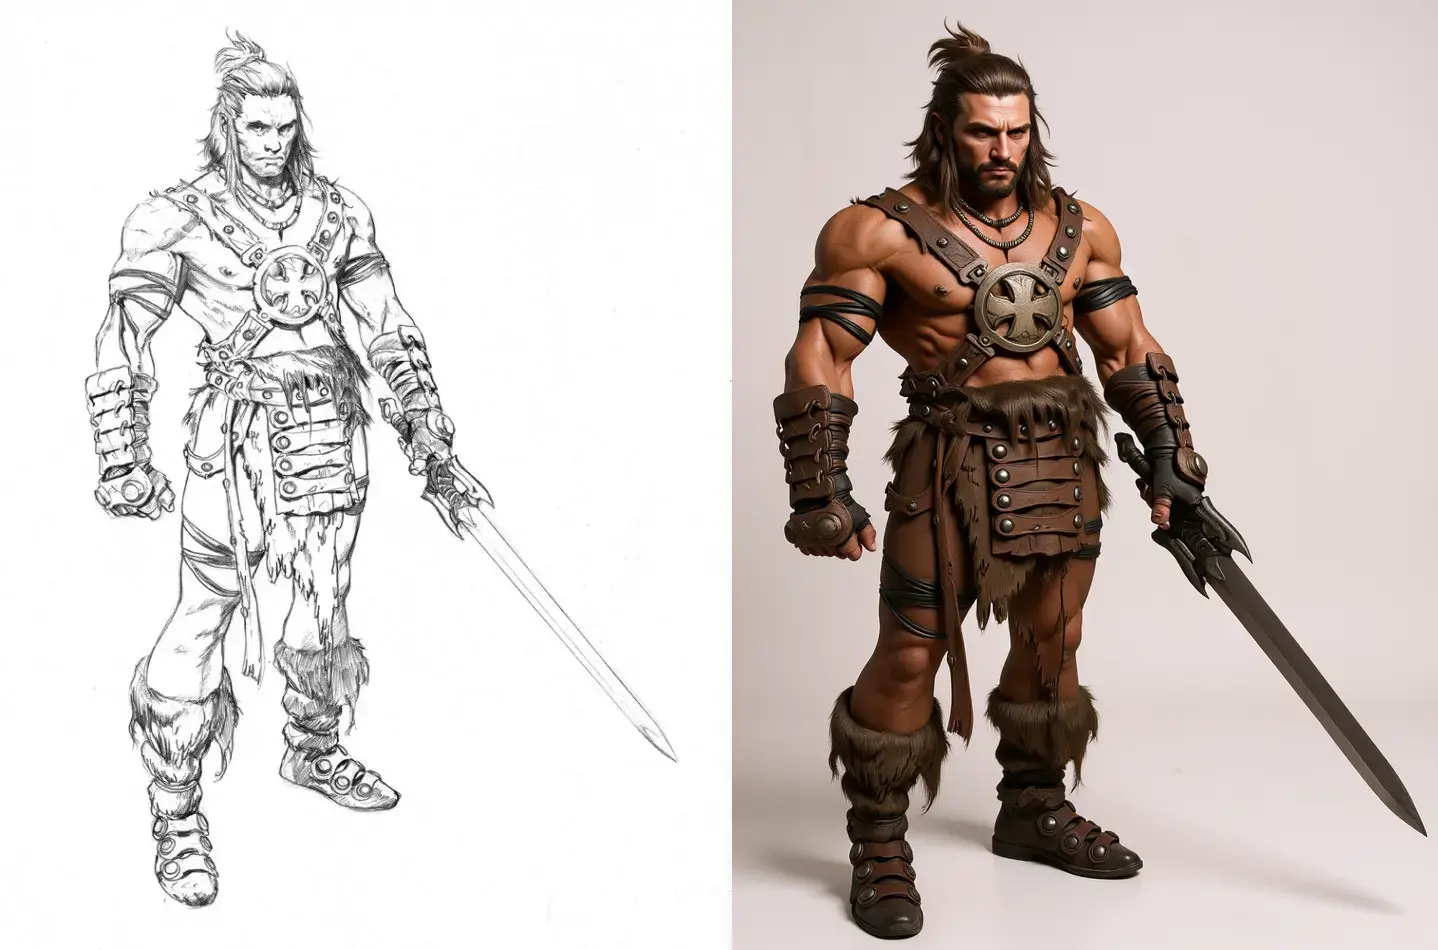
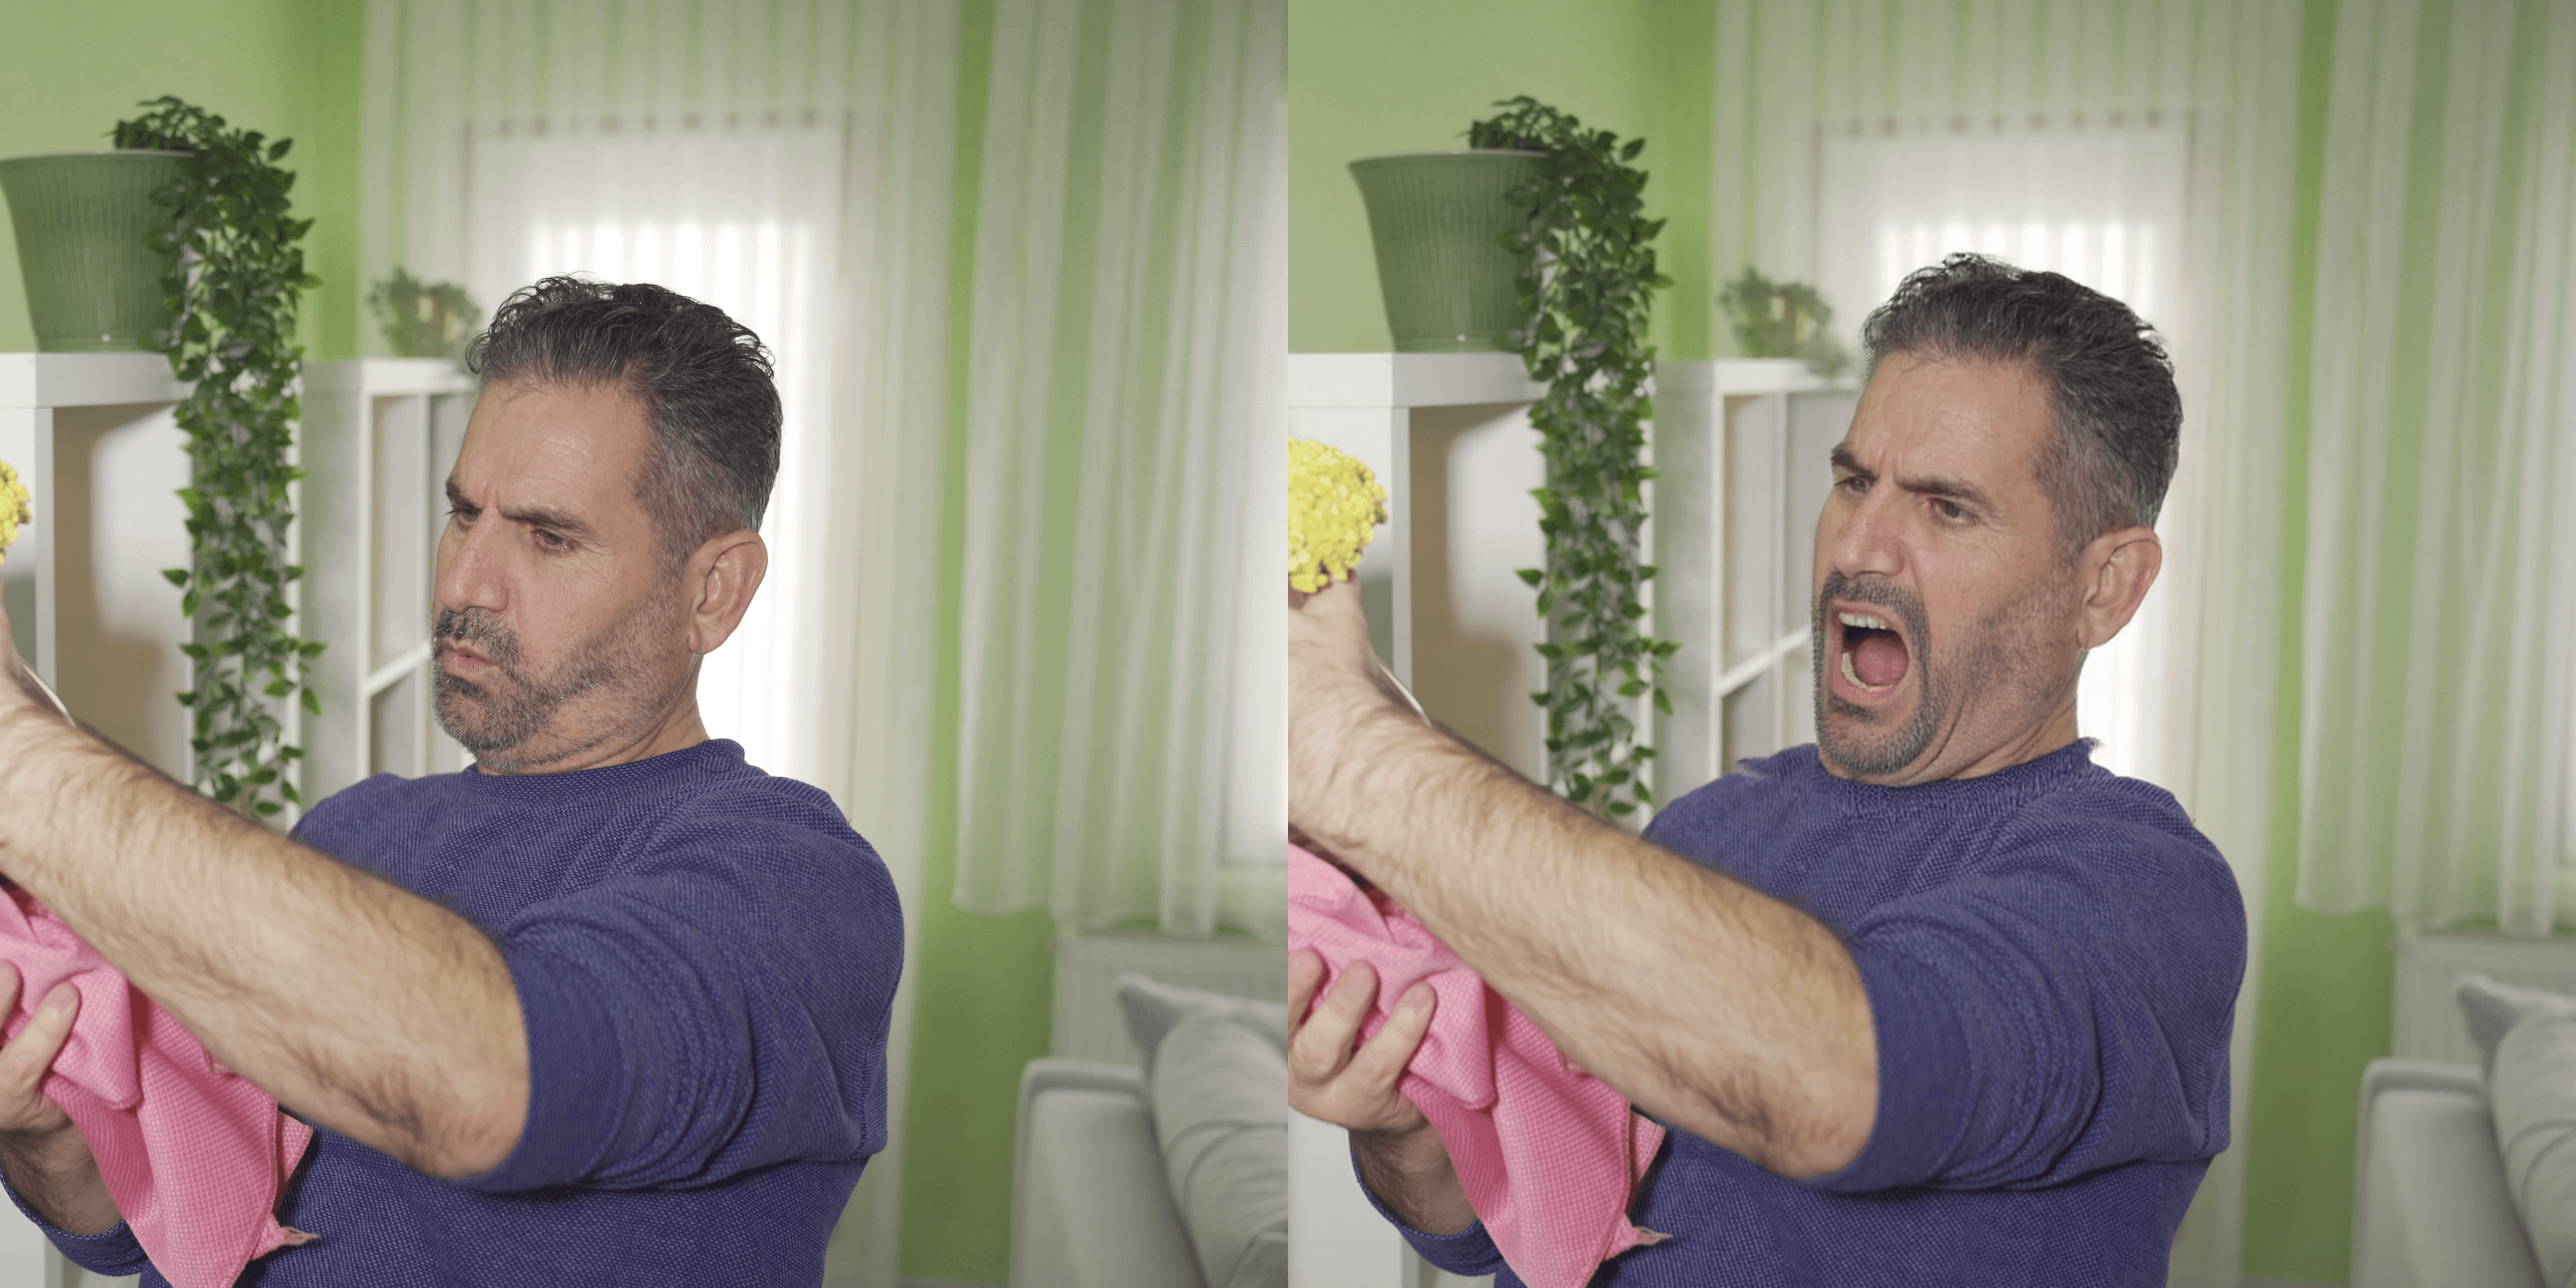
Flux Kontext - Sketch to Image
481
Turn your sketches into images of any style.
_1753781834082.png&w=3840&q=75)
_1753781837999.png&w=3840&q=75)
_1753782124513.png&w=3840&q=75)
_1753782151192.png&w=3840&q=75)
Flux Kontext - Quick & Easy
328
Modify an existing image.
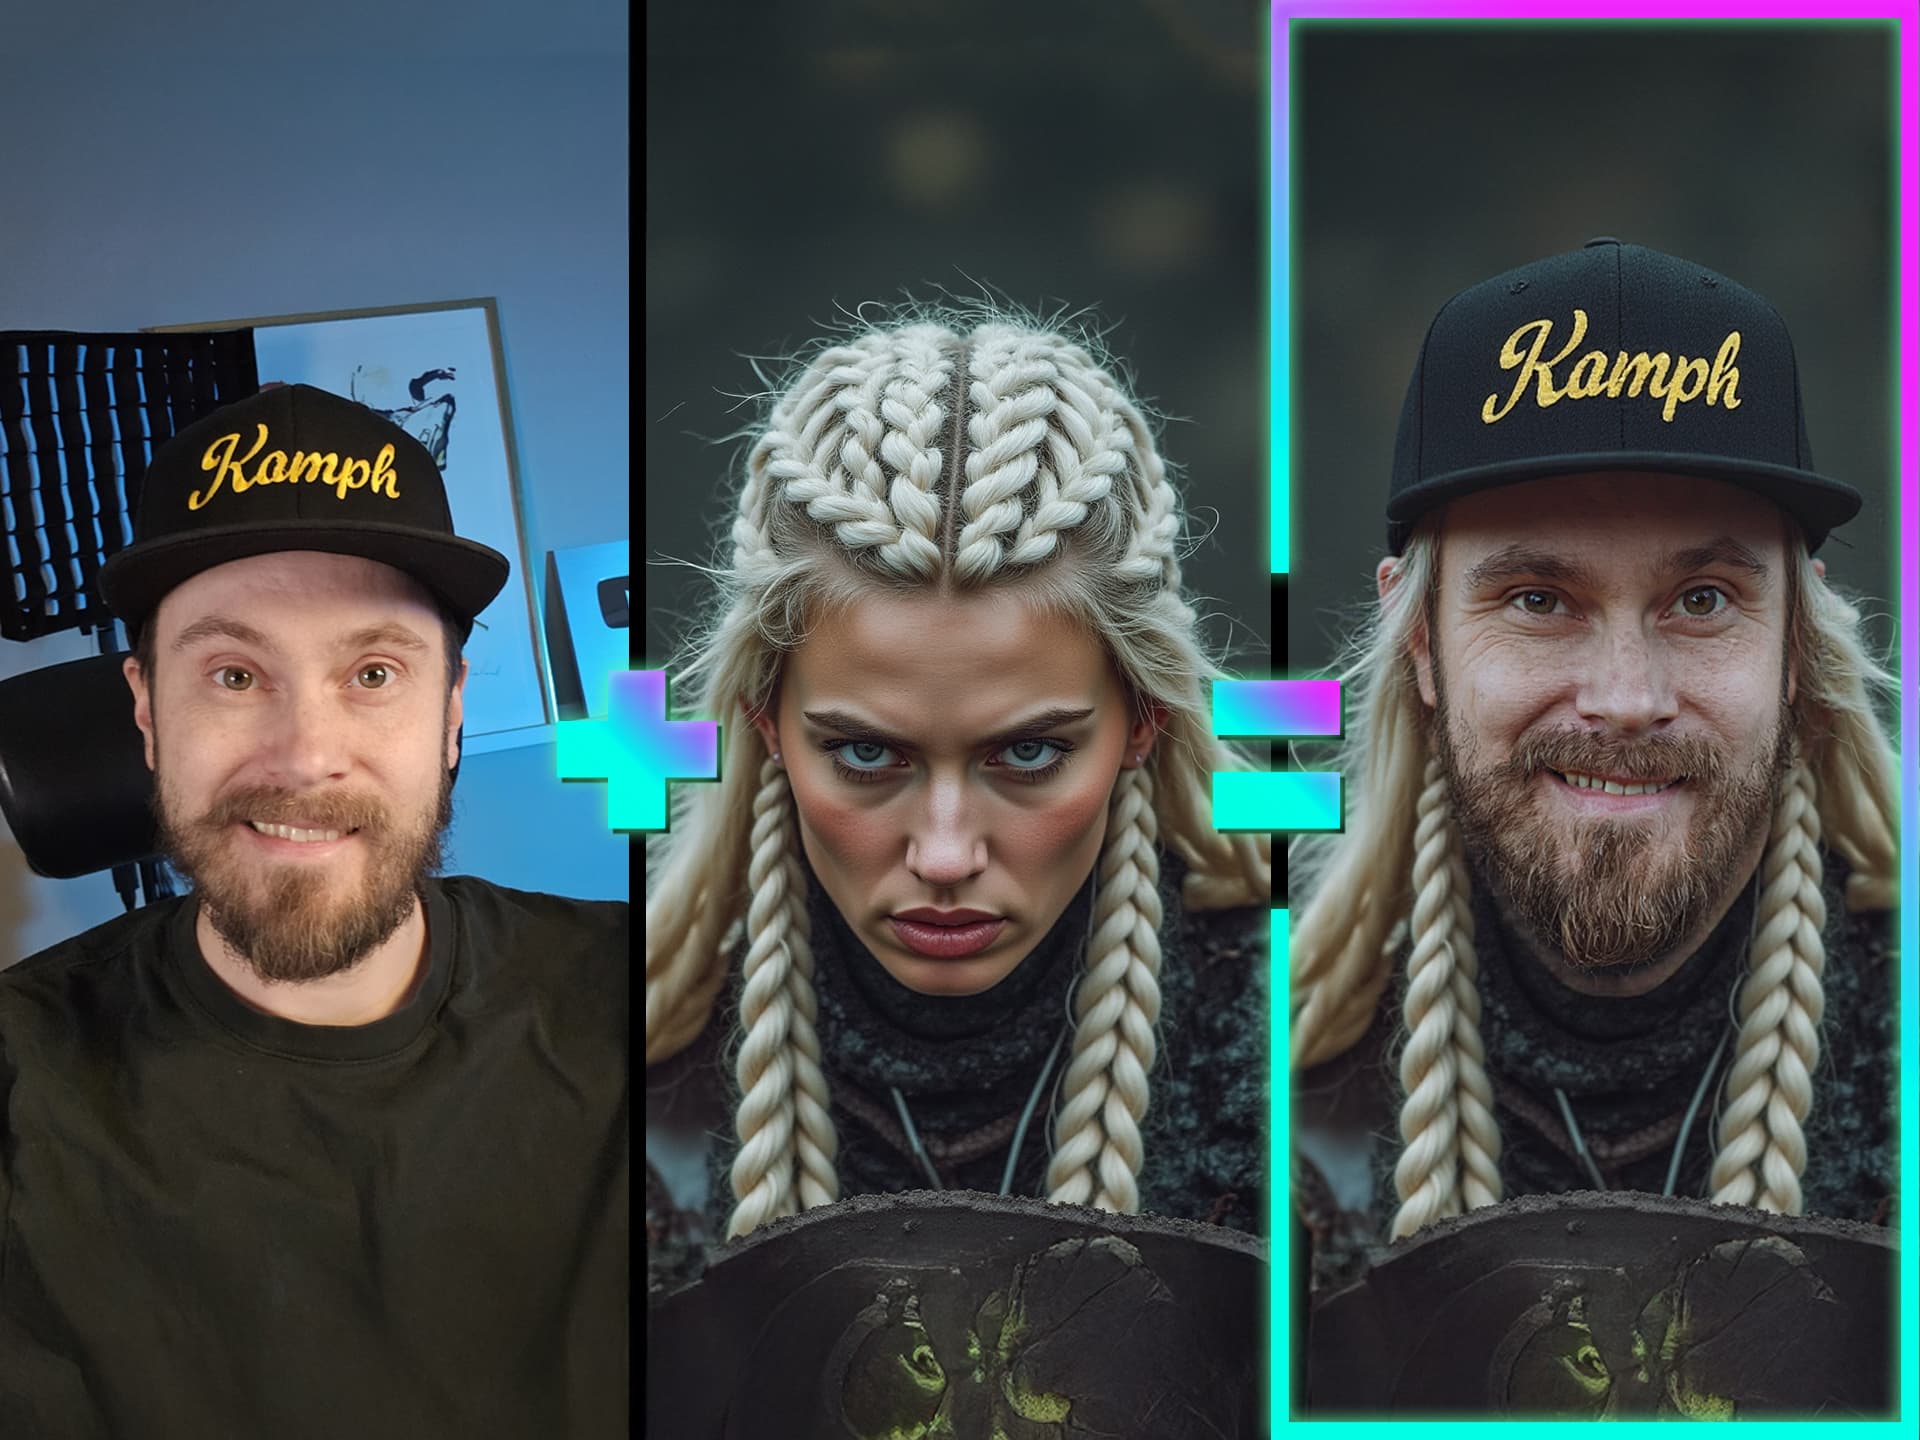


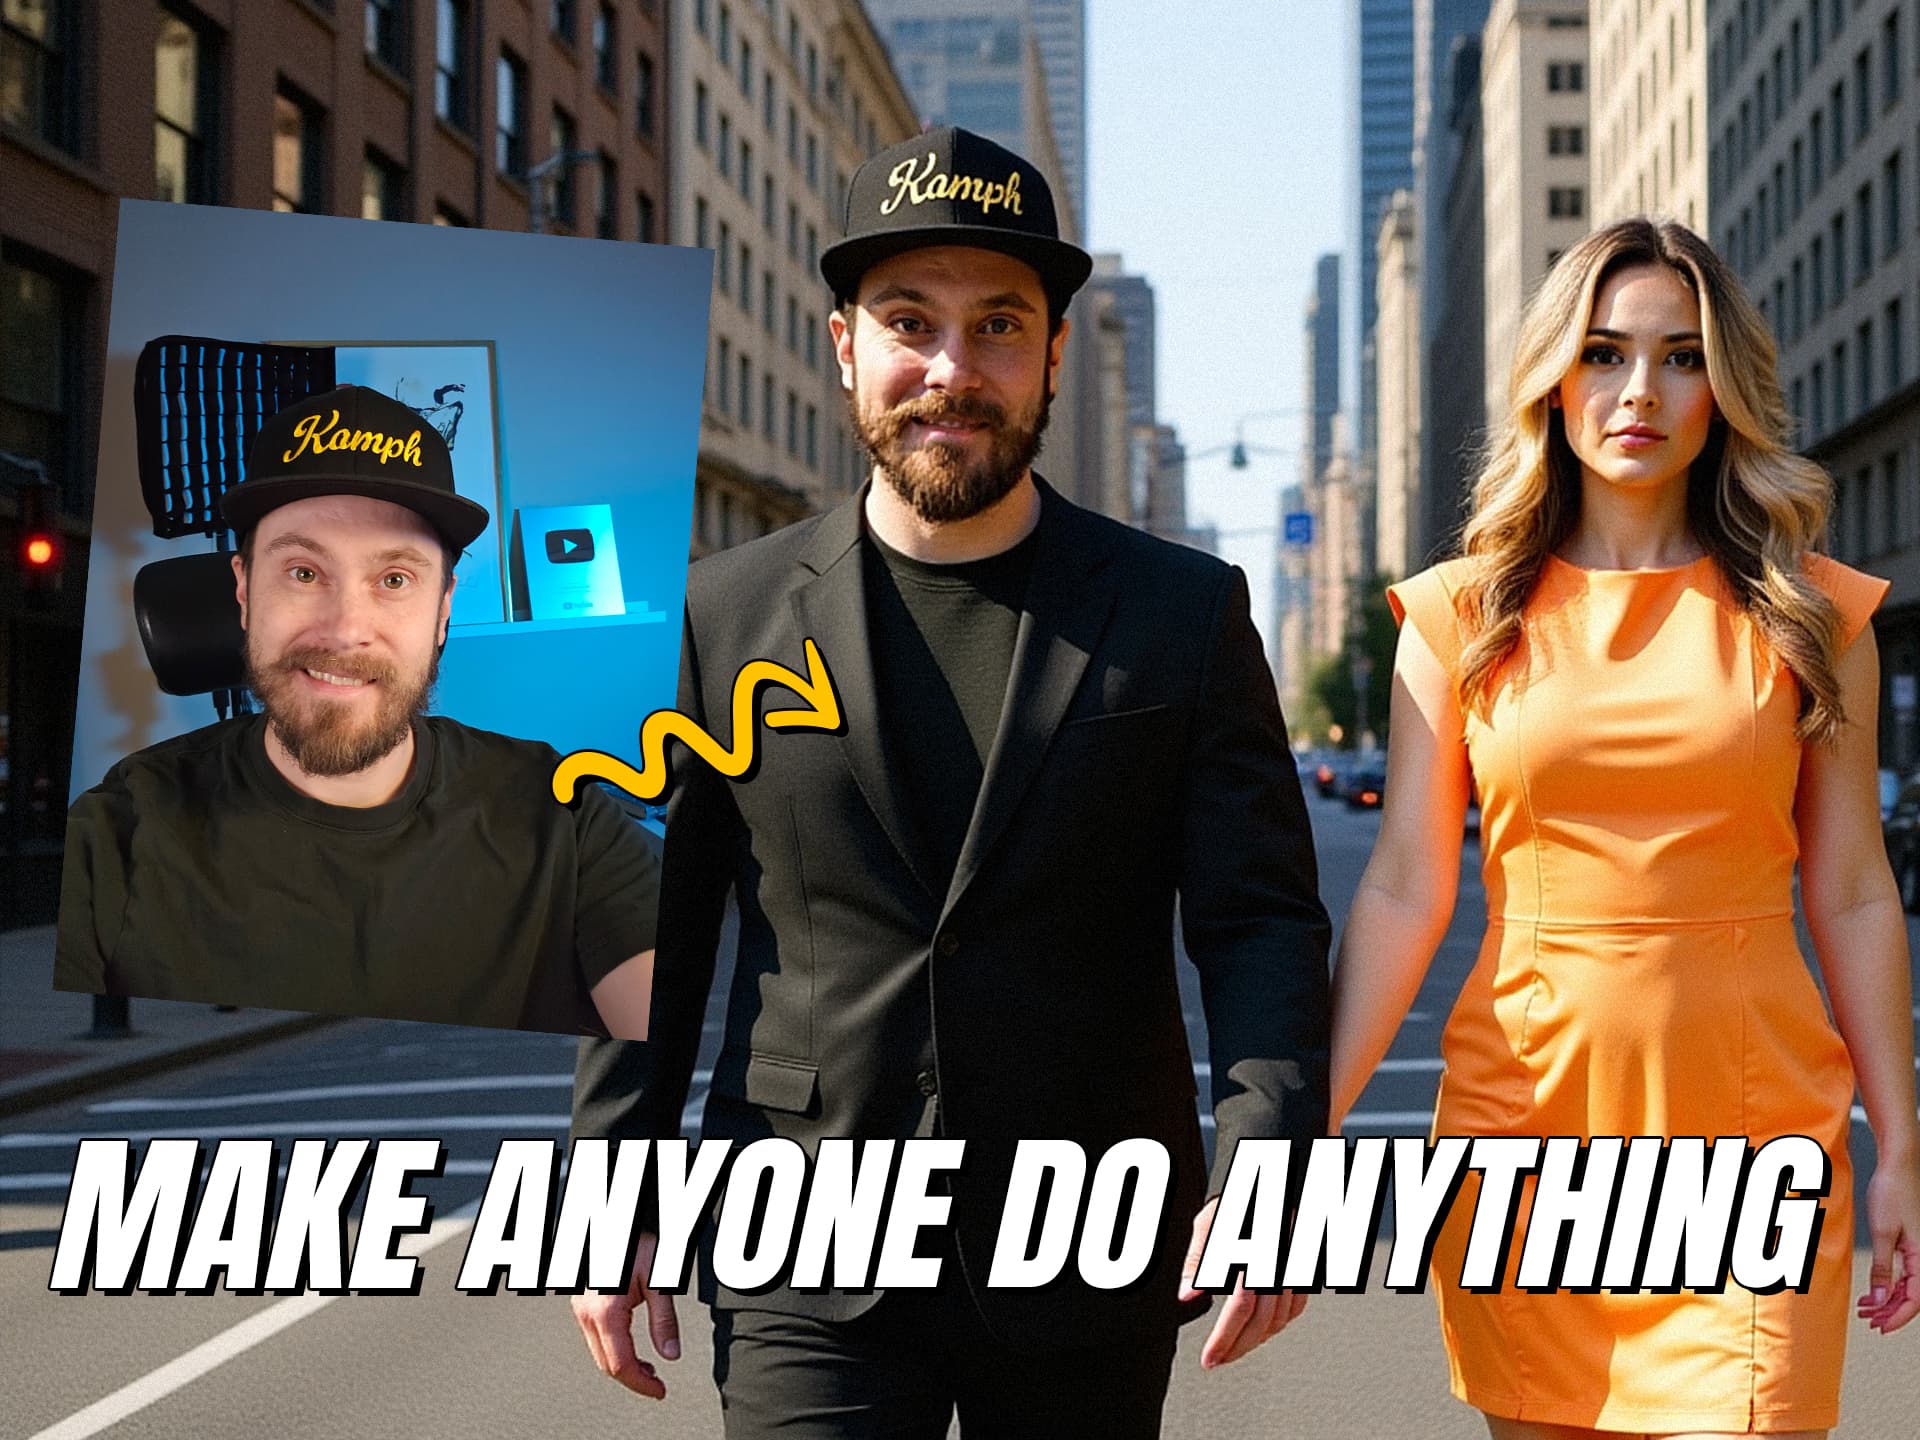
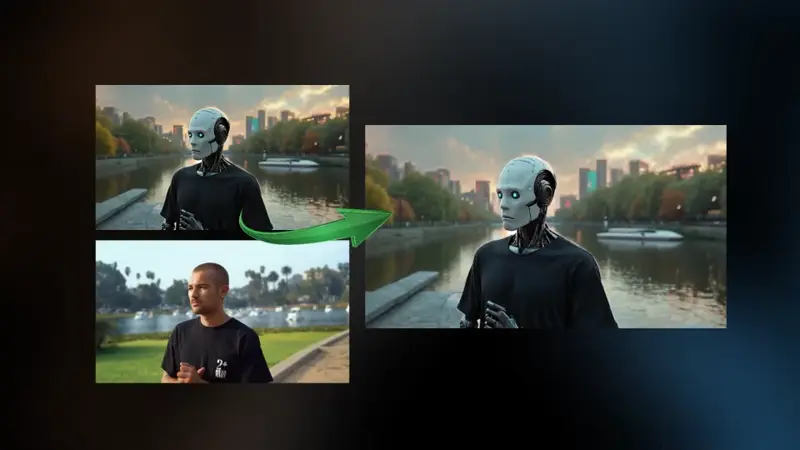
SMART FACE SWAPPER - Ace++ Flux Face swap
230
Add a specific face to any image.


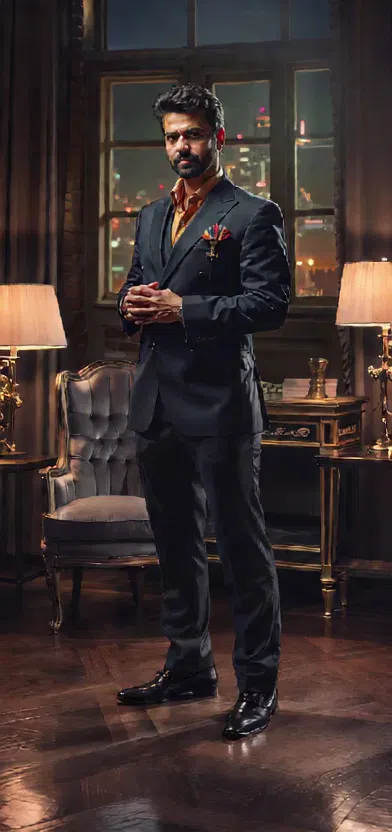

Image to Character Spin
283
Output a turntable video of a still image for pre-viz.
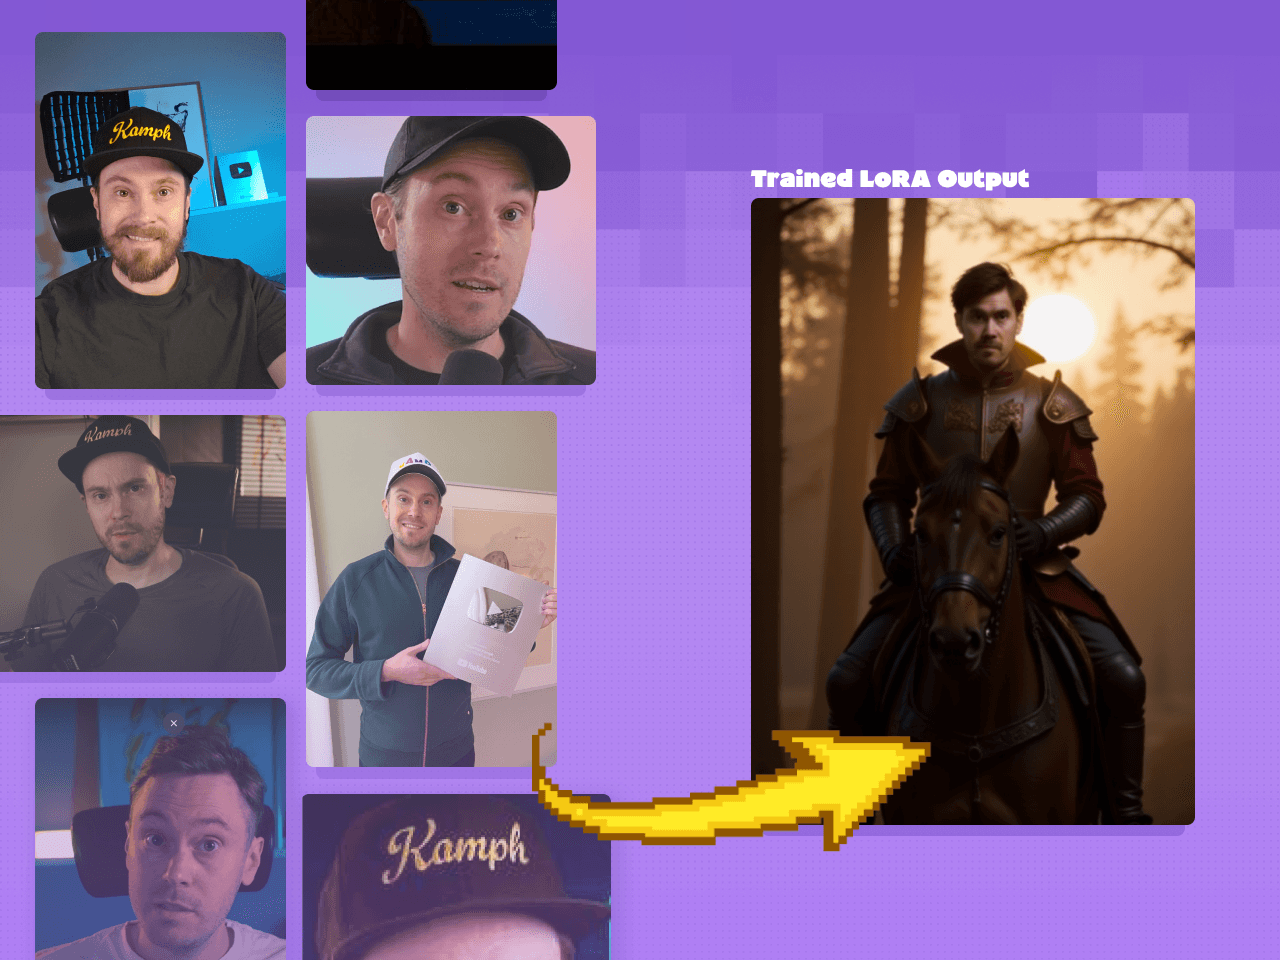
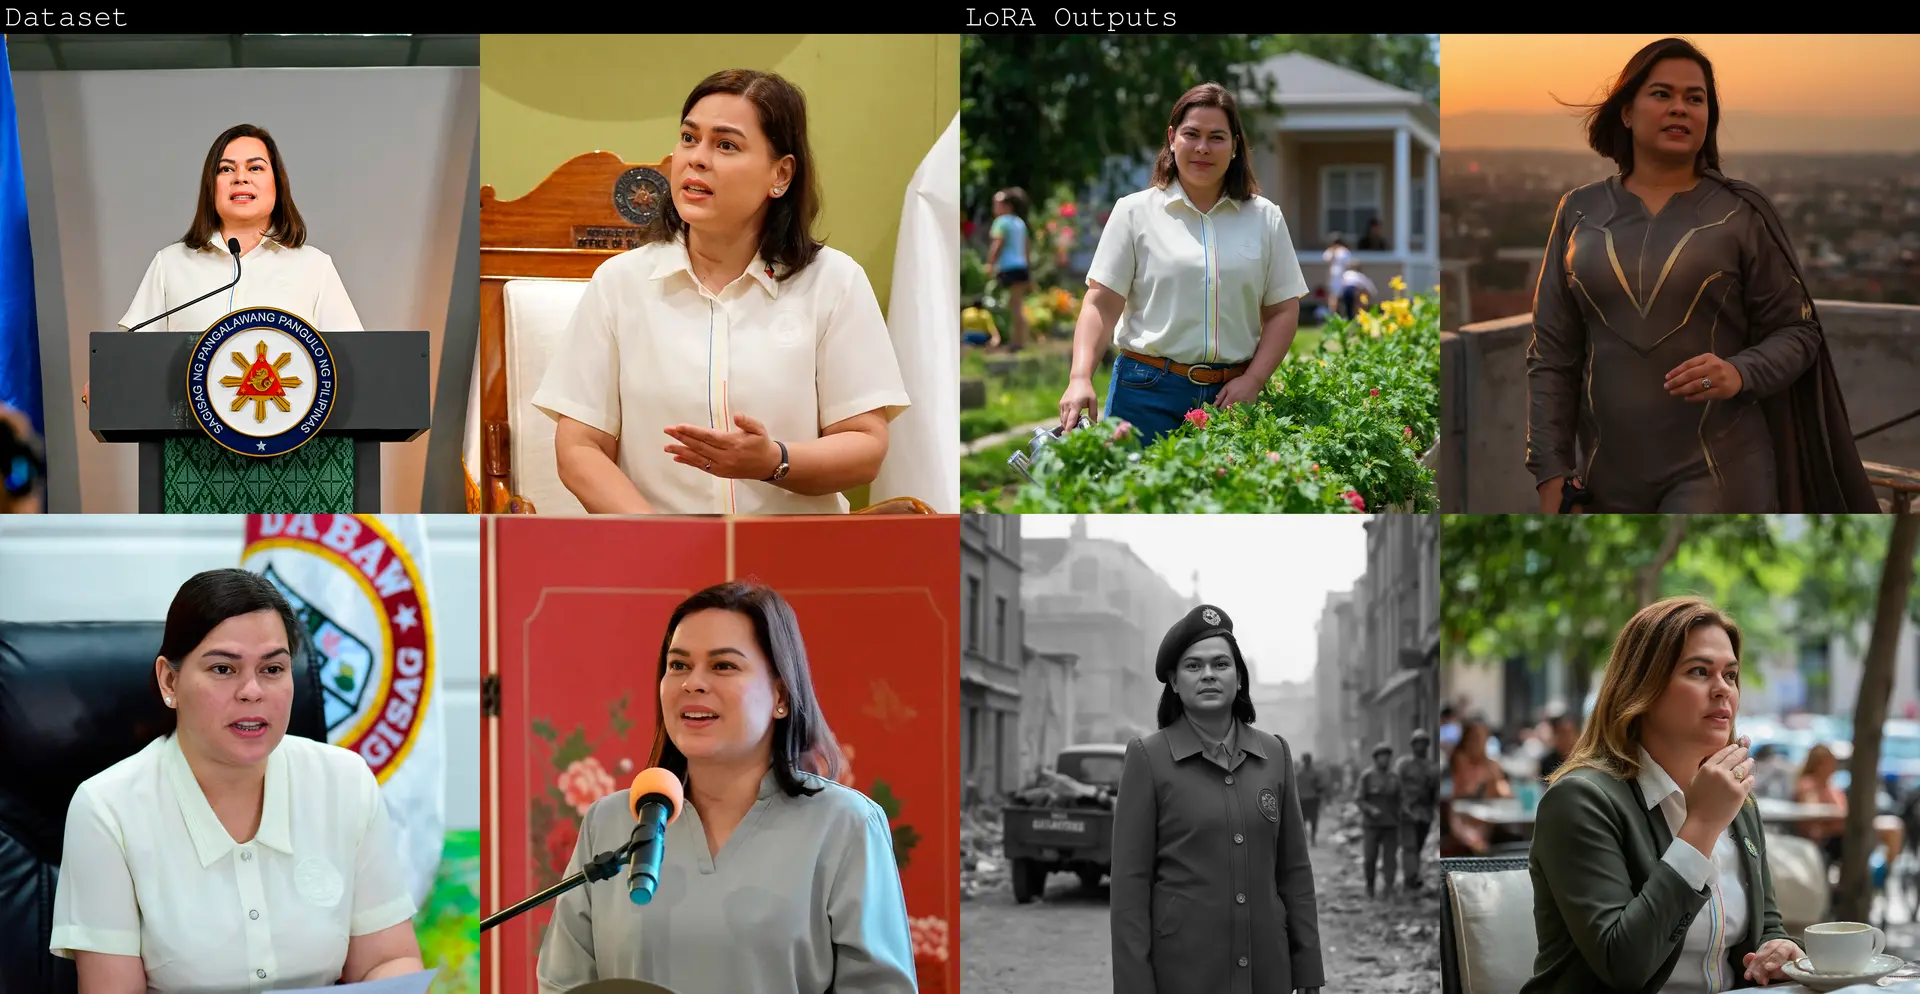
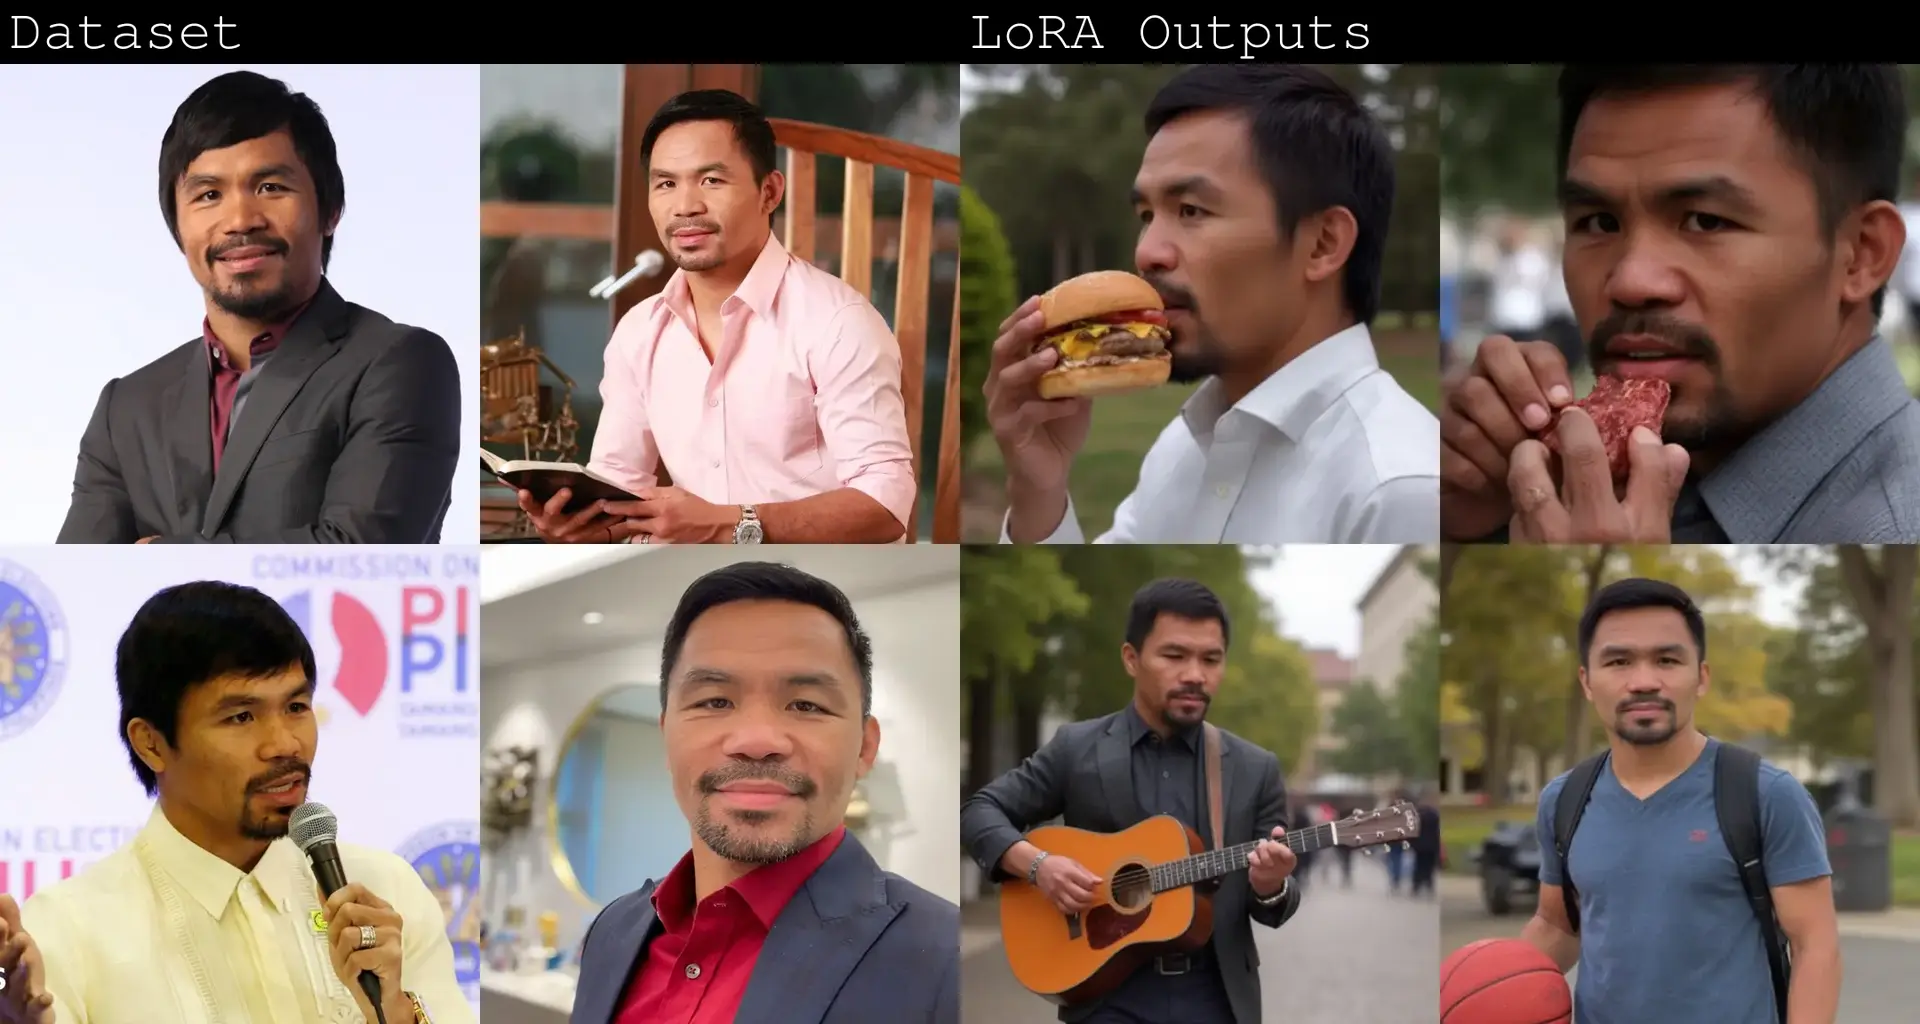
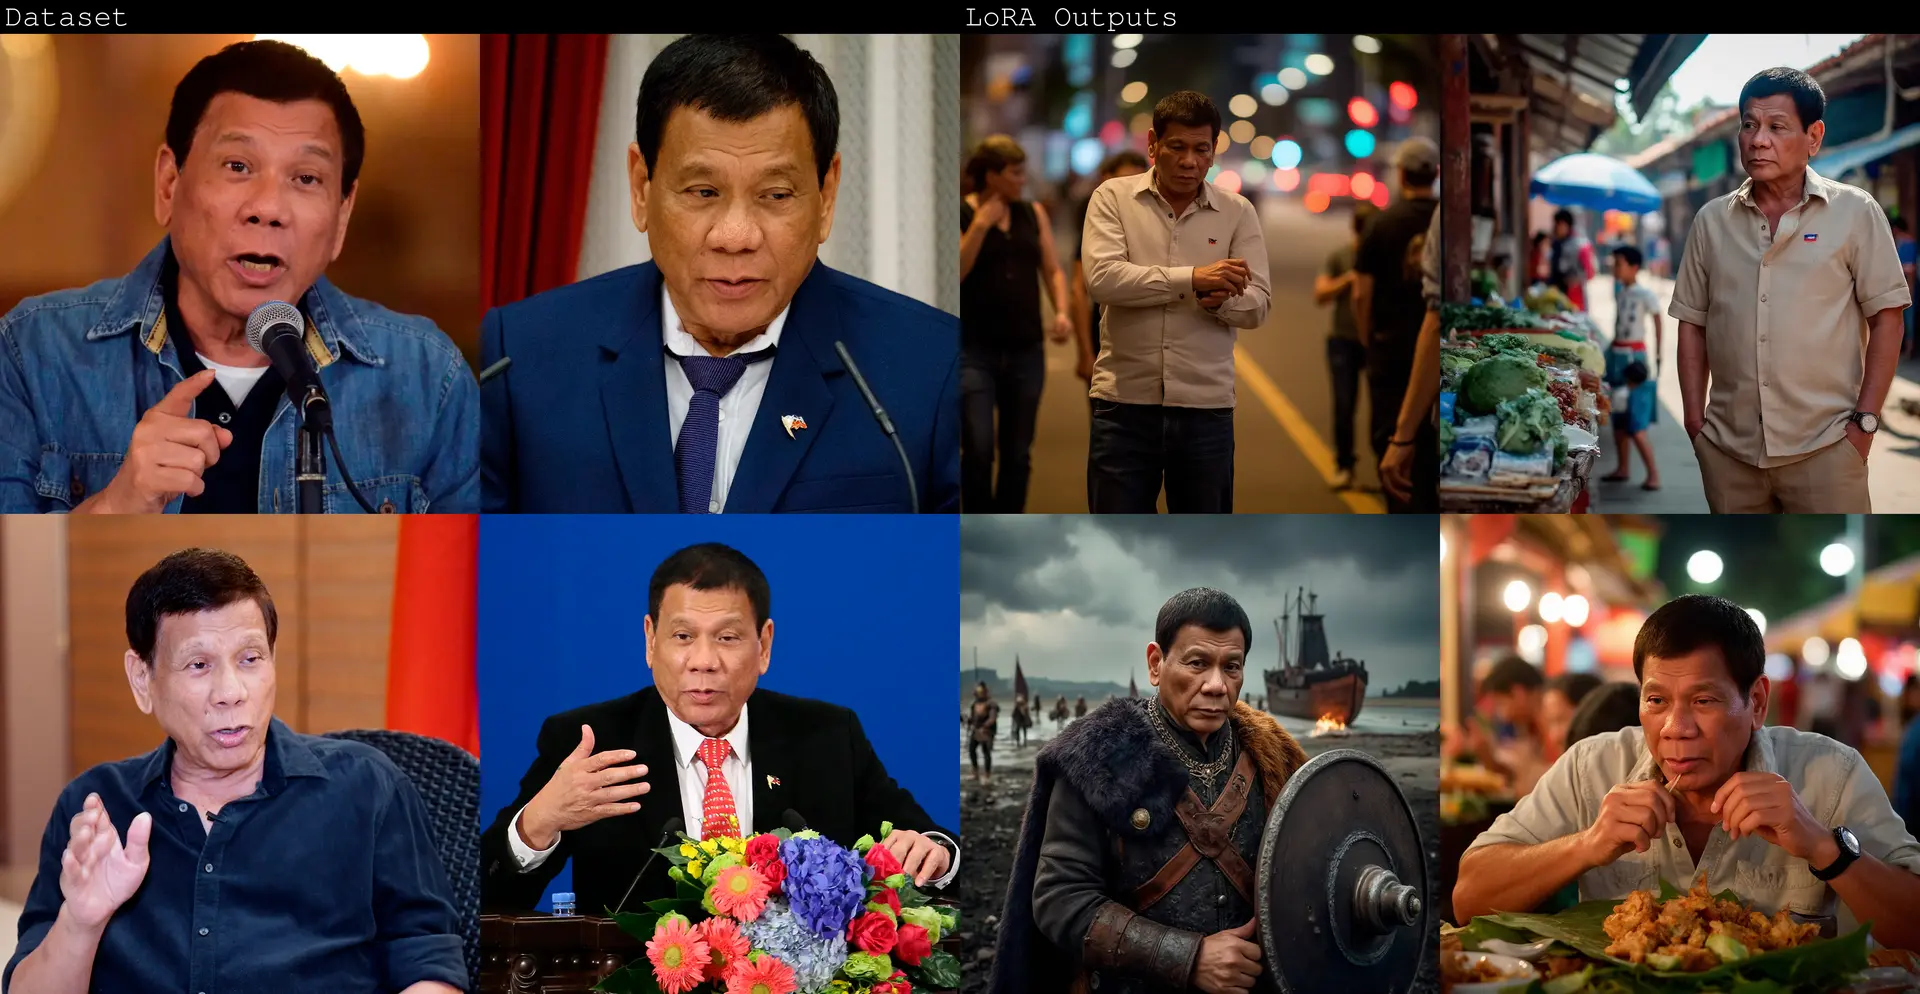
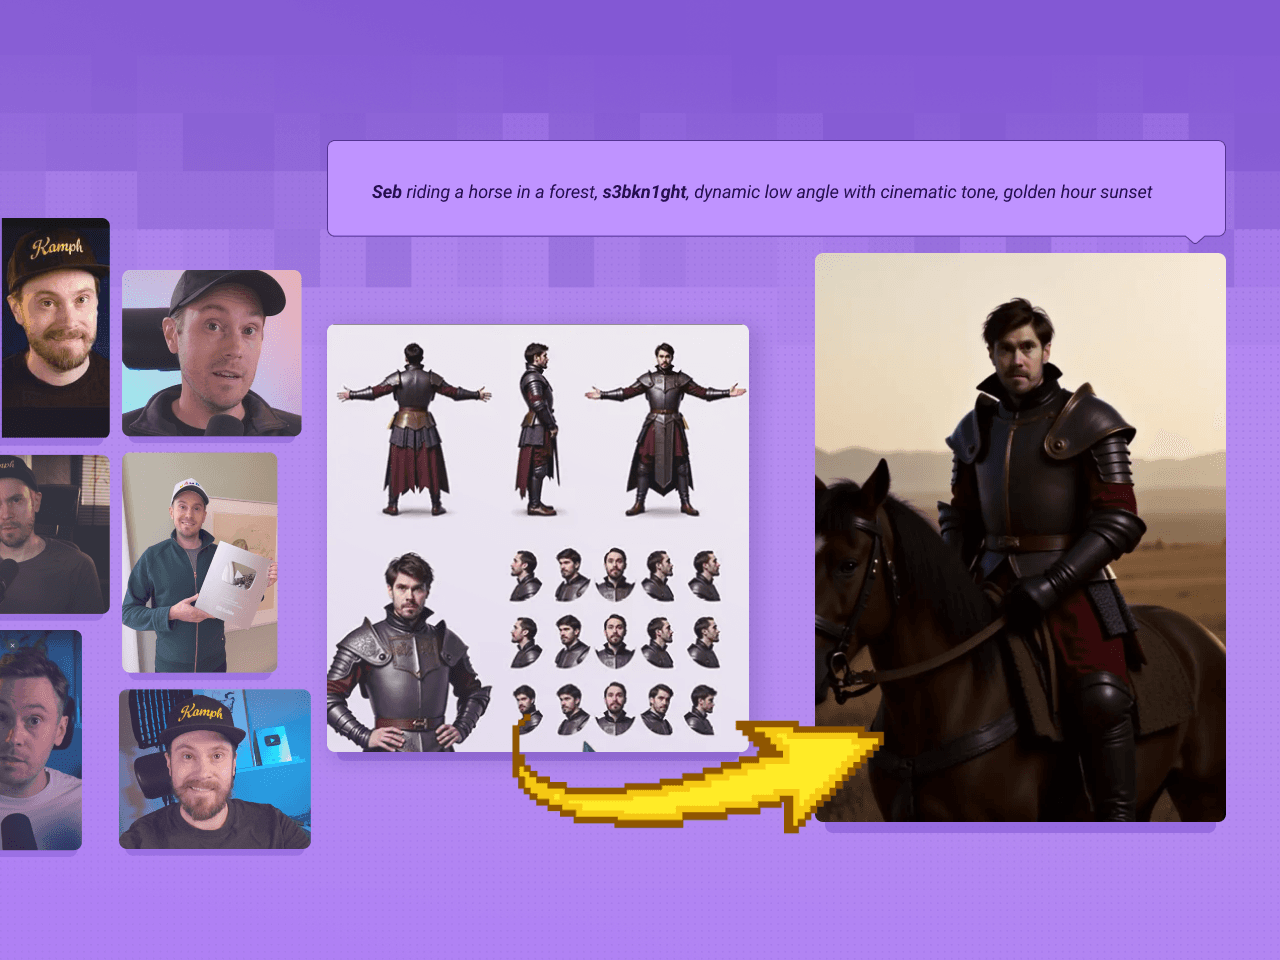
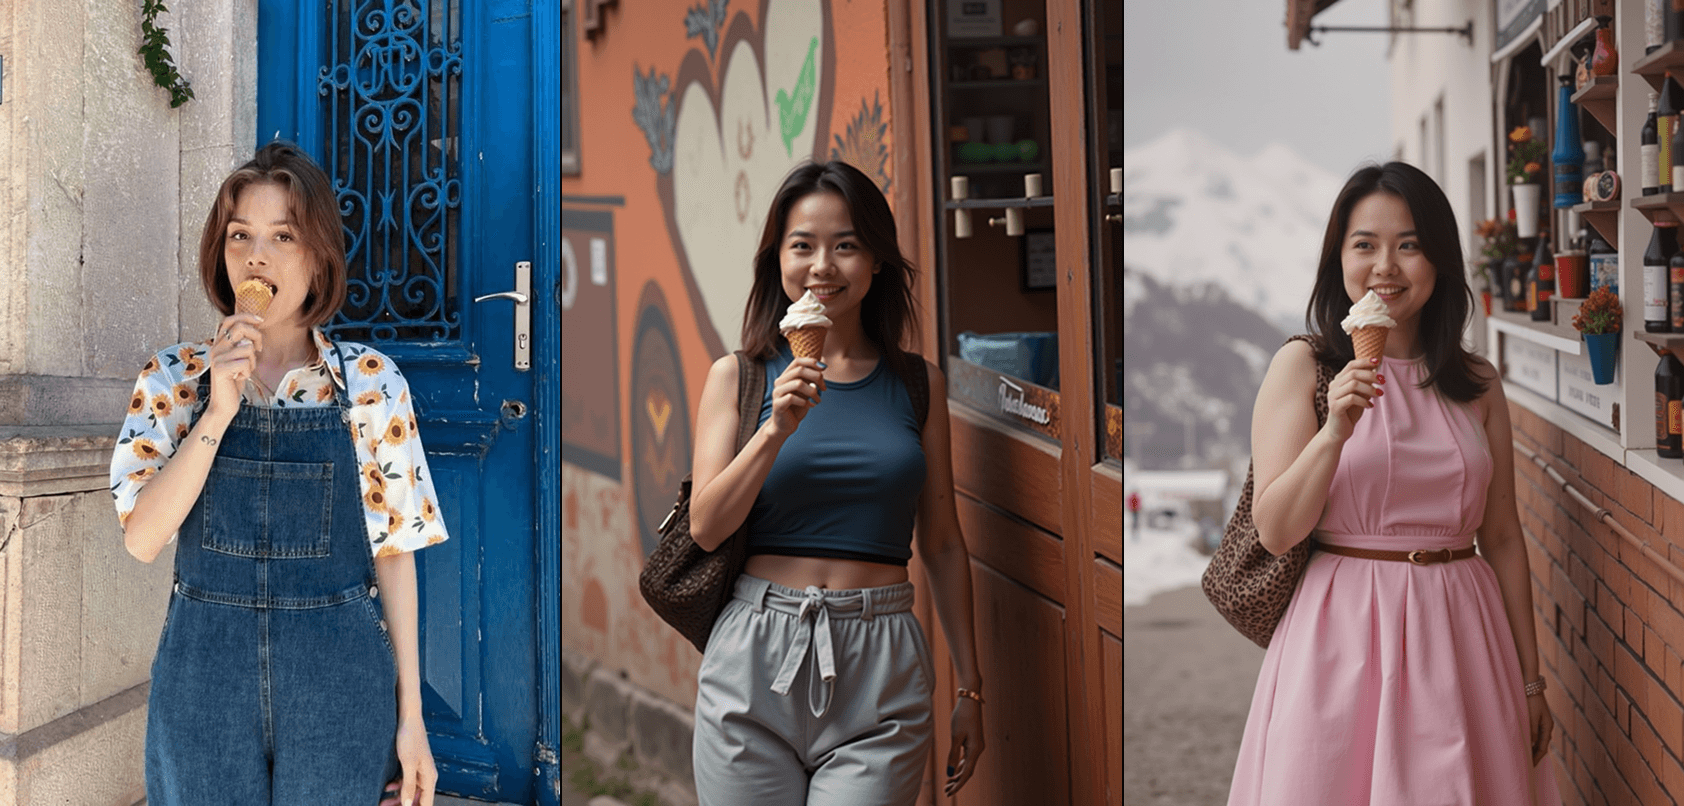
Training Set Creation & LoRA Training
In general, the more robust the variety of inputs, the more flexible and controllable the outputs will be while retaining the true essence of what the character is and isn't. Don't worry if there's minor inconsistencies in the input images, this is why we're creating a model in the first place!

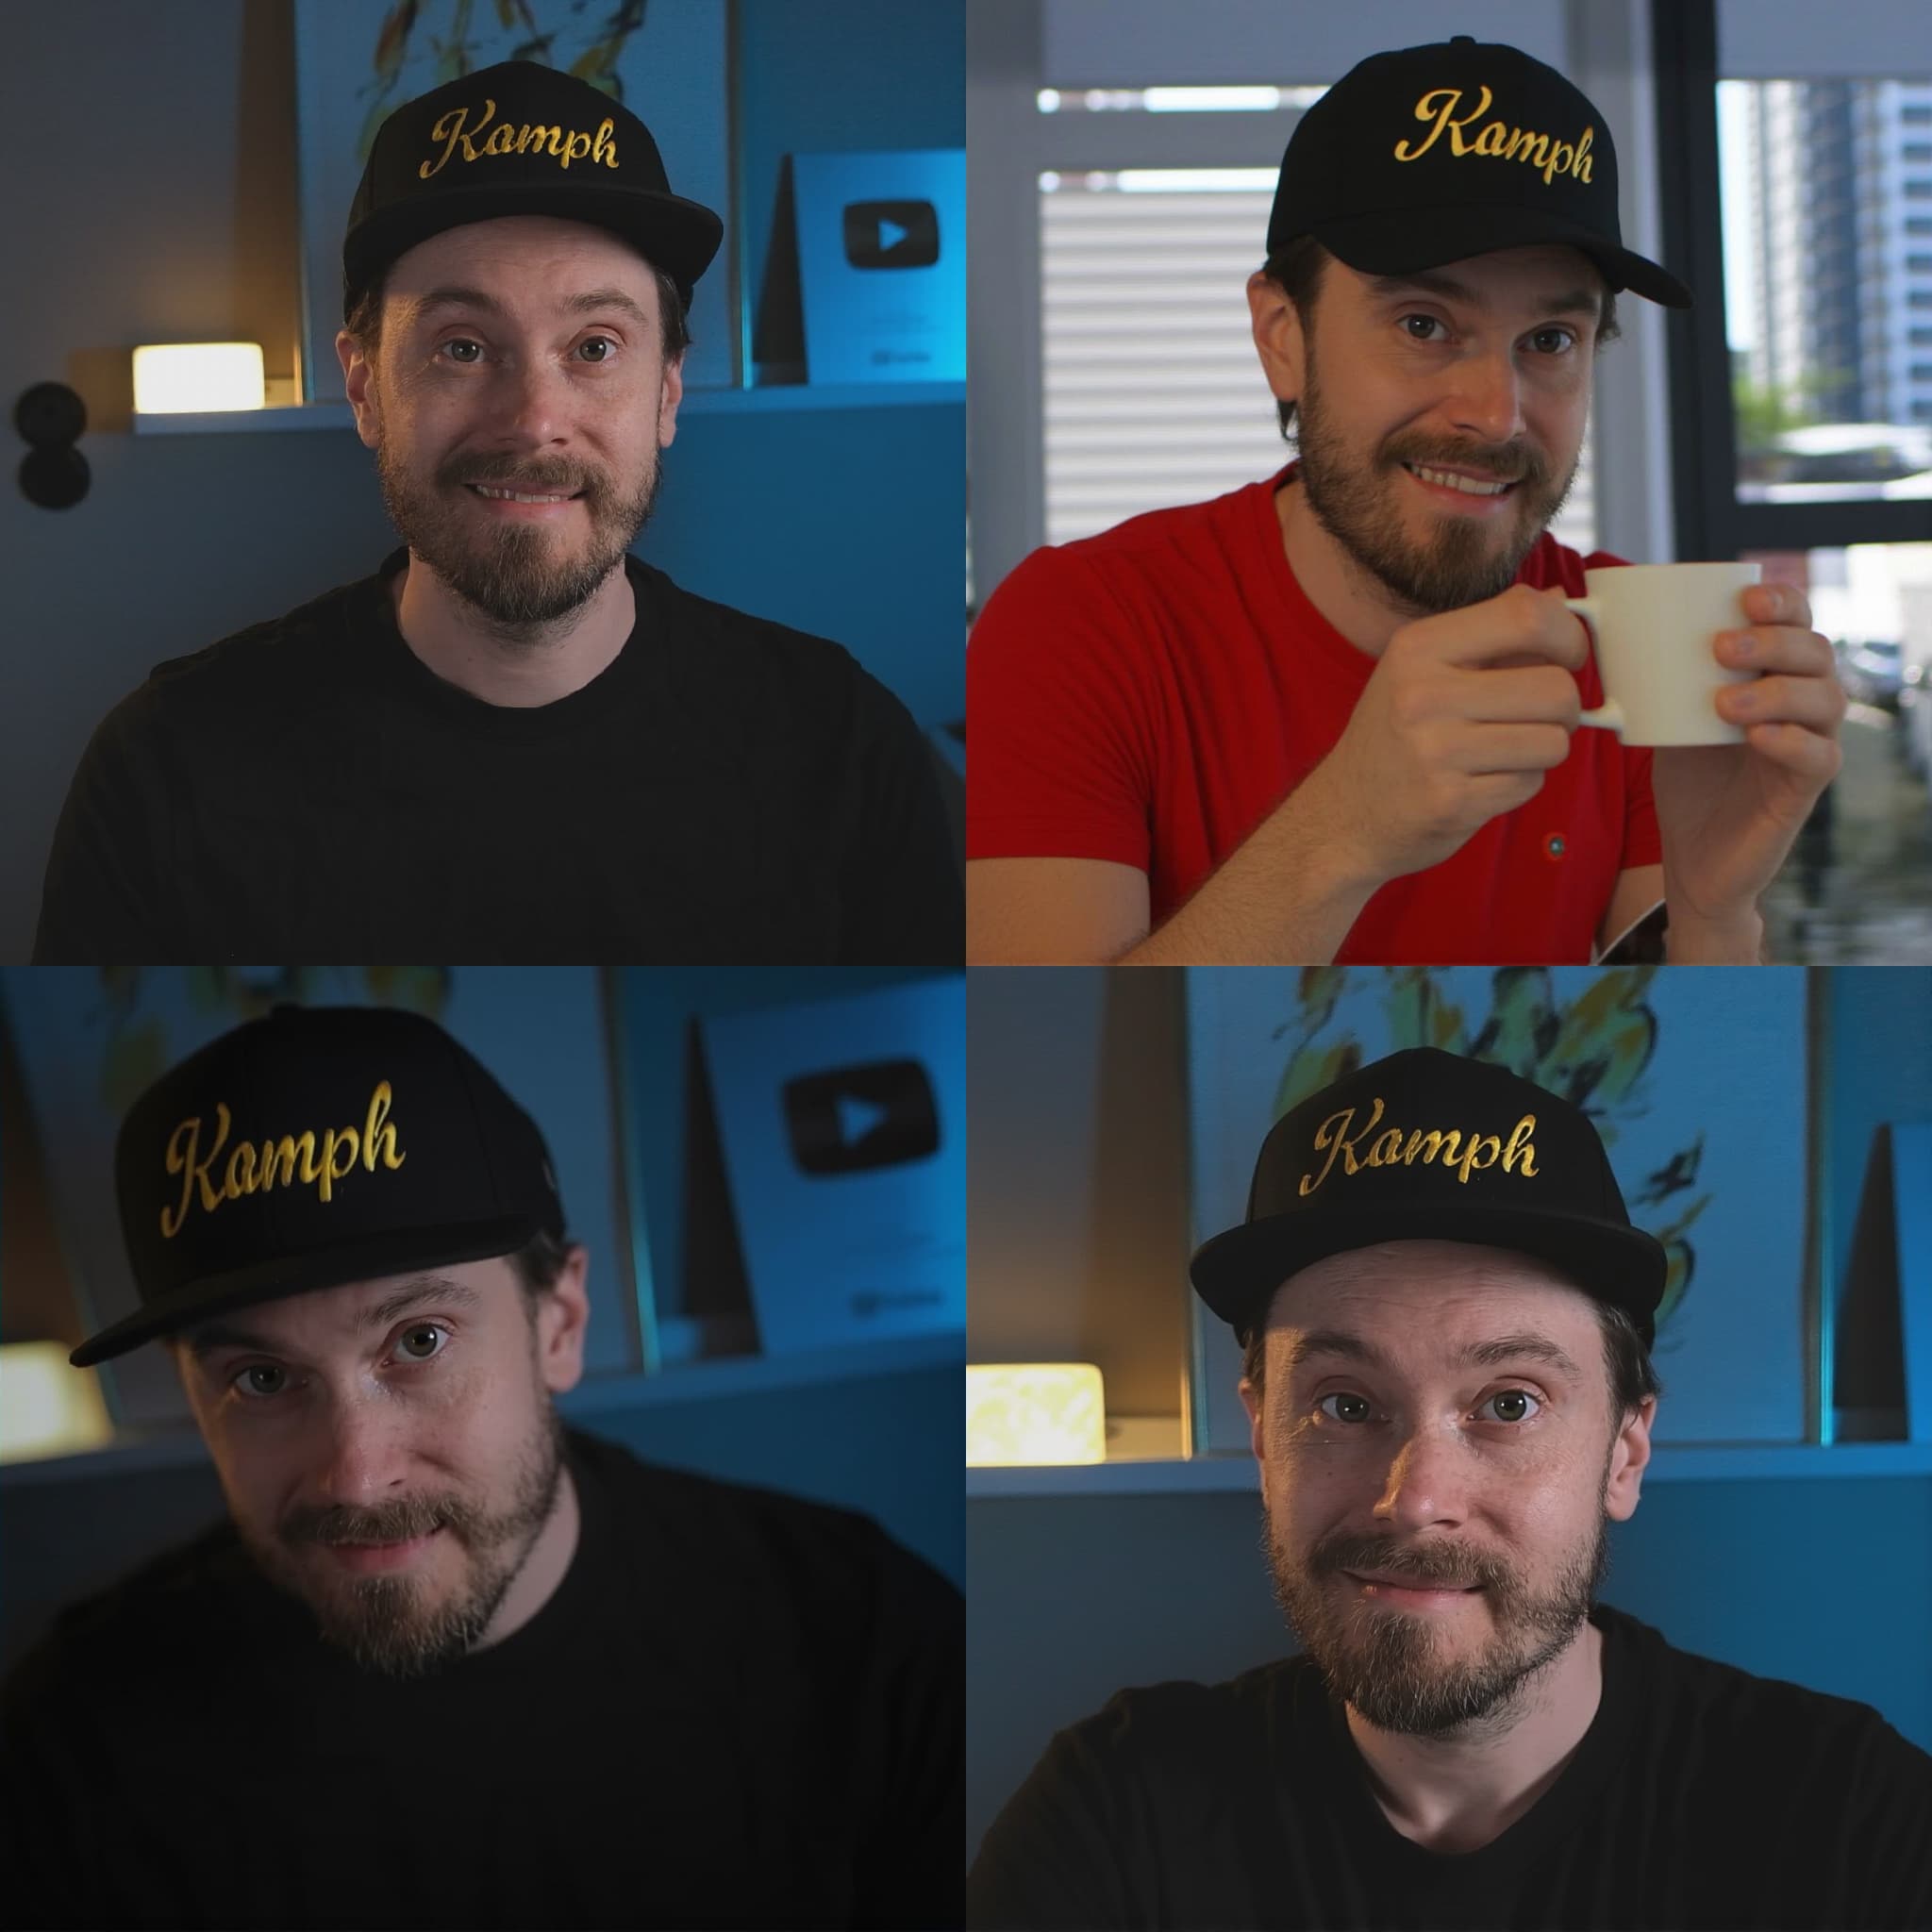

Character Consistency - 1 image only. Flux Ace++
283
Create subtle variations of a given character image.

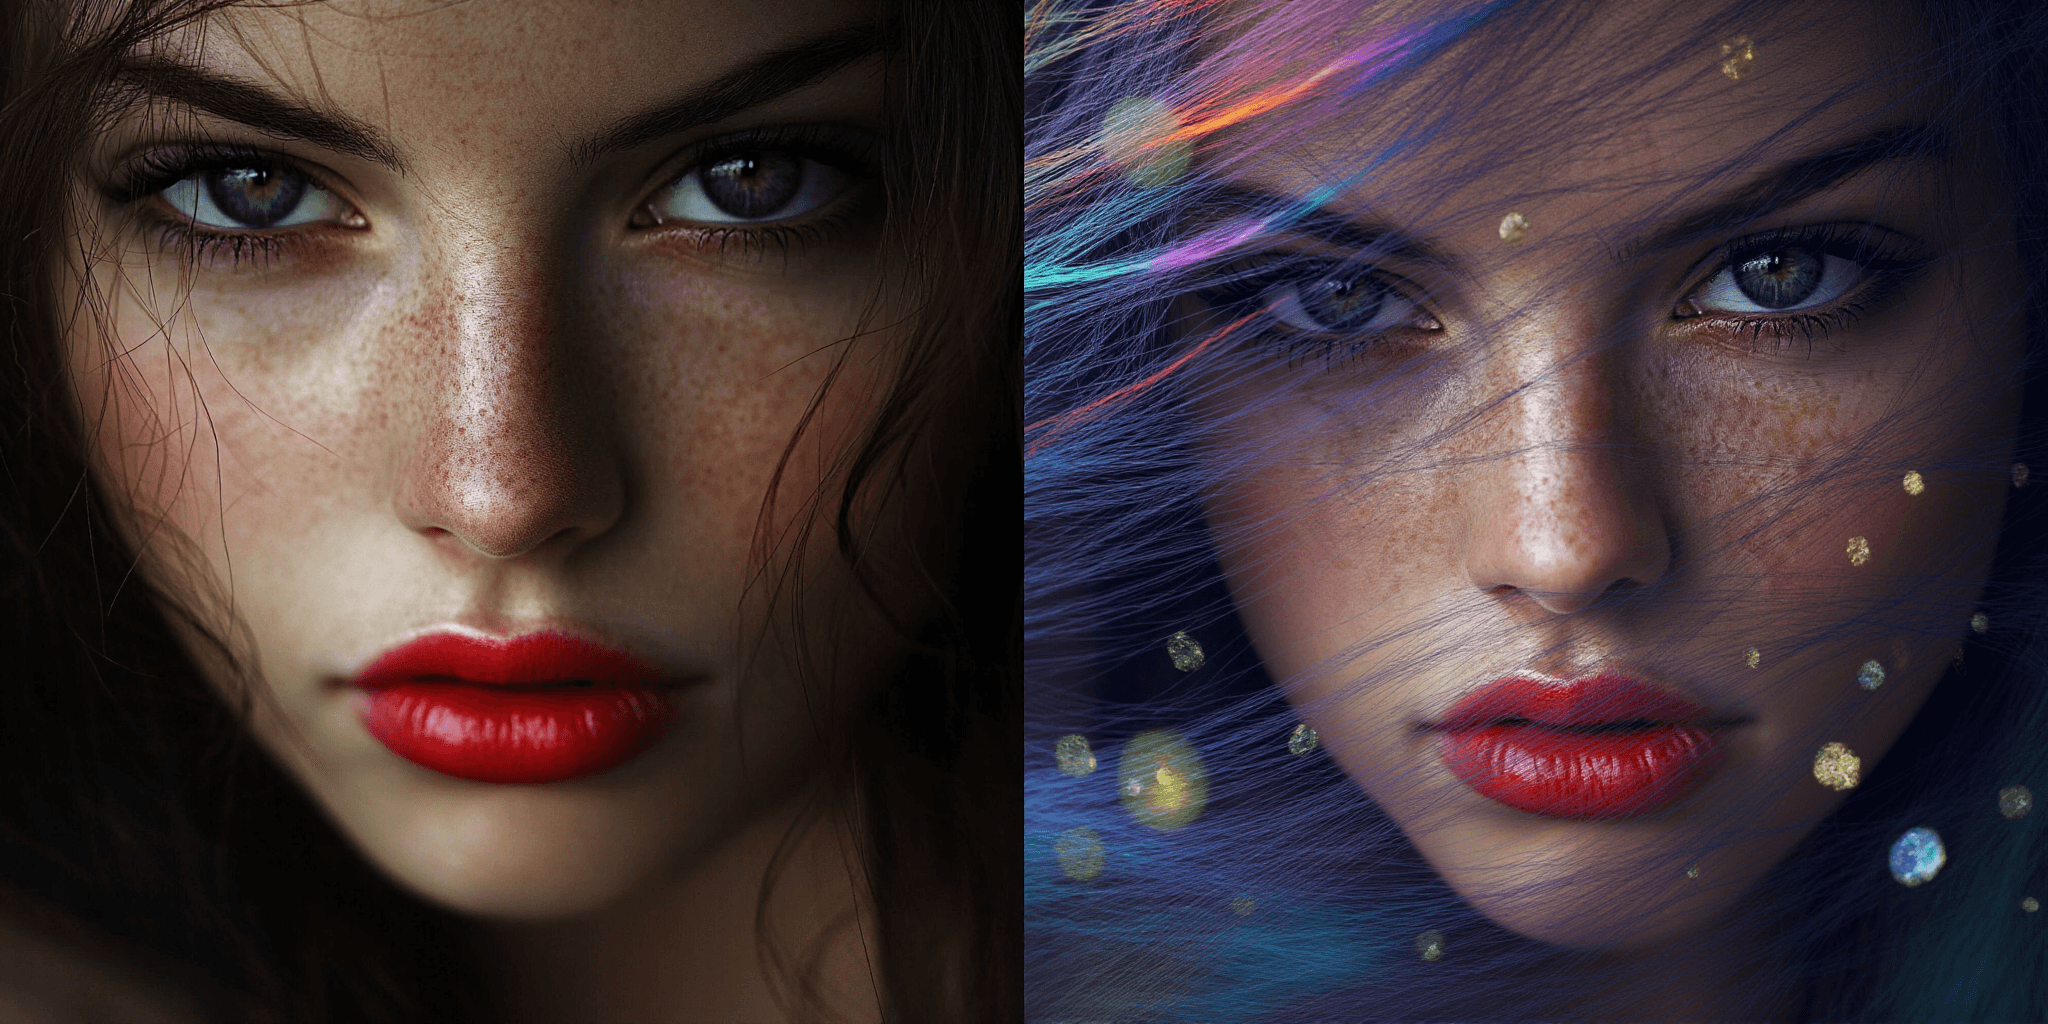
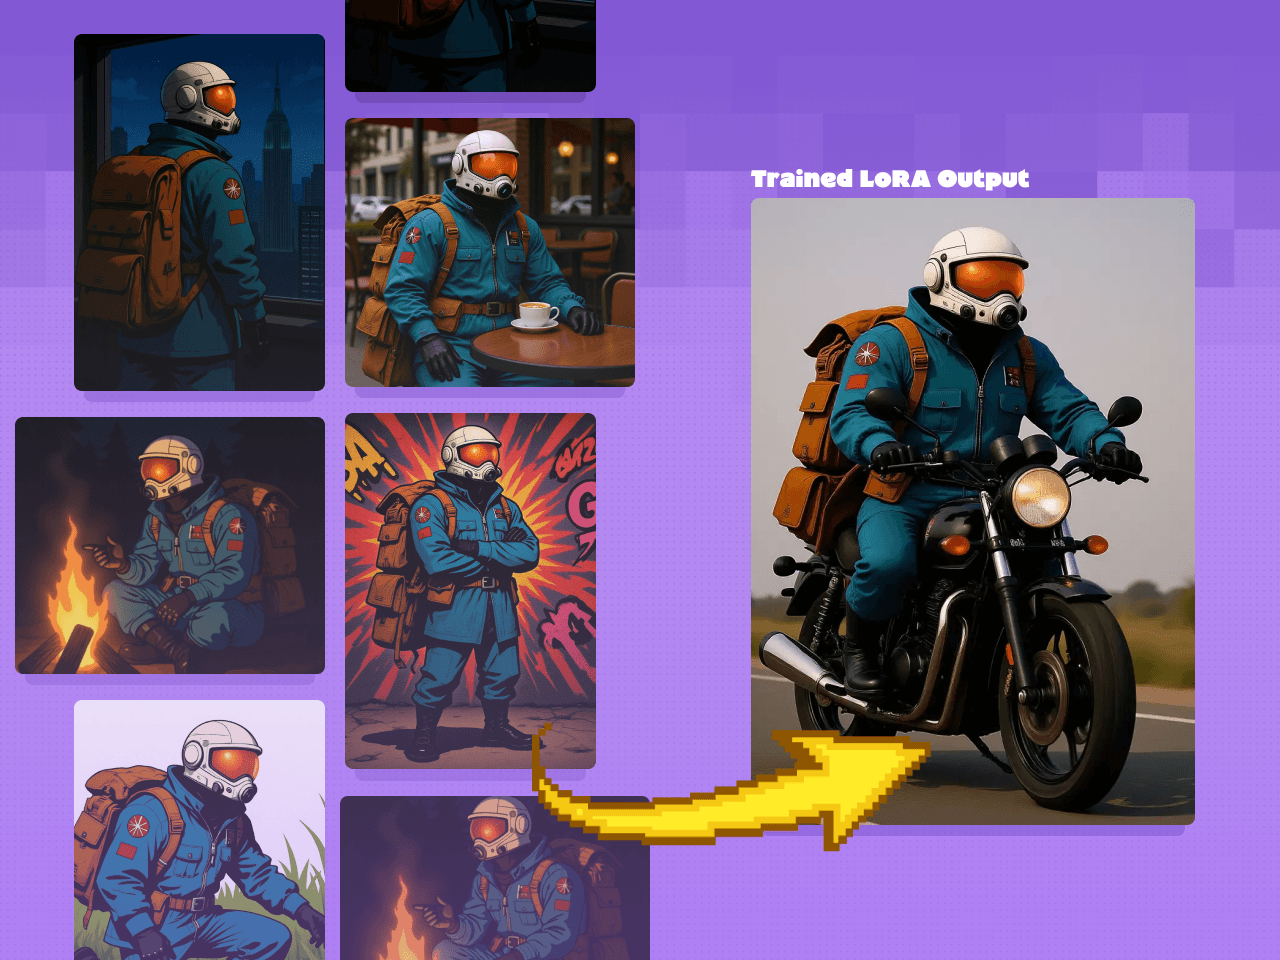
Flux Kontext - Single Image to Character LoRa Dataset
411
Bypass character sheets and turn an image directly into a LoRA.
Fast LoRA Training for Flux via Floyo API
1.1k
Use a quick API for simple LoRA generations.
ComfyUI Flux LoRA Trainer
446
Use a quick API for simple LoRA generations.
Image Creation & Manipulation

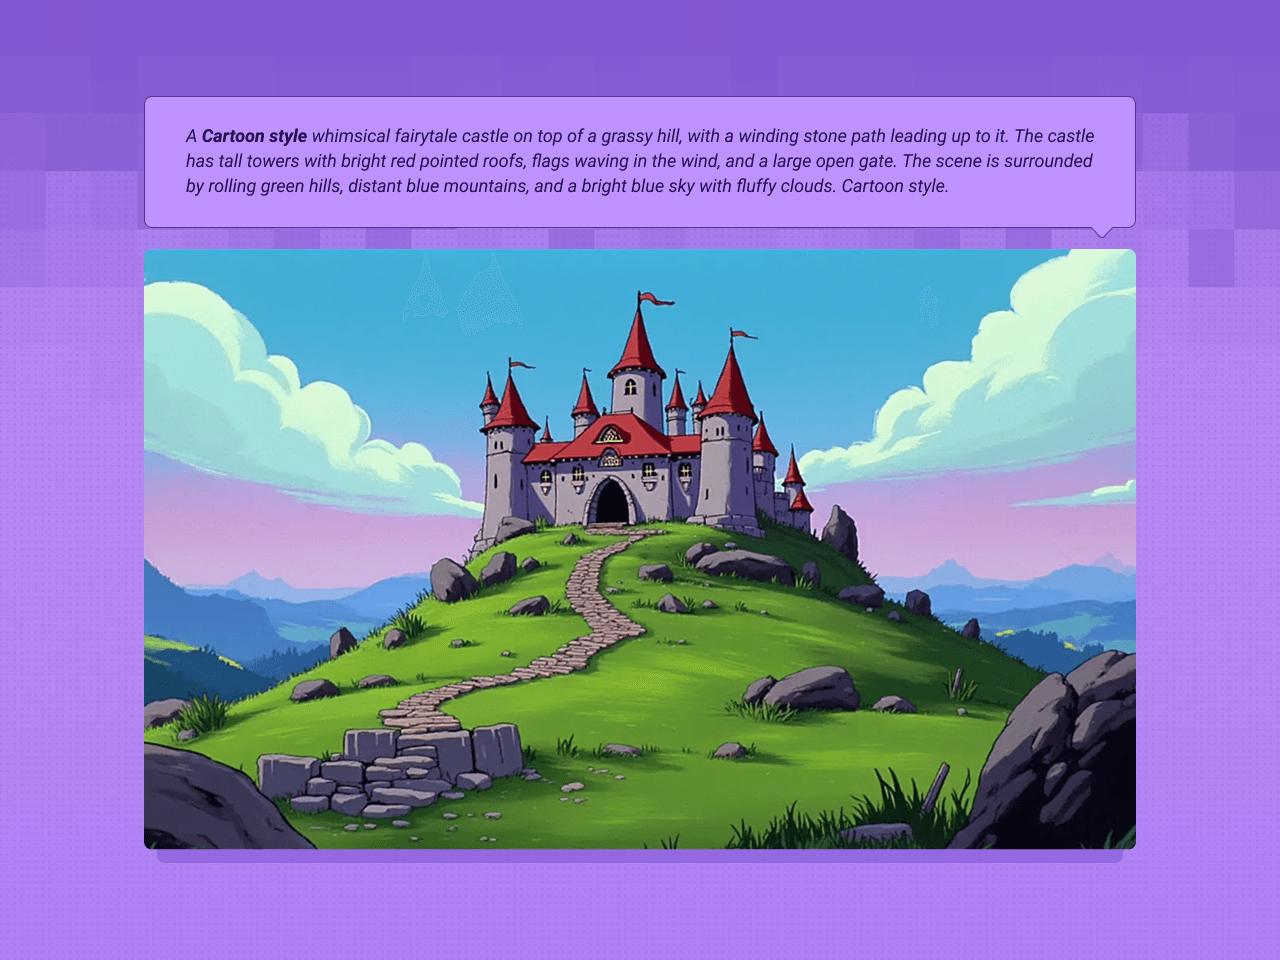

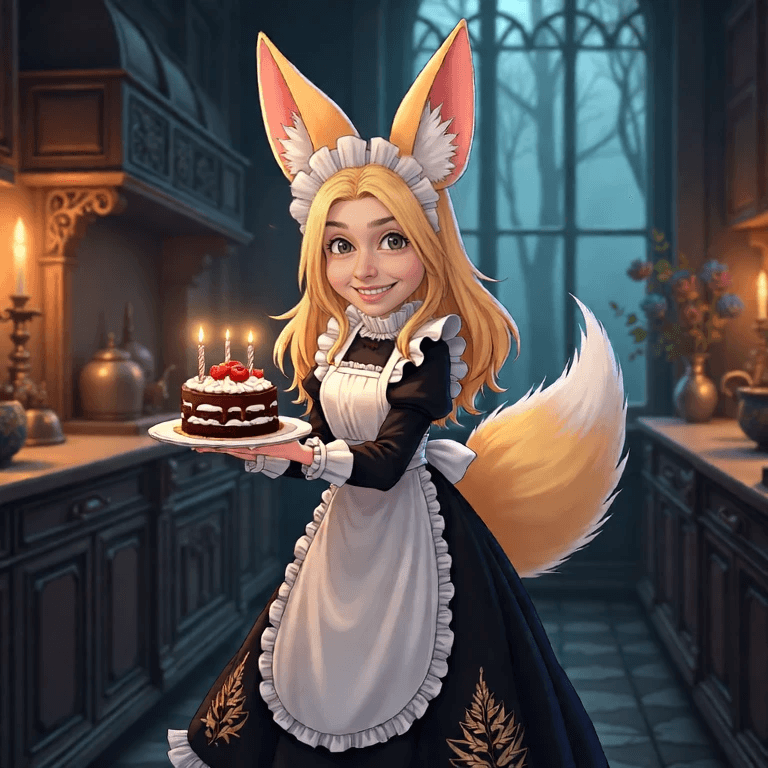
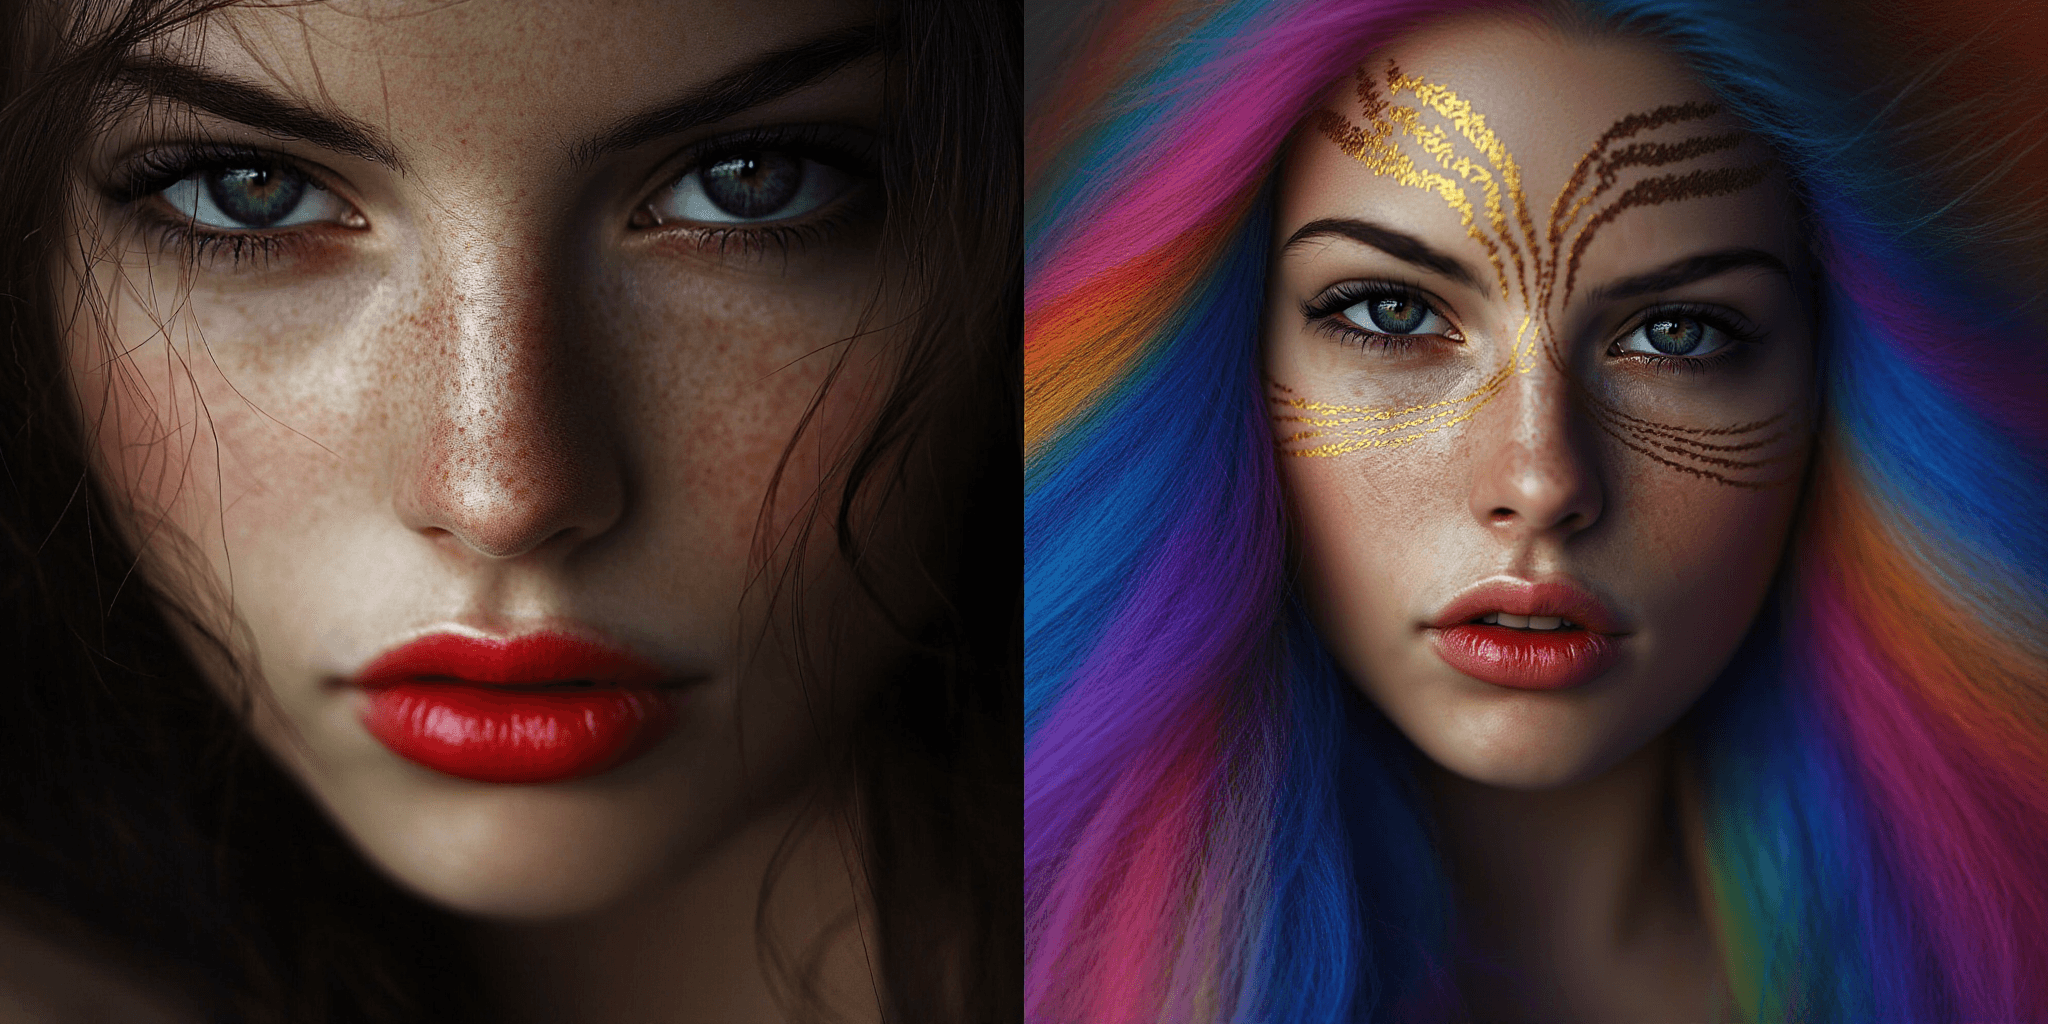
Text to Image + LoRA model
321
Describe the image with your LoRA.
%2520(1)_1756291460317.png&w=3840&q=75)
_1756291460317.png&w=3840&q=75)
_1756291460317.png&w=3840&q=75)
Text to Image with Multi-LoRA
238
Use multiple LoRAs for an even more custom image.
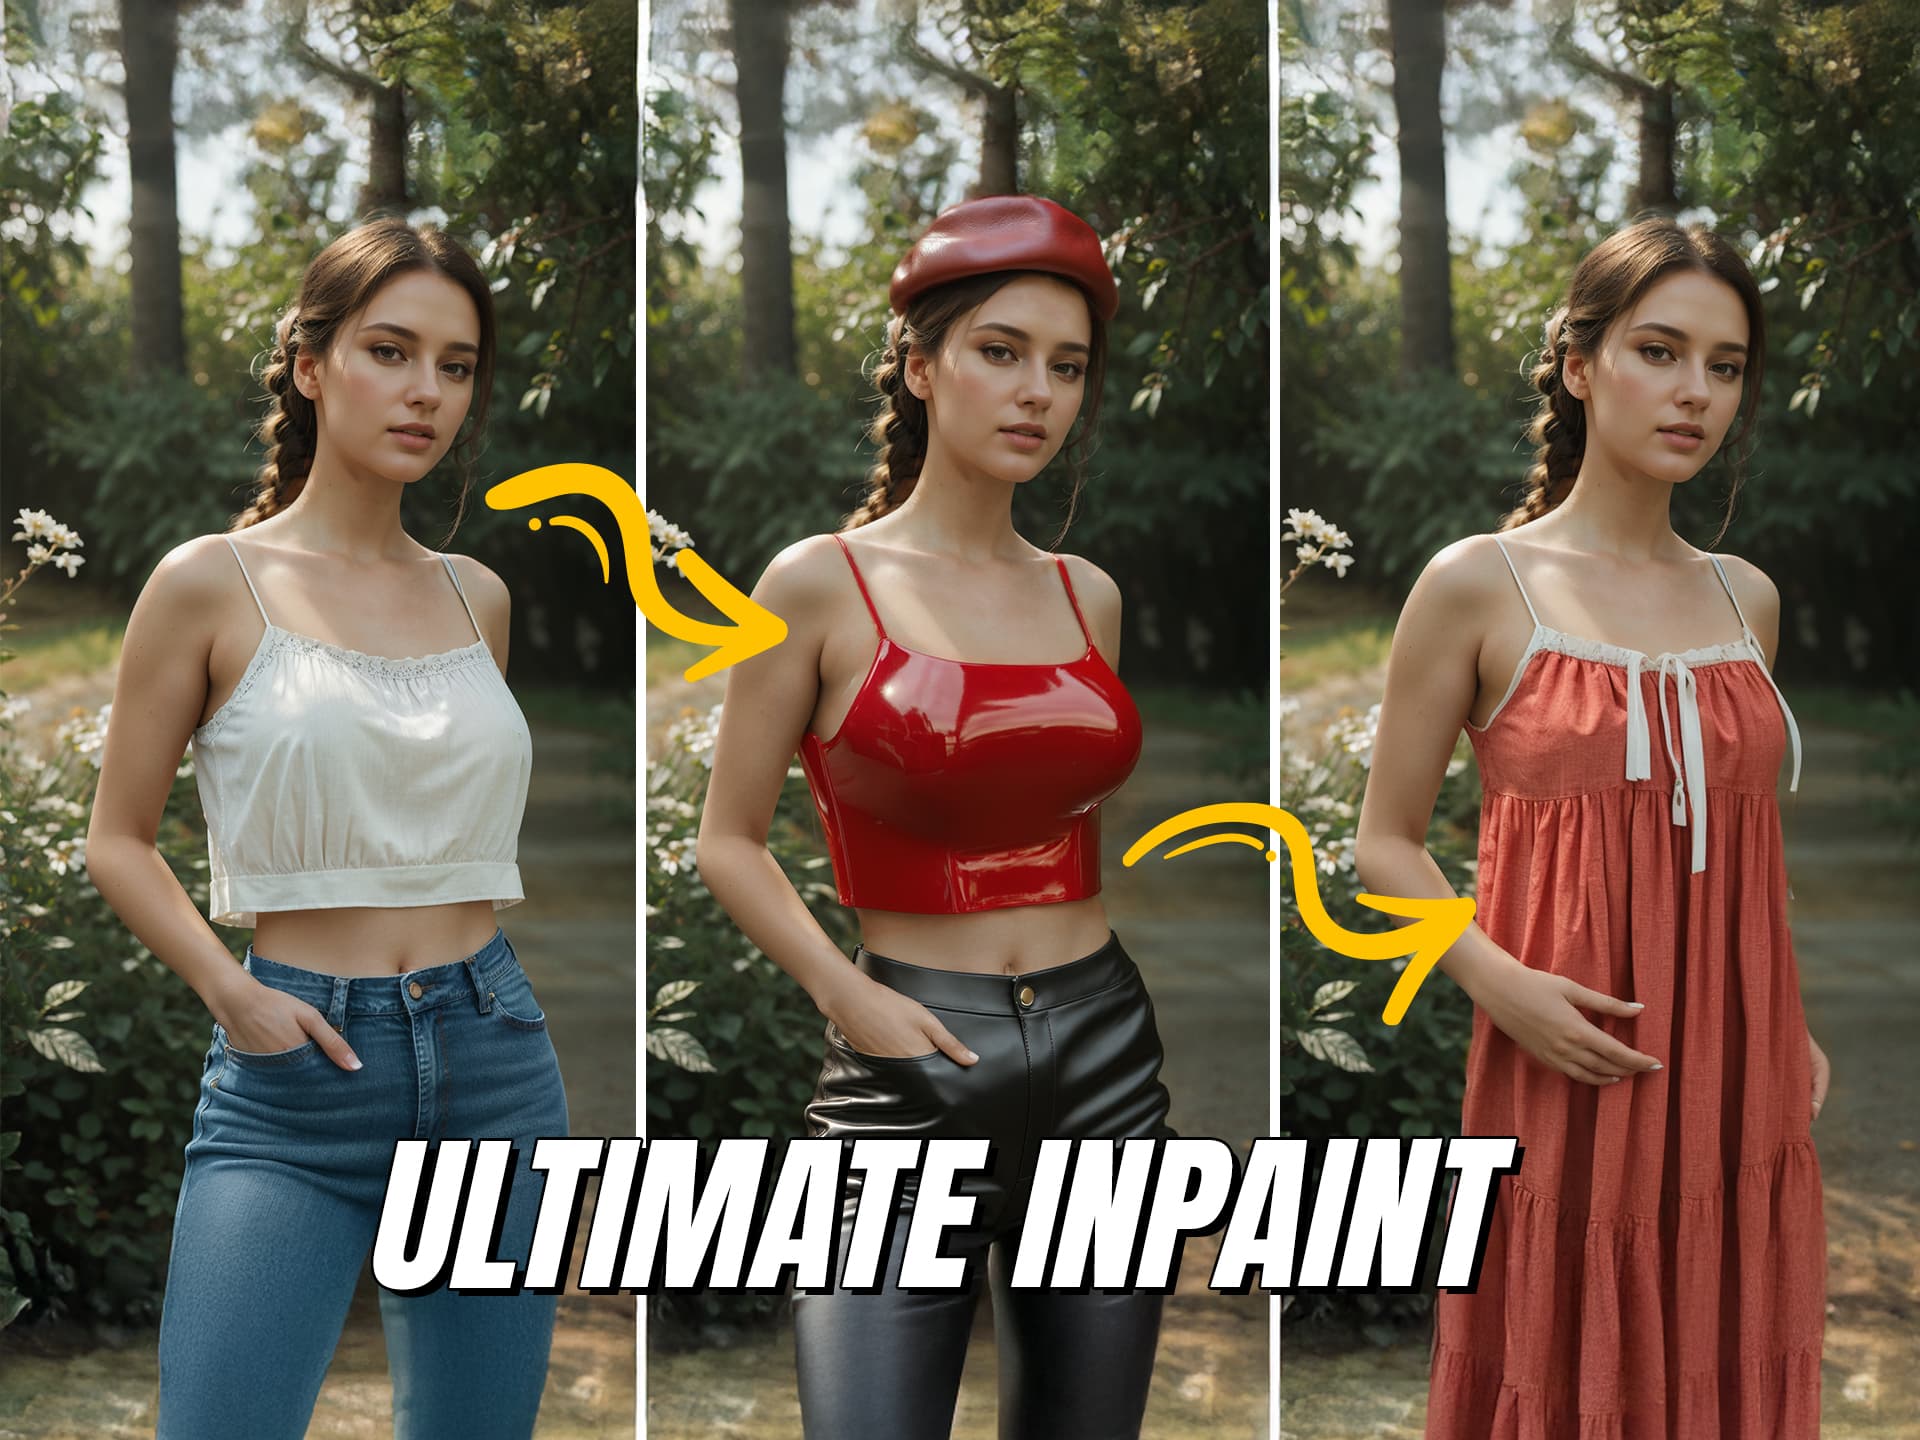
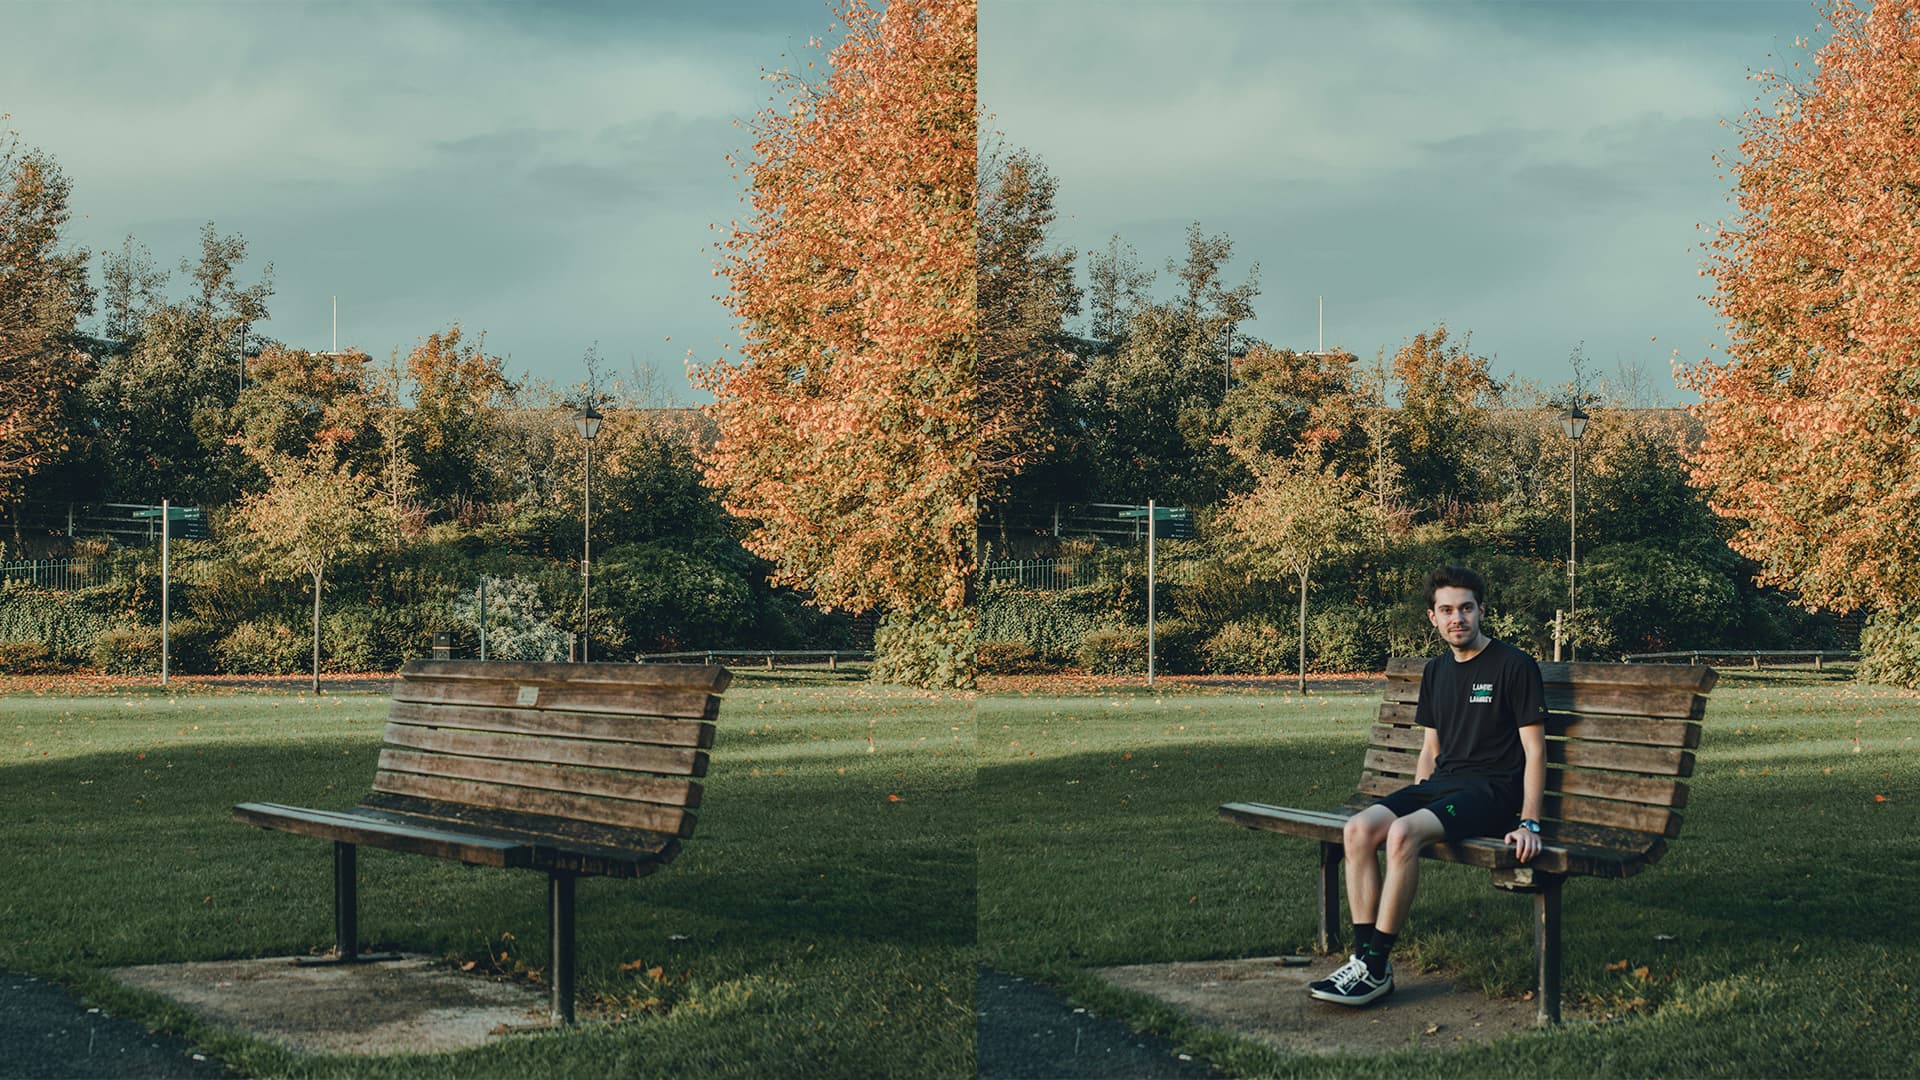
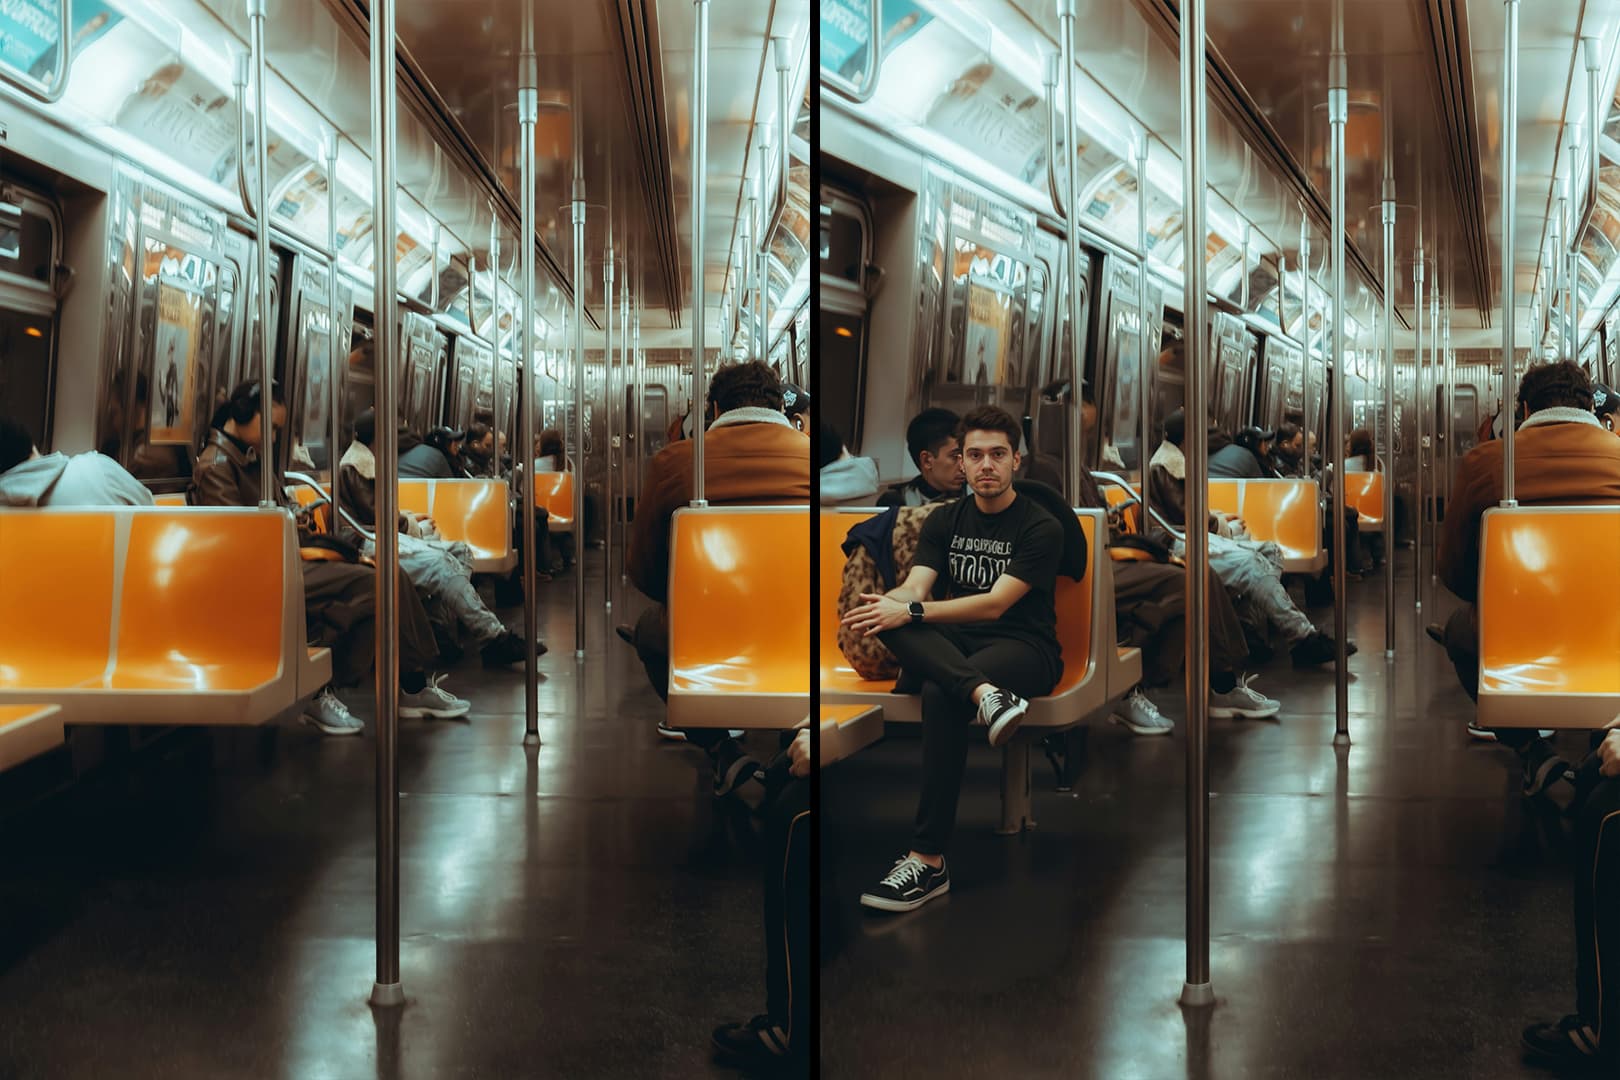
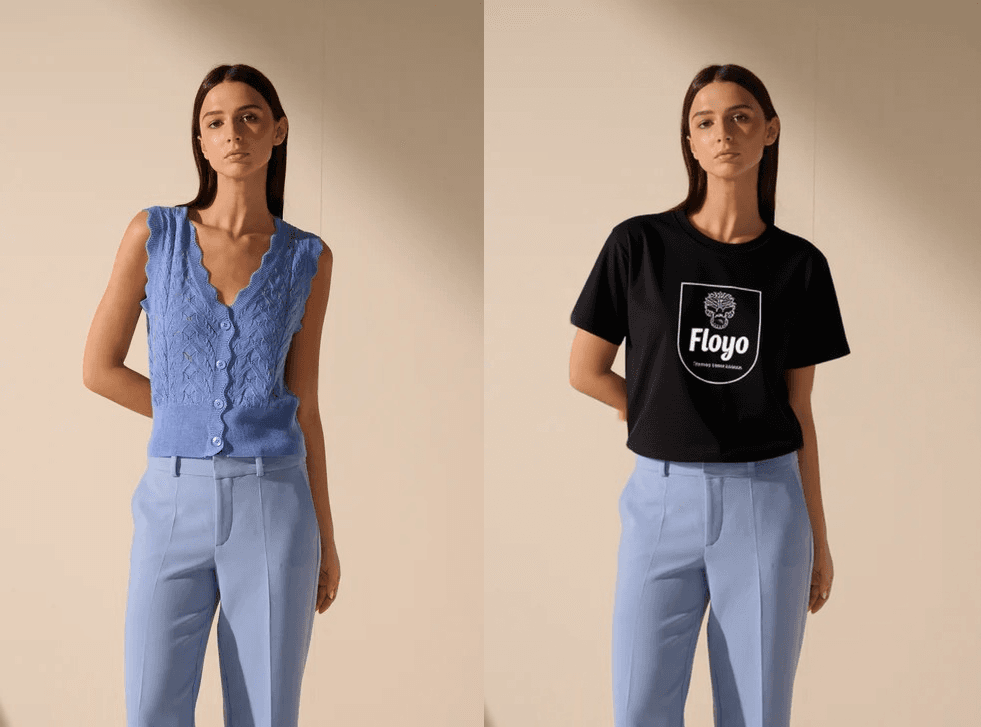
Flux Inpaint - ULTIMATE workflow.
208
Insert your character into any existing image.
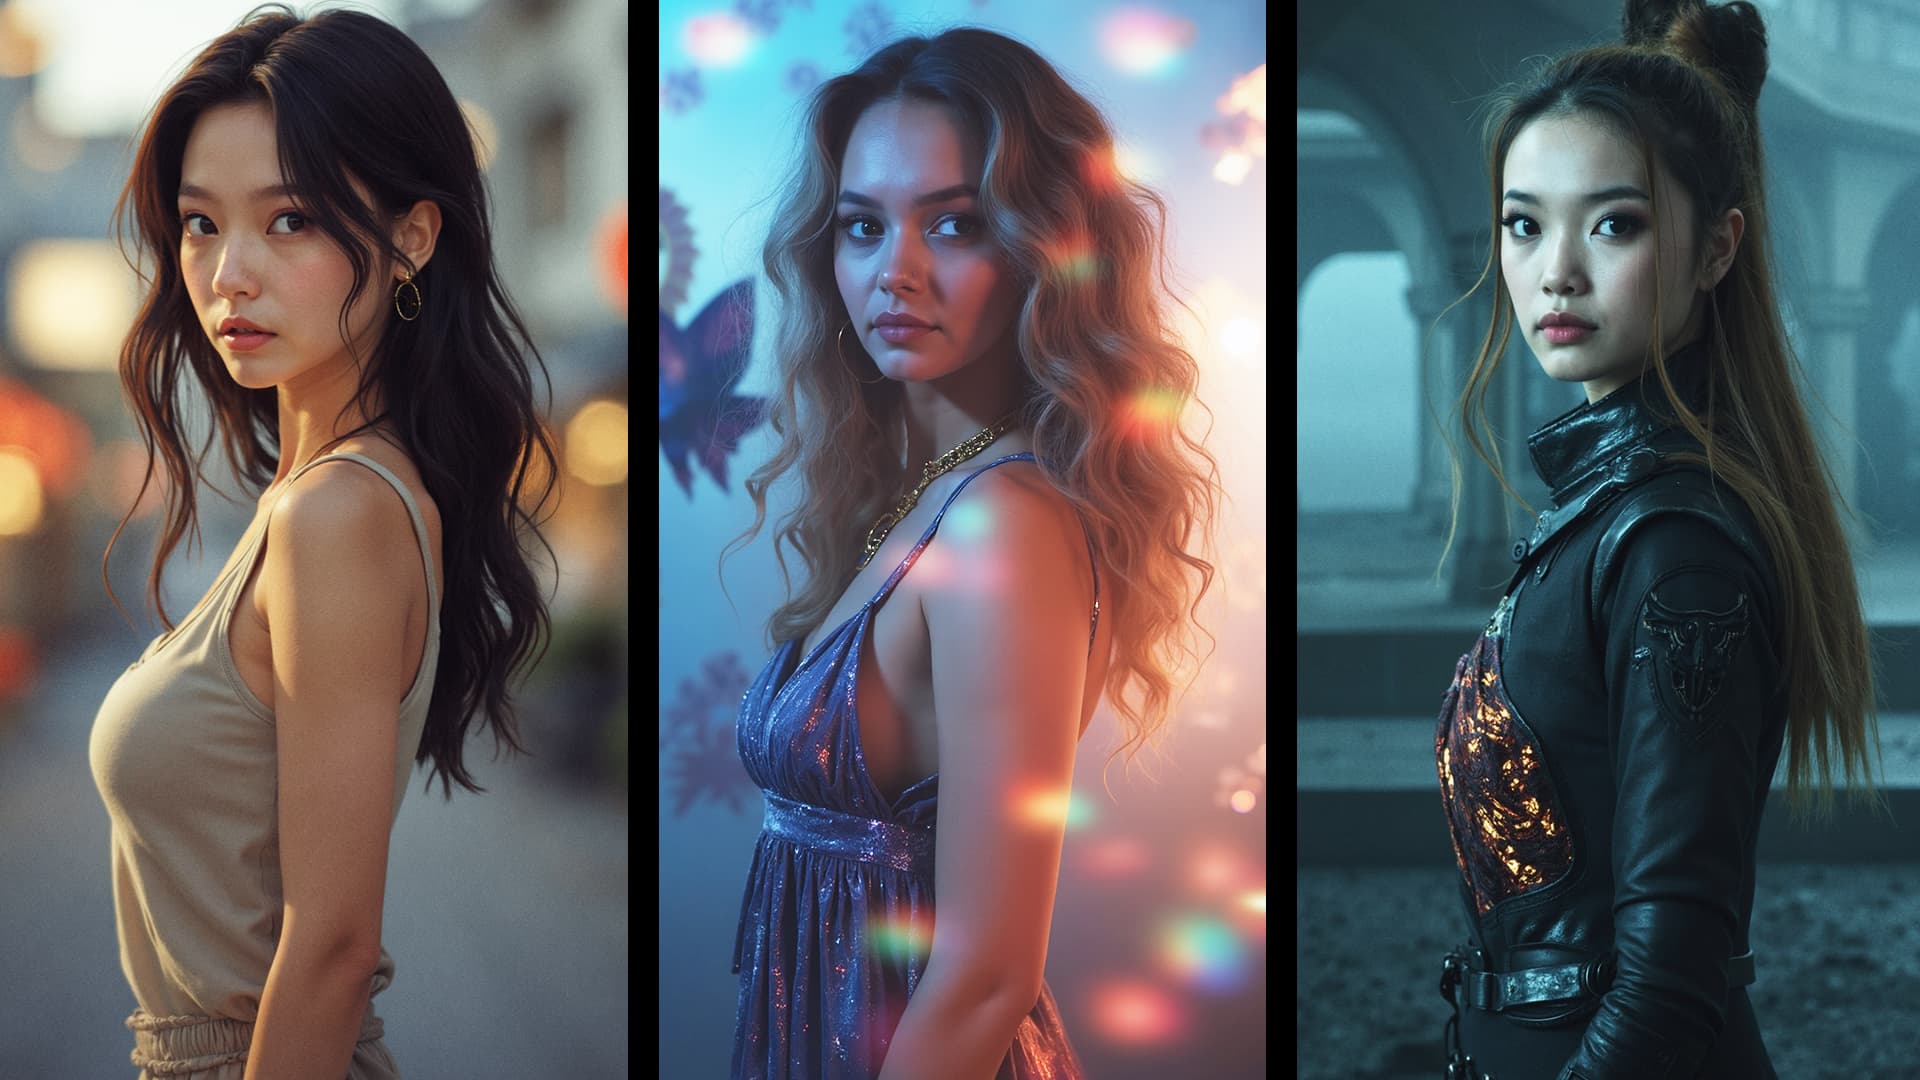
Flux ControlNet 2.0 - All-in-one
348
Adjust an existing image with pose guidance for your character.
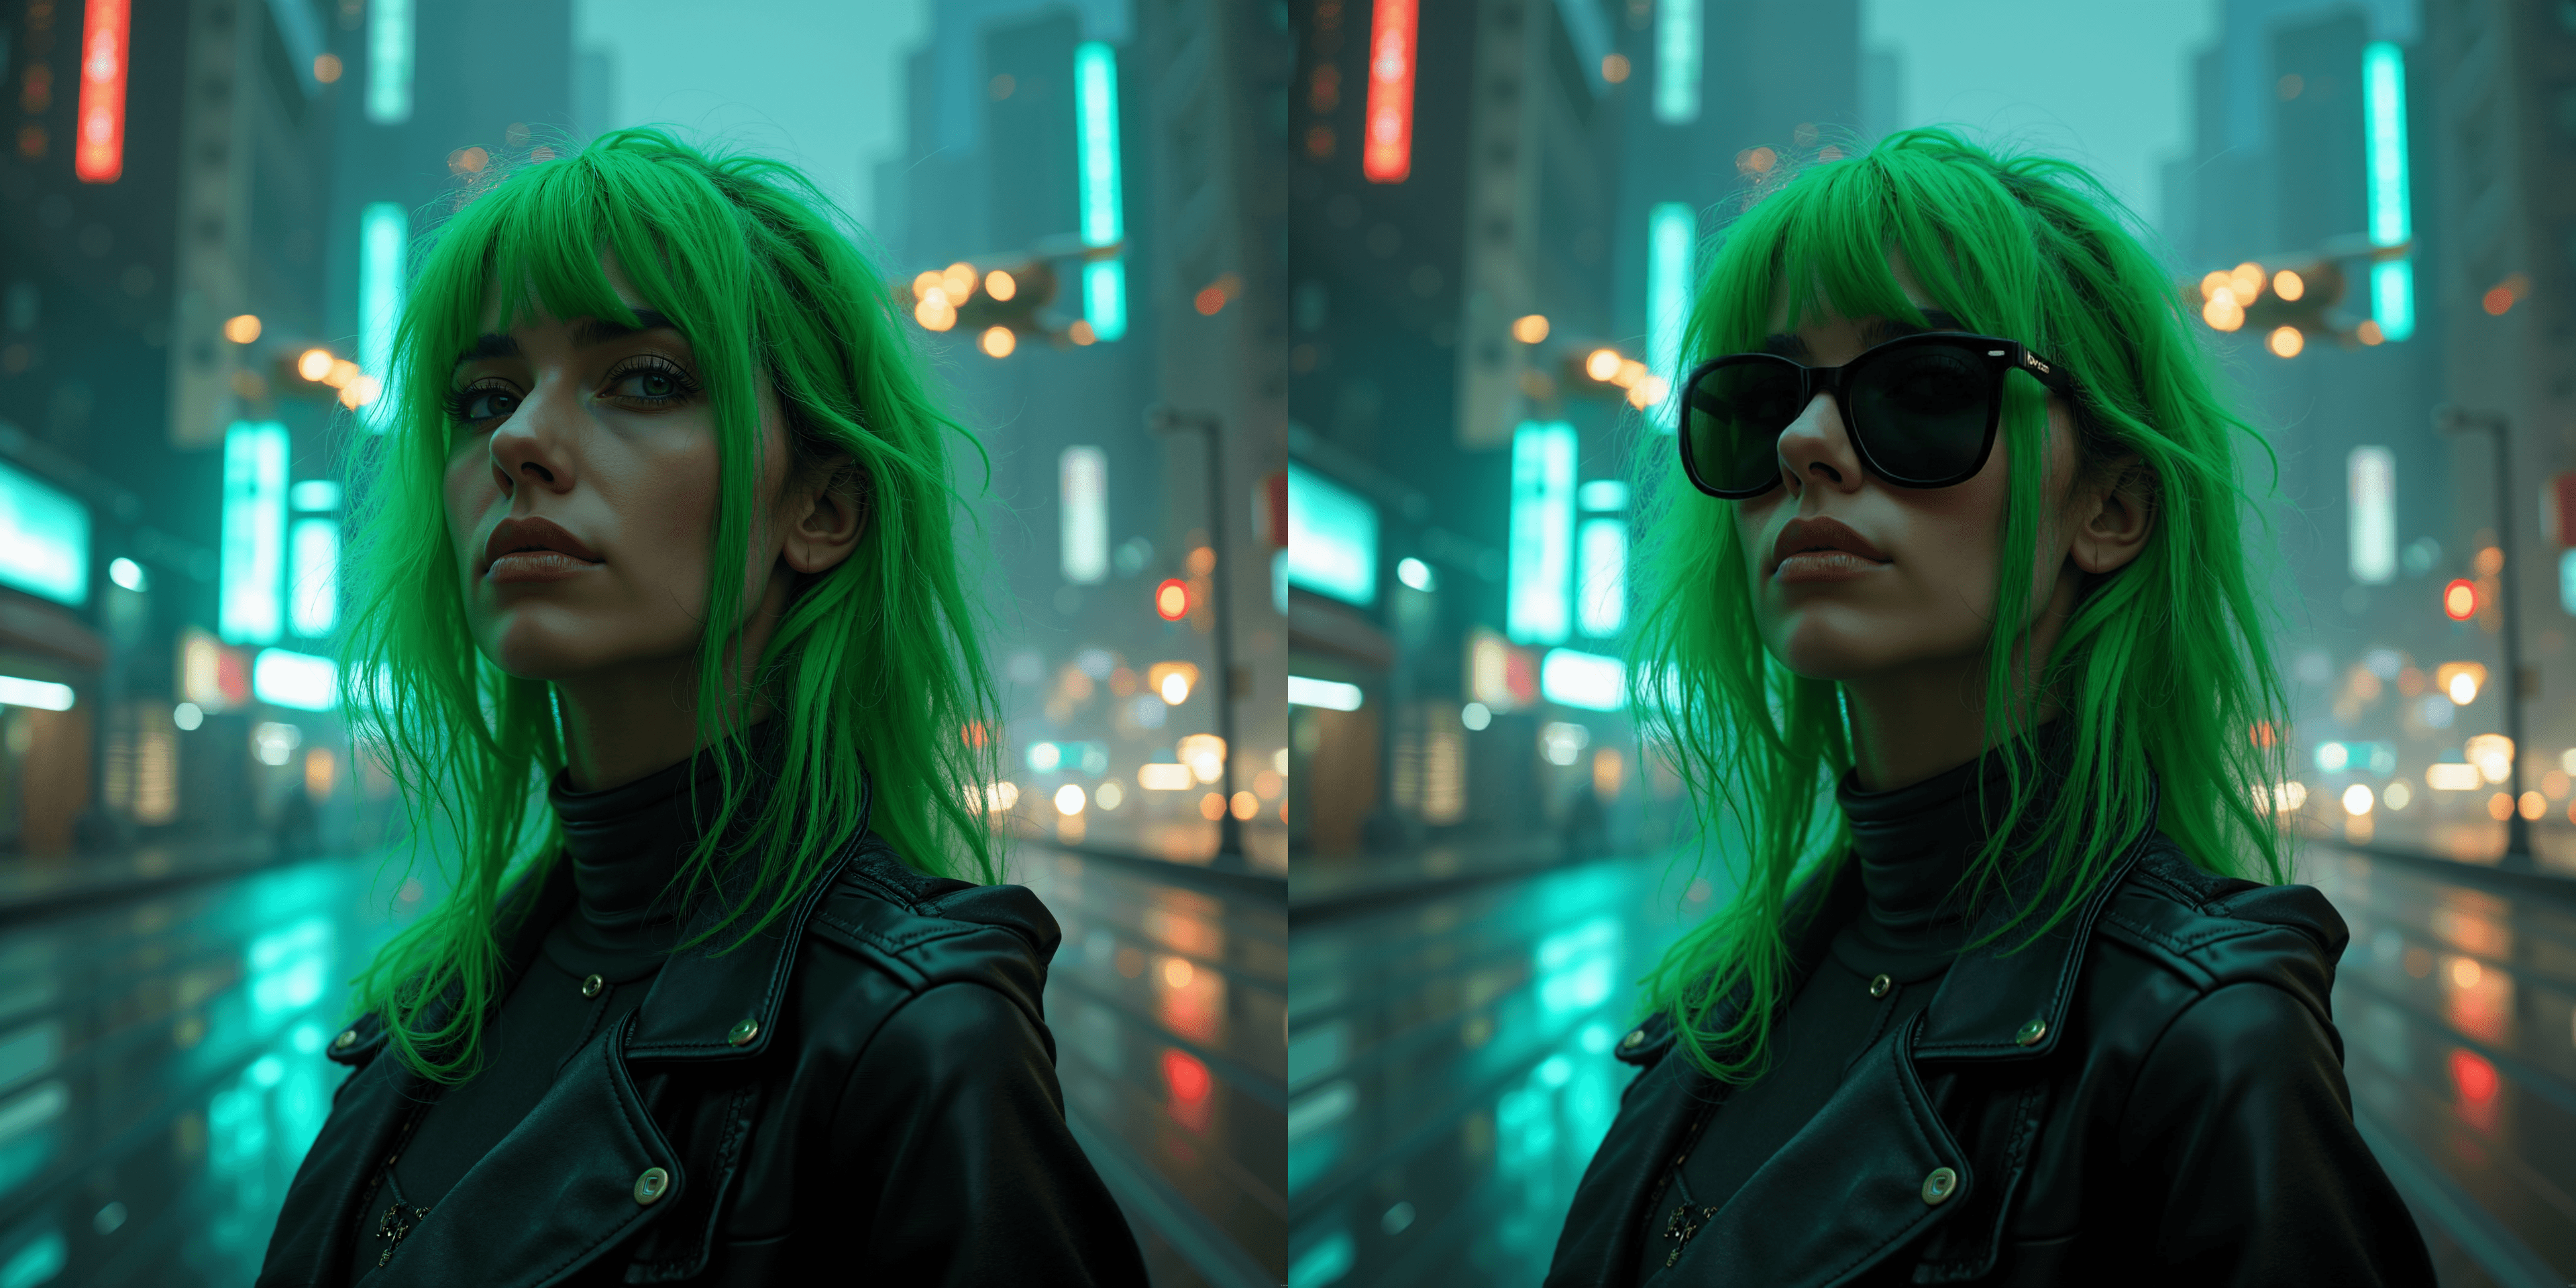
Flux Kontext Inpainting
481
Modify your character’s expression and more.


Image to 3D with Hunyuan3D w/ Texture Upscale
195
Turn your image into a manipulatable 3D model.
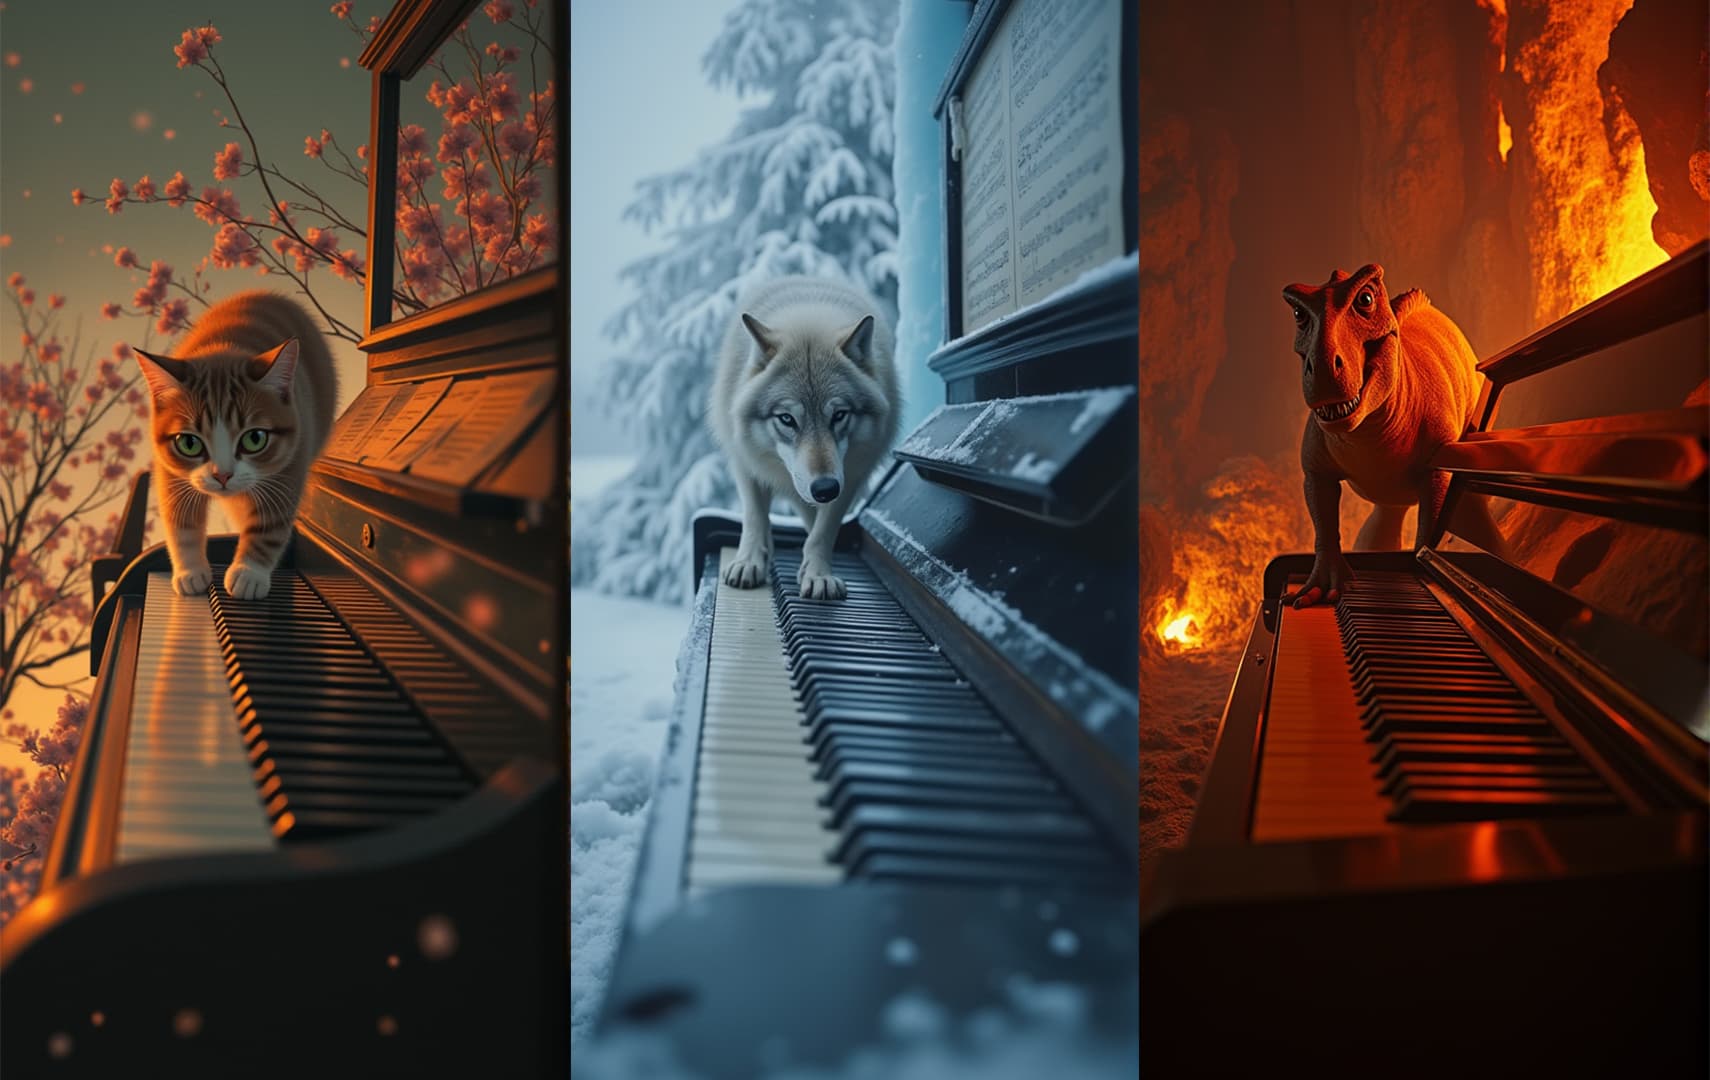
Video & Animating
Text2Video with LTX
214
Quick video generation from prompts. Trading quality for speed.
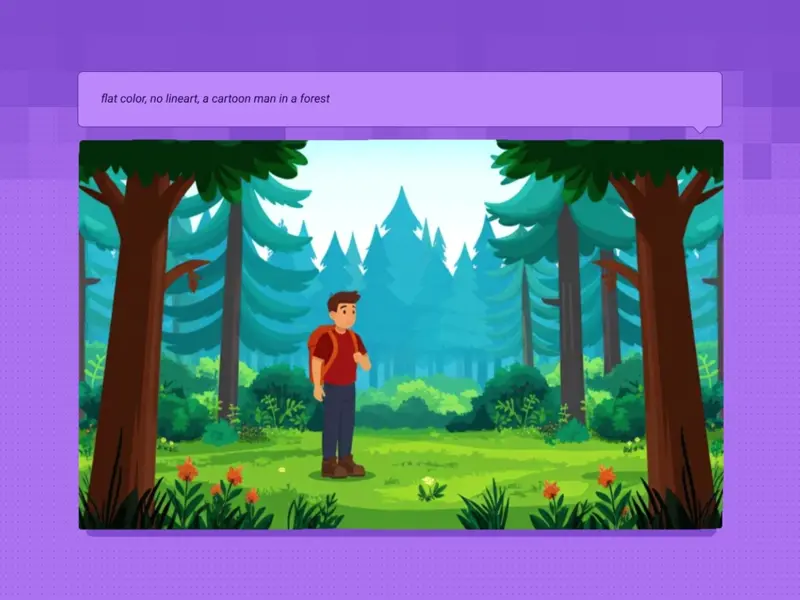
Text to Video and Wan with optional LoRA
227
Video from a text prompt and add in a LoRA for extra control.
_1747812083328.webp&w=3840&q=75)
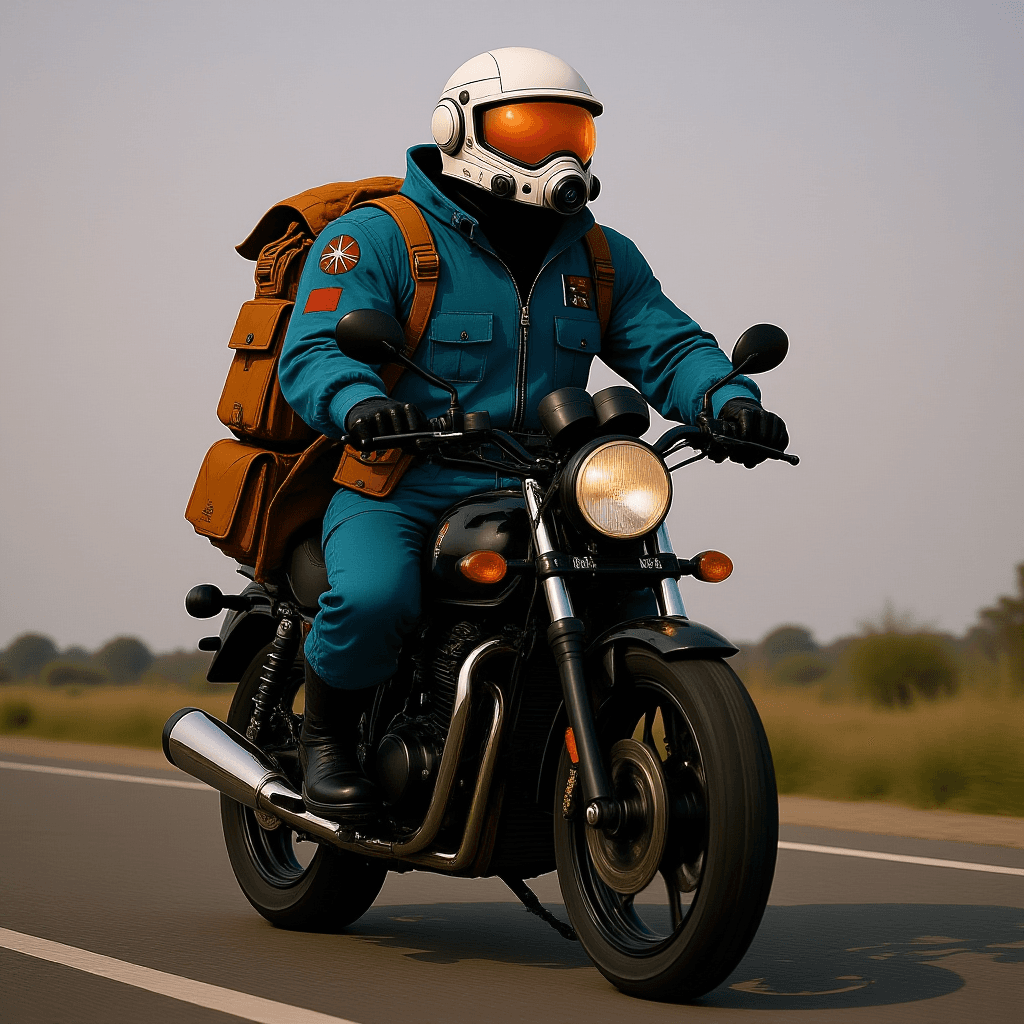
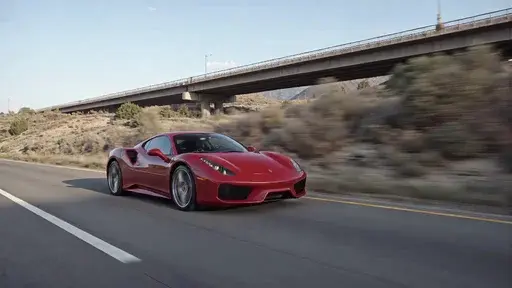
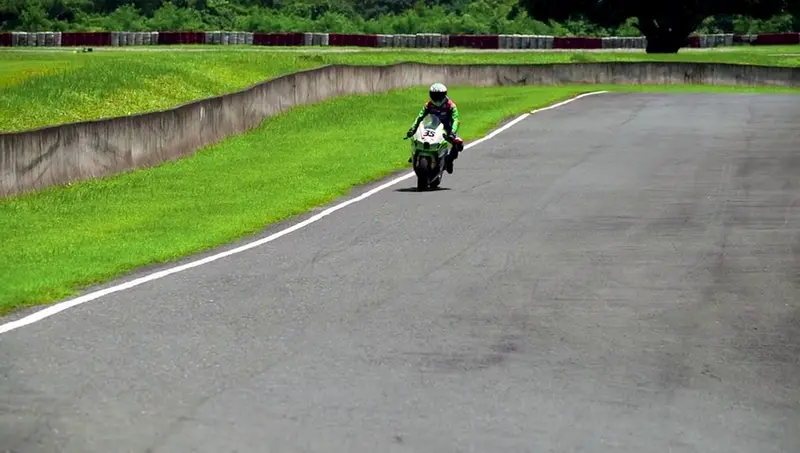
Image to Video with Wan
267
Turn still images into amazing videos - Updated with Wan 2.2

Wan2.1 FusionX Image2Video
567
Image-to-Video with Wan2.1 just got a major upgrade.
Image to Video with Wan Start & End Frame
231
Video generation defined by the first frame & end frame images.
Start/End Frame Multi-Video via Floyo API
395
Compare Luma and Kling Start to End Frame generations.
Video to Video Restyle with Wan
170
Restyle an existing video with a reference image.
Audio, LipSync and VFX
_1758870606082.webp&w=3840&q=75)
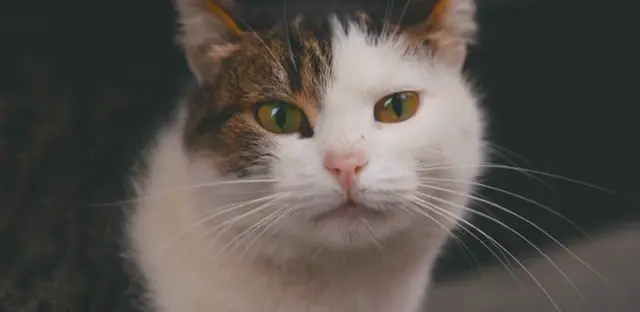
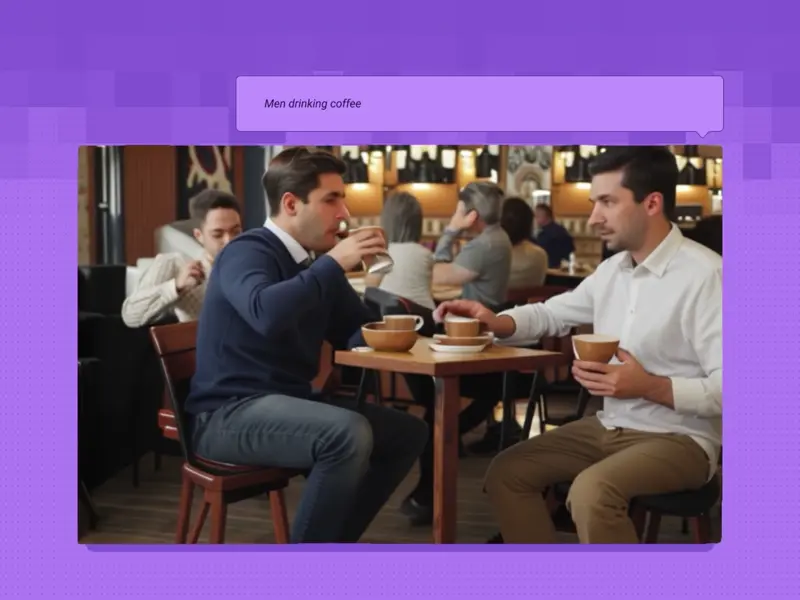
Video to Synced Audio
243
Generate synchronized audio with a given video input.


Wan2.1 VACE Video Outpaint
427
Outpaint Your Videos with Wan2.1


Wan2.1 Recammaster
270
Adjust the camera angle of an existing video.

Wan2.1 FantasyTalking - Image2Video Lipsync
84
Lipsync video from image and audio inputs with Wan2.1.

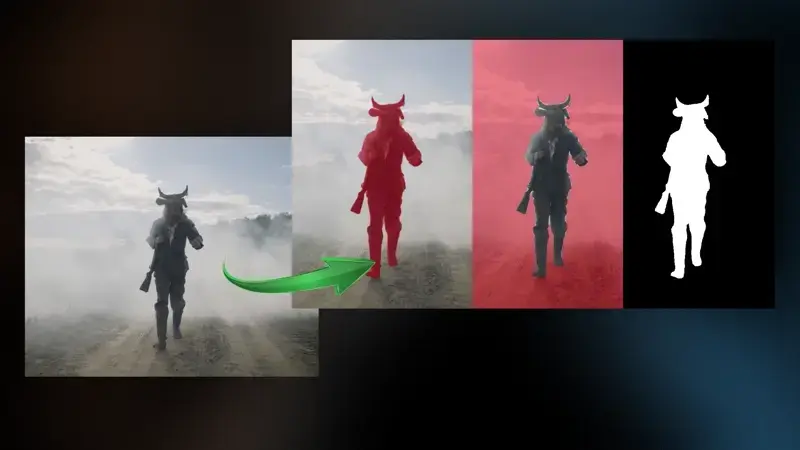
Video Masking with Sam2
143
Use a video clip and visual markers to segment/create masks.