ComfyUI Flux LoRA Trainer
Created by @Kijai on Github, please support the original creator!
Flux
LORA Training
11
1.6k
Nodes & Models
GetNode
Note
Label (rgthree)
SetNode
SaveImage
PreviewImage
FluxTrainValidationSettings
OptimizerConfig
FluxTrainModelSelect
flux1-dev-fp8.safetensors
ae.safetensors
clip_l.safetensors
t5xxl_fp8_e4m3fn.safetensors
TrainDatasetGeneralConfig
TrainDatasetAdd
InitFluxLoRATraining
FluxTrainLoop
VisualizeLoss
FluxTrainSave
FluxTrainValidate
FluxTrainEnd
UploadToHuggingFace
StringConstantMultiline
GetImageSizeAndCount
ImageBatchMulti
ImageConcatFromBatch
SomethingToString
AddLabel
GetImageSizeAndCount
ImageBatchMulti
ImageConcatFromBatch
AddLabel
ImageBatchMulti
Created by @Kijai on Github, please support the original creator!
https://github.com/kijai/ComfyUI-FluxTrainer
If this is your workflow, please contact us at team@floyo.ai to claim it!
Adding your dataset folder path
Go to Floyo file browser by clicking on the middle folder button on the left side of your canvas
Navigate to the parent folder of your dataset, such as your input/outputs folder depending on where you have your dataset
Click on the three dot button on the top right of the folder containing your dataset and select "Copy Path"
Paste that path in all three of the TrainDatasetAdd nodes, adding "input/" at the beginning of the path, for example if your dataset folder is "#input/spaceman", change it to "input/#inputs/spaceman" - If using a folder from your #outputs or #models/loras directory, add "(input)" at the beginning of the path, for example "(input)#models/loras/spaceman", these path prefixes are temporary while Floyo is in alpha.
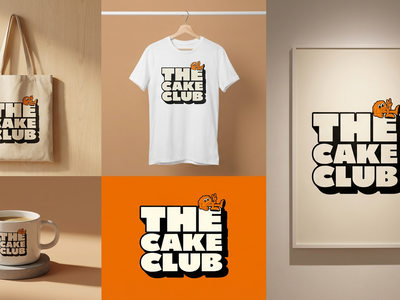
What if you could make every image you generate, conform to a certain style or person? This is exactly what using a LoRA model with Flux AI in ComfyUI does.
In this guide, we'll explore how Flux can help you build stronger, more efficient models with ease. Whether you're new to LoRAs or already familiar, you'll discover helpful tips and tricks to make your LoRA models shine. So, are you ready to see some magic in action? Let's dive in!
Datasets Setup
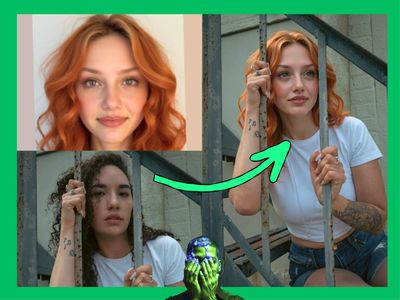
Dataset Collection (images to train on)
The key to a great style LoRA is a great dataset. A dataset is your collection of reference images. Some qualities to look for:
High resolution images, ideally 1024x1024 or greater.
Images with no blur, compression artifacts or noise.
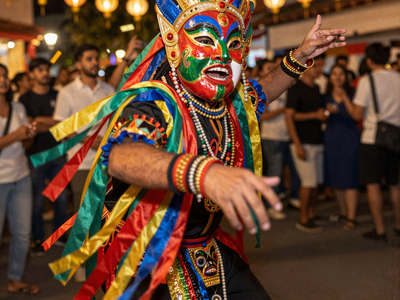
Consistent images that represent the style well.
Correct ratio with a 1:1 ratio is required. Crop your images accordingly and place the subject in the center.
Use different angles, lighting, and outfits to make the model more flexible.
Quality over quantity: If an image is almost qualified but lacks a few properties, either fix it or remove it.
If you are training a face, include a few high-resolution headshots.
Input
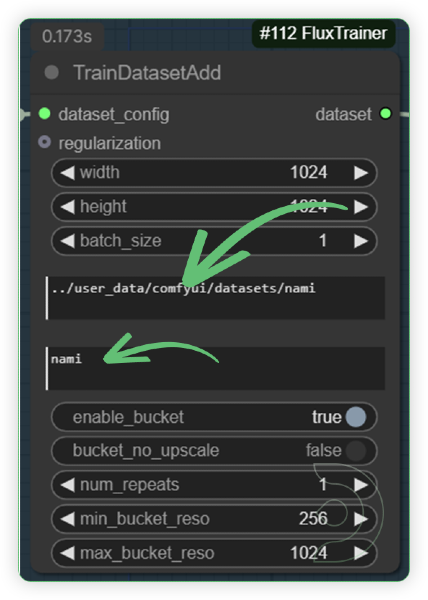
Using your collected images for the dataset (about 10-20 images is a good starting point), upload it to …comfyui/datasets/<new FOLDER of LORA>. If there’s no datasets folder, create it manually and create a new folder of LoRA inside of it.

Paste the File Path to the TrainDatasetAdd node in ComfyUI and placed it into the first text box. The second box is for trigger word
Output
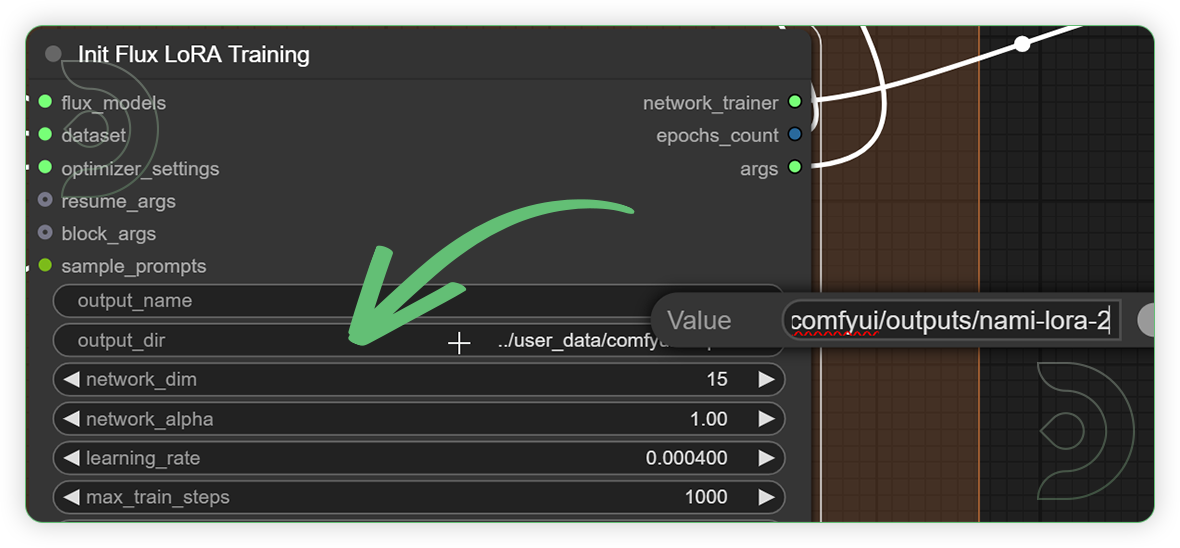
Go to Init Flux LoRA Traning node in ComfyUI. Paste your desired output File Path into the output_dir widget (default value: models/loras). In the output_name, type your desired LoRA name.
Write the Training Prompts
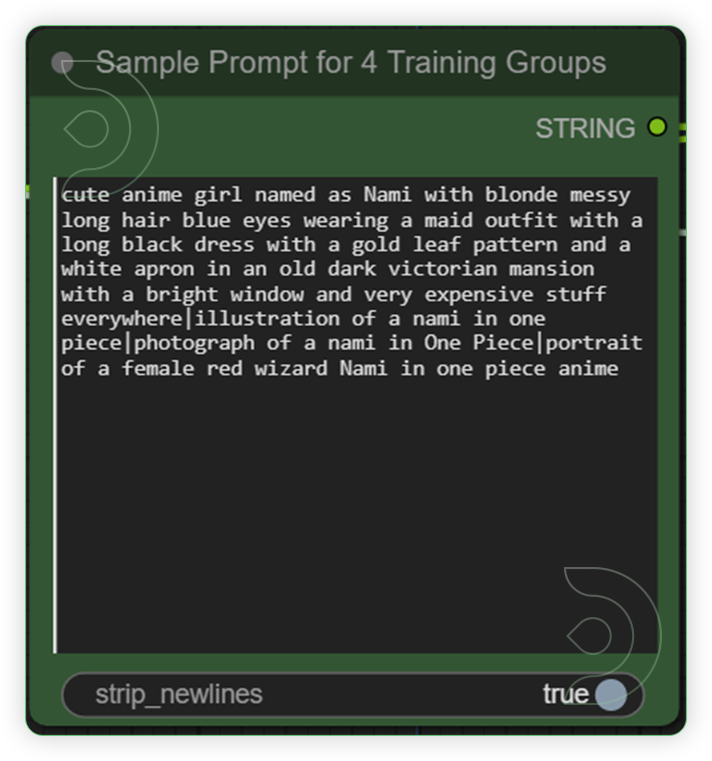
Write 4 prompts that each use the trigger word in them. Each prompt can describe a different scene that you would like to see along with your model. Separate each prompt by a vertical bar symbol. The purpose of this step of creating a prompt for each training module in the training group helps train the trigger word itself.
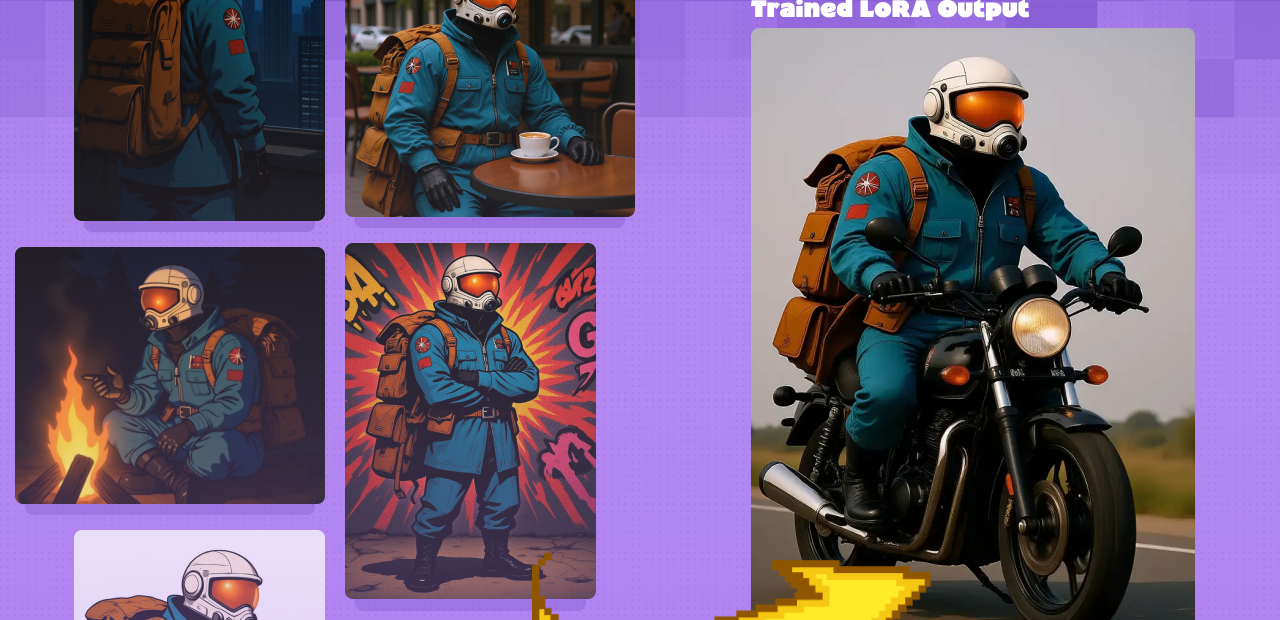
Run the Prompt
Once you are ready, run the workflow and check back on progress! Sample images will be shown after each 750 training steps, and a LoRA will be saved for you to test the progress. Once all groups are finished, you should have a total of 4 LoRAs to compare and choose from!
Read more