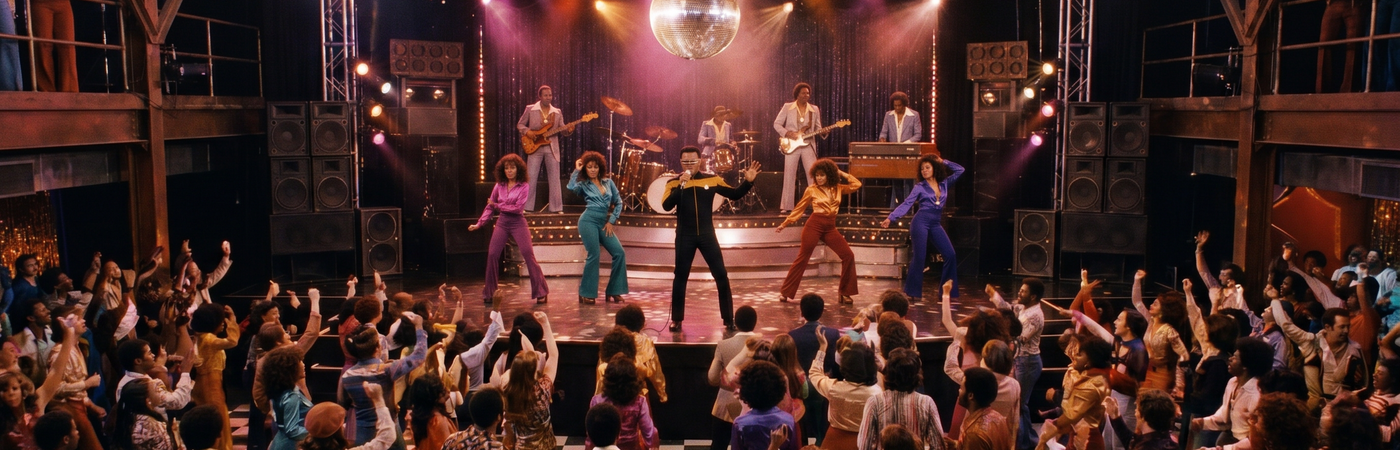
Final Output
Step 1 · Generate your singer's angles
Before you touch the video workflow, you need images of your singer from different angles. I used 6 for this video. This workflow does all the work. One photo in, 8 angle variations out. No prompt. No settings to adjust. Just upload and run.
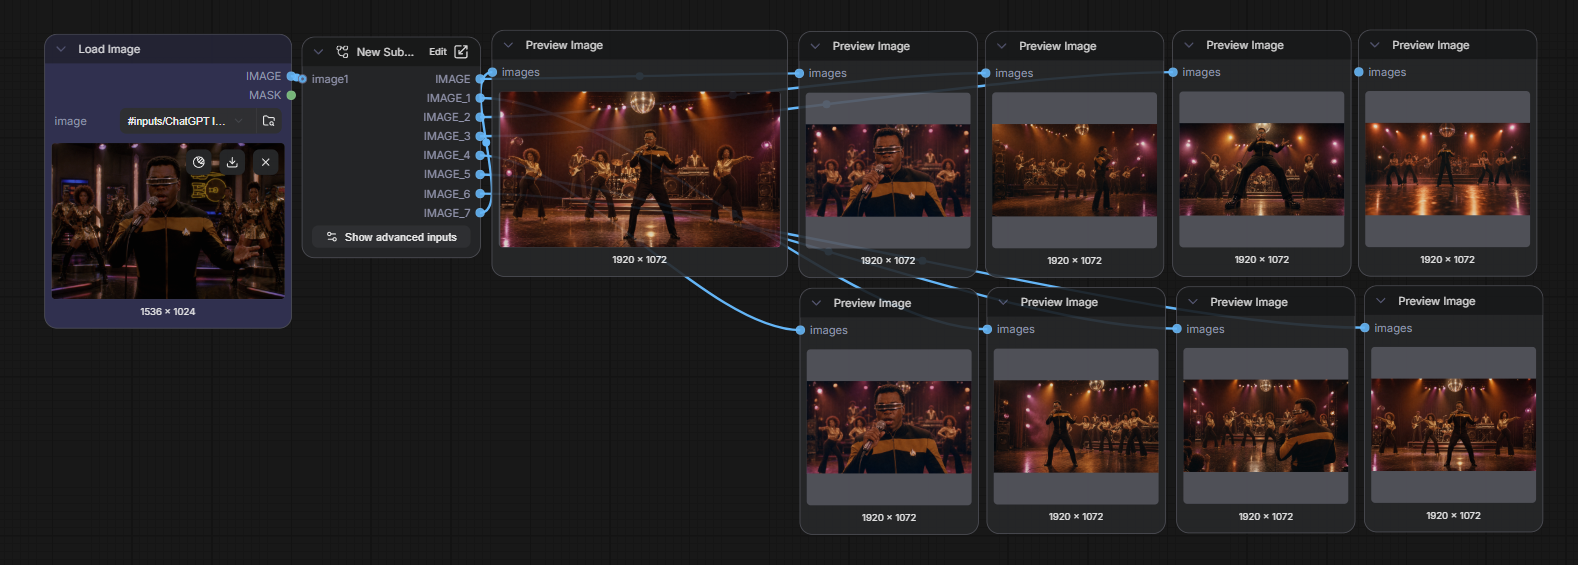
Retro Disco Multi-Scene Concert Generator — GPT 2
Drop any performer photo → automatically generate 9 consistent retro disco concert images ready to cut into a music video.
Step 2 · Build each scene with LTX 2.3
You are going to run the LTX 2.3 workflow once per scene. The duration changes per scene to match the music. The key is the audio trim timing. Set the trim start to where the previous scene ended so every clip picks up exactly where the last one left off.
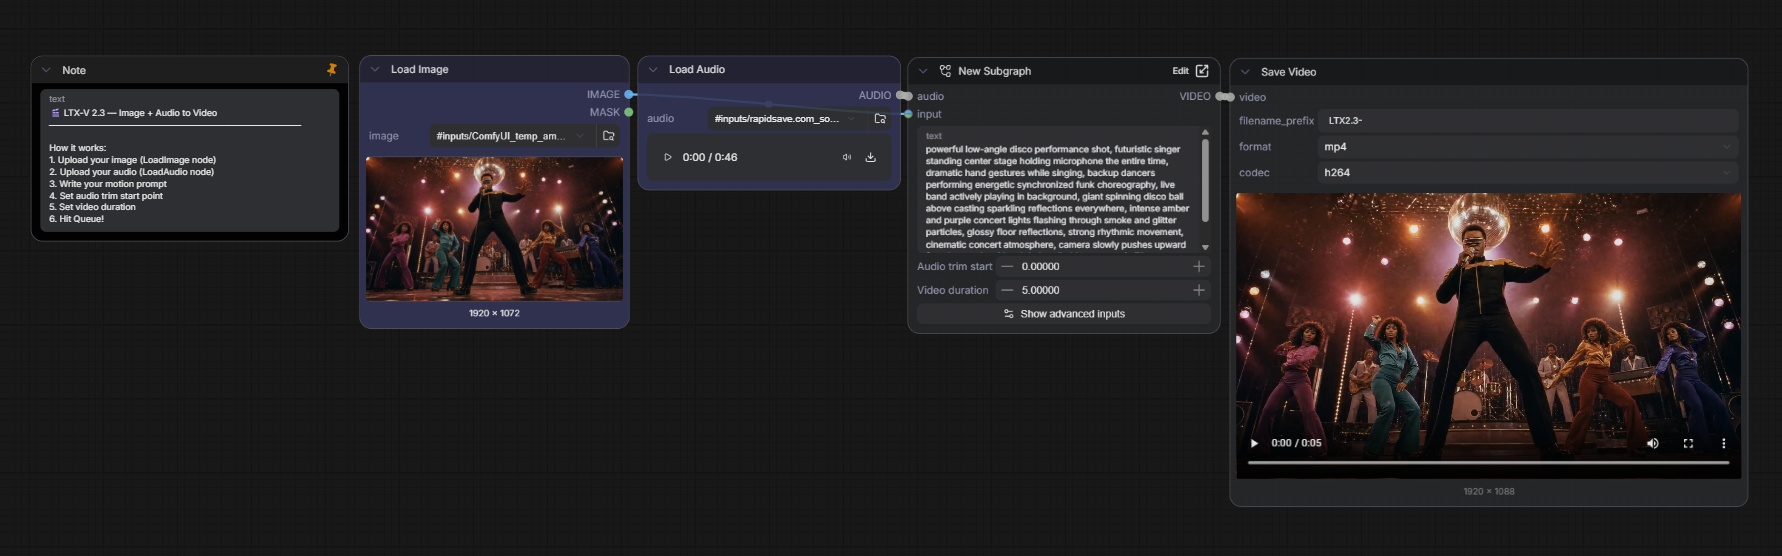
LTX-2.3 — Turn Any Image + Audio Into a Video
Bring any still image to life using audio
Scene 1 · 0:00 to 0:10
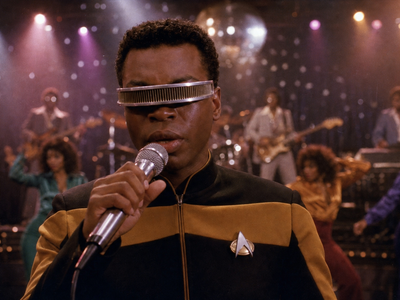
The opening. Introduce the singer. Set the retro atmosphere. This is the first thing the audience sees so make the visual feel strong and deliberate.
Scene 2 · 0:10 to 0:17
Change the angle and the energy. A different framing creates the feeling of a cut even though everything is generated separately.
Scene 3 · 0:17 to 0:24
Build intensity. The third scene is usually the most energetic part of the song. Push the motion and lighting harder here.
Scene 4 · 0:24 to 0:31
The close. Bring it home. Use a framing that feels like a final shot. A slow pull-back or a held close-up with the singer fading into the light works well.
Scene 5 · 31 to 38 seconds
Keep the energy going. Push the visual intensity. This is the final stretch before the close.
Scene 6 · 38 to 46 seconds
The outro. Bring it down. A slow fade, a held close-up, or a pull-back into darkness all work well here depending on how the song ends.
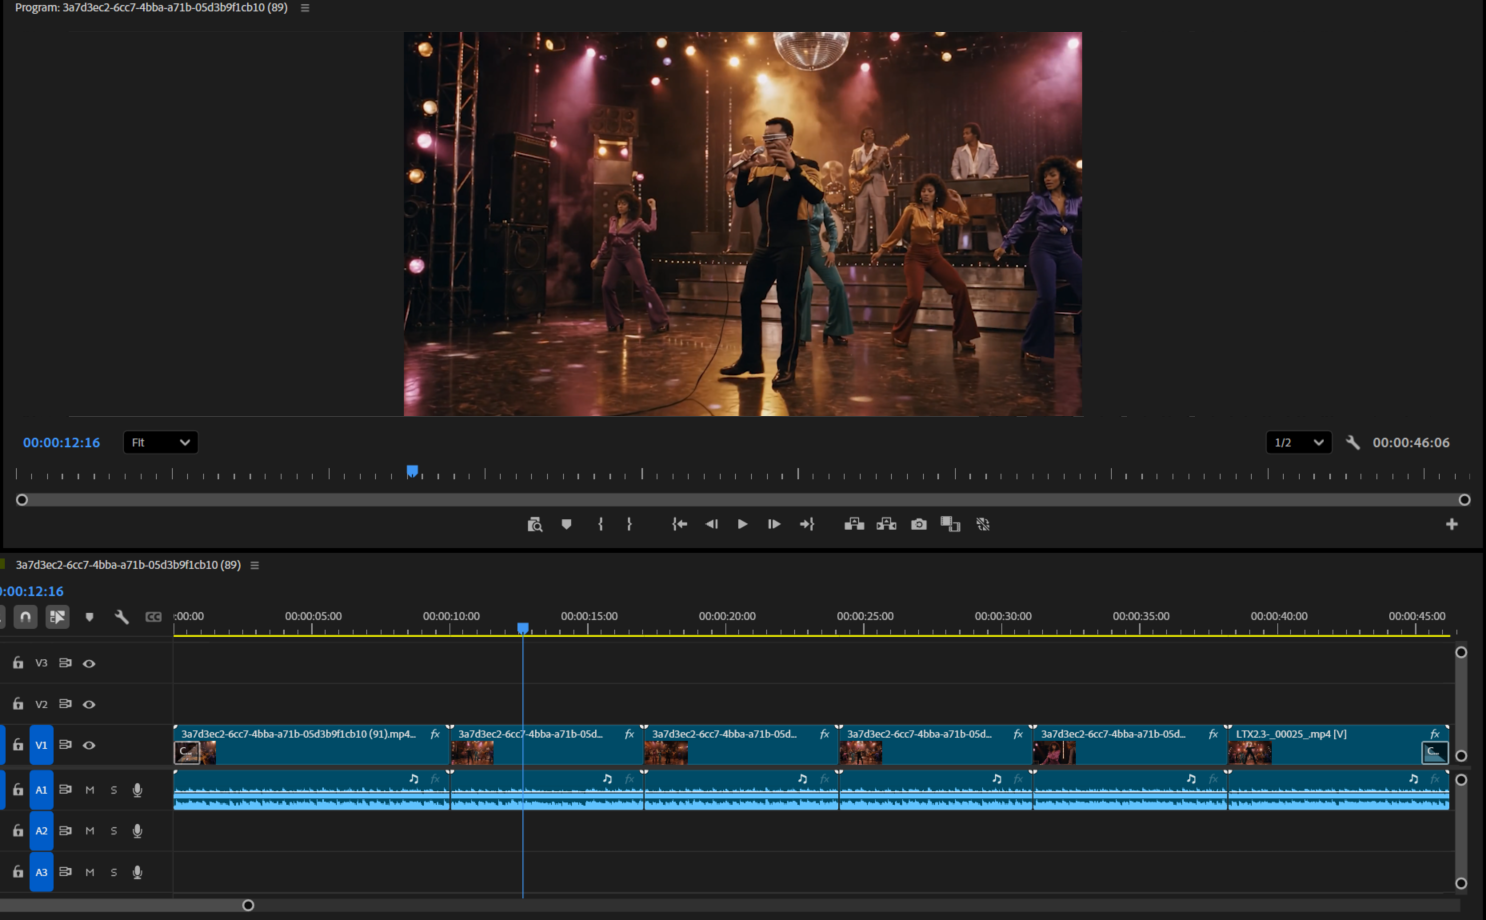
Step 3 · Combine the clips
You now have all your clips, each synced to the correct section of the song. Drop them into any video editor in order and export. The audio is already embedded in each clip from the LTX workflow so you just need to cut between them.
Prompting guide for retro music videos
LTX 2.3 responds well to specific visual language. Here is what makes retro music video prompts work.