Character LoRA Creation Guide & Live Workflows
Step 1: Create/Gather Dataset Images

- Varying angles - front, side, back, three-quarter views
- Different expressions - happy, serious, surprised, etc.
- Multiple poses - standing, sitting, action poses
- Various lighting conditions - bright, dim, natural, artificial
- Different environments - indoor, outdoor, various backgrounds
- Too many images with the same pose → LoRA always generates that pose
- Repetitive facial expressions → Limited emotional range in outputs
- Consistent lighting/backgrounds → LoRA struggles with different environments
- Similar angles → Poor performance when requesting different viewpoints
- 30-100 images at 1024x1024 resolution (optimal for Flux)
- More images can improve results, provided they maintain variety
- Place all images in a single folder

- Deformed anatomy
- Nonsensical backgrounds
- Visual artifacts or errors
Step 2: Caption Your Dataset

- Input your dataset folder path
- Set your desired output path
- The workflow will automatically:
- Resize images to 1024x1024 (or appropriate aspect ratio)
- Generate detailed captions for each image
- Save both processed images and matching caption files
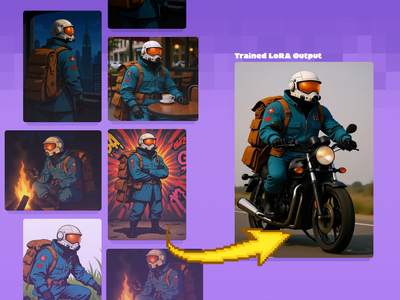
Step 3: Training Your LoRA
- Input your captioned dataset folder path (in all three workflow inputs)
- Set your trigger word in all designated nodes
- Create a sample prompt for testing
- Name your LoRA
- Click generate and wait 1.5-3 hours (depending on dataset size)
- The training will produce 4 checkpoint benchmarks:
- 750 steps
- 1500 steps
- 2250 steps
- 3000 steps (final)
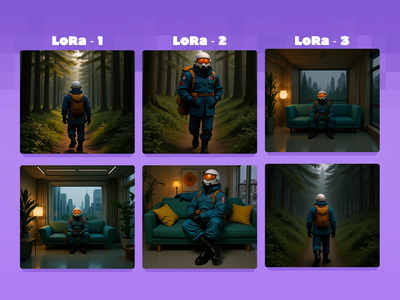
Step 4: Test and Compare Results

- Load all 4 LoRA checkpoints (750, 1500, 2250, 3000 steps)
- Apply your trigger word
- Use the provided example prompts or create your own (trigger word must be included)
- Generate a comparison grid of 16 images
- Look for the sweet spot between under-trained and over-trained results
- Under-trained LoRAs may lack character accuracy
- Over-trained LoRAs may be too rigid or produce artifacts
- Compare results using identical prompts, seeds, and settings
LoRA Training Workflows
Flux Character LoRA Test and Compare
Test and compare multiple epochs of a character LoRA side by side with preset prompts When training a LoRA, you'll usually have a few checkpoints throughout the process to test. This workflow lets you load up to 4 LoRAs to test side by side, making it easier to determine which one is right for you! Key Inputs: LoRA Loaders: Load each LoRA epoch for the same character in up to 4 groups. Groups Bypasser: Enable/disable groups as needed. If you only have 2 epochs to test, disable the back 2 groups! Triggerword: Simply add the trigger word for your LoRA and it will auto-fill in the default prompts. Leave blank if you're using your own custom prompts that include the trigger word. LoRA Testing Prompts: Default prompts work well to get an idea of how your character will look in different situations, but feel free to replace them with your own prompts (max 4).
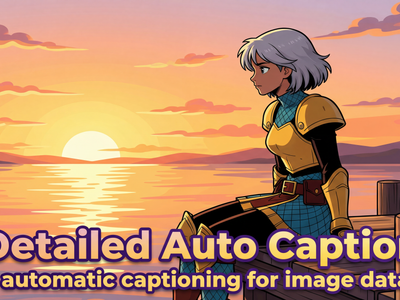
Detailed Auto Caption
Generate high-quality captions for LoRA training and automatically resize images to SDXL/Flux-compatible resolution.
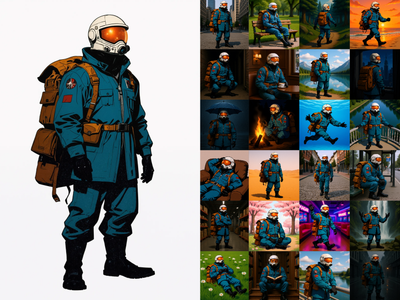
Flux Kontext - Single Image to Character LoRA
Generate a 60-Image LoRA Dataset from a Single Character Image
ComfyUI Flux LoRA Trainer
Created by @Kijai on Github, please support the original creator!