FLUX.1 Dev · Upscale With LoRA
Double any image's resolution with style-guided detail using FLUX.1 Dev and a LoRA. Upload a picture, load your adapter, and hit run. 2x upscale, tile by tile.
Flux
Image
LoRa
LoRAs
Upscale
1.5k
_1787496306016.png?width=1400&height=620&quality=80&resize=contain)


_1787496306016.png?width=104&height=104&quality=80&resize=cover)

Nodes & Models
UNETLoader
flux1-dev.safetensors
DualCLIPLoader
t5xxl_fp16.safetensors
clip_l.safetensors
VAELoader
ae.safetensors
LoadImage
UpscaleModelLoader
4x-UltraSharp.pth
LoraLoader
Seb_FluxPortrait.safetensors
CLIPTextEncode
FluxGuidance
UltimateSDUpscale
SaveImage
ABOUT THE WORKFLOW
Upscale an Image With LoRA-Guided Detail Upload a picture and the model doubles its resolution, adding detail shaped by a loaded LoRA. The 4x-UltraSharp model handles the initial resize, then FLUX.1 Dev with the LoRA refines each 1024 x 1024 tile at low denoise. The tiles are stitched together and saved at twice the original size.
Model
FLUX.1 Dev by Black Forest Labs. Released August 2024. A 12 billion parameter rectified flow transformer. Open weights under the FLUX.1 Dev Non-Commercial License. Used here as the tile refiner with a LoRA loaded on top for style-guided upscaling.
4x-UltraSharp upscale model. A pretrained super-resolution network that does the initial 4x resize before the tiles are refined back to the target 2x factor.
LoRA slot. A portrait LoRA ships loaded by default. Swap it for any FLUX-compatible LoRA to change the style applied to the upscaled detail.
HOW IT WORKS
Step 1. Upload your image Any size. The output will be twice as large on each side. Works great with: photos · AI-generated images · renders · scans
Step 2. Write a prompt Describe the image or use the LoRA's trigger word. The prompt guides how the model adds detail to each tile.
Step 3. Load your LoRA (optional) A portrait LoRA ships loaded by default. Swap the file in the LoRA loader to change the style.
Step 4. Hit run and download The image is scaled up, split into 1024 x 1024 tiles, each tile is refined with the LoRA active, and the tiles are stitched together. The result is saved under Image_Upscaler_LoRa/Image. Ready for: Photoshop · Lightroom · print · any editor
First time? Leave every setting as-is. The defaults (2x upscale · 0.2 denoise · 20 steps · guidance 3.5 · LoRA strength 1 · random seed) are the right starting point for almost everyone.
RECOMMENDED SETTINGS
Quick-start guide. Find the goal that matches yours and copy the settings.
Standard upscale (most people) — 2x · 0.2 denoise · 20 steps · guidance 3.5 · LoRA strength 1 · random seed. The right starting point for almost everyone.
Want more LoRA influence — Raise denoise from 0.2 toward 0.35. Higher denoise gives the model more room to redraw each tile, which lets the LoRA reshape textures, skin, and surfaces. Go too high and the content starts changing.
Want a clean upscale with less LoRA influence — Lower denoise below 0.15 or reduce LoRA strength below 1. At low denoise the model sharpens without restyling.
Tile seams are visible — Keep denoise low. High denoise makes each tile diverge from its neighbours, and the stitch line shows. Below 0.2 seams are rare.
Want a different style — Swap the LoRA file in the loader. Any FLUX-compatible LoRA works. Change the prompt to match the new adapter's trigger word or description.
The run is taking a long time — Large images at 2x create many tiles. Each tile runs 20 passes through a 12 billion parameter model with a LoRA. Lower steps to 10 for a faster result.
Reproduce a result you liked — Set a fixed seed. The same image, prompt, LoRA, and seed return the same upscale.
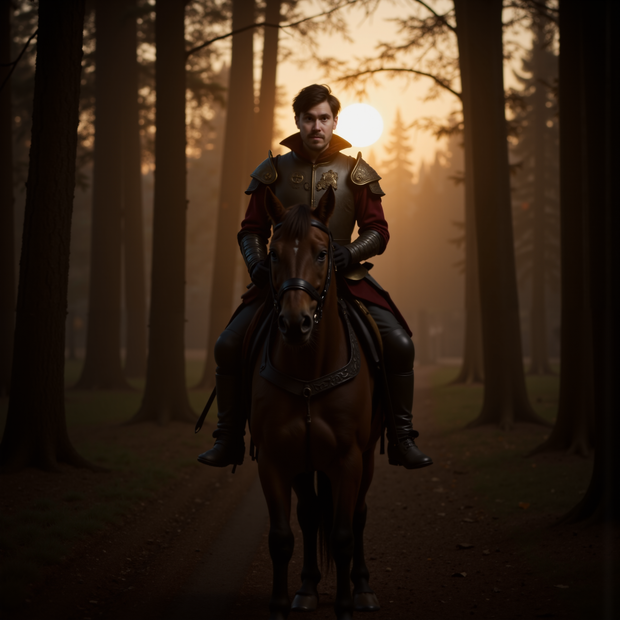
Prompt: Match it to your LoRA. If the LoRA is a portrait adapter, describe the subject: "Seb as a medieval knight riding a horse, golden hour sunset." If it is a style LoRA, describe the style: "oil painting, rich impasto, warm palette." The prompt steers the detail the model adds to each tile.
LEARN
📹 Videos
ComfyUI 101 Free Course ft. Sebastian Kamph
Floyo 101 for Team Collaboration
✨ Quick links
USE CASES
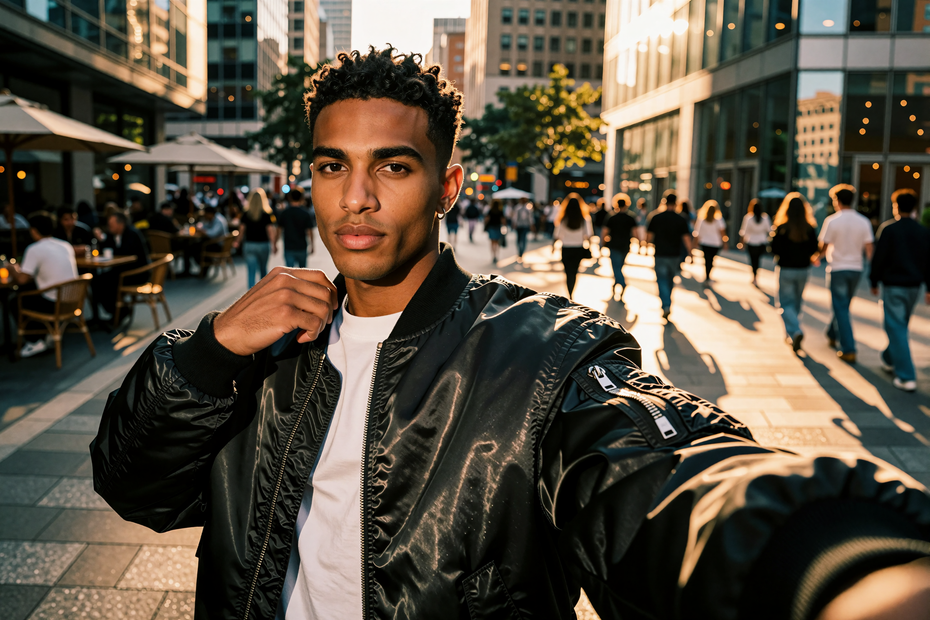
📸 Portrait Upscaling Double the resolution of a portrait while a portrait LoRA adds sharp skin, hair, and eye detail tuned to a specific look.
🎨 Style-Guided Enlargement Upscale an AI-generated image while a style LoRA adds detail in the same visual language the original was made in.
🖼️ Print Preparation Enlarge an image for large-format print while a LoRA adds the fine texture that generic upscalers miss.
🛍️ Product Image Enhancement Double a product shot's resolution with a LoRA trained on similar product photography for targeted sharpness.
WHAT WORKS BEST / WHAT TO AVOID
✅ Works great
Prompts that match the loaded LoRA's trigger or style
Denoise between 0.15 and 0.25 for faithful upscales with LoRA texture
Clean, well-exposed source images
LoRAs trained on FLUX-compatible architecture
⚠️ May produce softer results
Denoise above 0.35, where tiles diverge and seams appear
LoRAs that conflict with the prompt
Images with readable text (text may soften or shift)
Heavily compressed source images with visible artifacts
FAQ
What is this workflow doing differently from a standard upscaler? A standard upscaler doubles the resolution and adds generic sharpness. This workflow loads a LoRA on top of FLUX.1 Dev, so the detail it adds to each tile is shaped by the adapter. A portrait LoRA adds skin and hair detail in a specific style. A painting LoRA adds brushwork. The LoRA turns the upscale into a style-guided refinement rather than a generic resize.
What LoRA ships with the workflow? A FLUX portrait LoRA (Seb_FluxPortrait.safetensors) is loaded by default at strength 1. It is a face and portrait adapter. Swap it for any FLUX-compatible LoRA to change the style applied during upscaling.
What does denoise control here? How much the model redraws each tile. At 0.2 (the default) it sharpens and lets the LoRA add its texture while keeping the original content. Raising it toward 0.35 gives the LoRA more room to restyle the detail. Lowering it toward 0.05 produces a cleaner scale with less LoRA influence.
Can I use any LoRA with this workflow? Any LoRA trained on or compatible with FLUX.1 Dev works. Swap the file in the LoRA loader, update the prompt to match the new adapter's trigger word, and run. Style LoRAs, subject LoRAs, and texture LoRAs all produce different results.
Is FLUX.1 Dev free for commercial use? FLUX.1 Dev is released under the FLUX.1 Dev Non-Commercial License, which does not permit commercial use without a separate agreement from Black Forest Labs. Check the licence before using output in paid work.
How does this compare to the upscaler workflow without a LoRA? Both use FLUX.1 Dev and 4x-UltraSharp with UltimateSDUpscale. The version without a LoRA adds generic sharpness at lower denoise (0.15). This version loads a LoRA so the added detail carries a specific style. Use the plain upscaler for faithful enlargement and this one when you want the upscale to match a particular look.
How to run FLUX.1 Dev upscaler with LoRA online? You can run FLUX.1 Dev upscaler with LoRA online through Floyo. No installation, no setup, no model downloads. Open the workflow in your browser, upload a picture, load your LoRA, and hit run. Free to try.
WHY FLOYO?
Floyo is the only platform with team collaboration for ComfyUI in the browser. You run workflows with no install. You share run history, assets, and models across your team. You pay only when you generate. Floyo supports open-source and closed-source models.
A designer runs an edit and likes the result. A teammate opens that exact run from shared history and keeps going. No file handoffs. No version confusion.
For studios and enterprise teams, Floyo adds private workspaces, pooled resources, and a team usage dashboard. Other ComfyUI cloud tools run for one person at a time. Floyo runs for the whole team, with transparent per-generation costs.
Ready to try it? Upload an image, load your LoRA, and run it. The result comes back at double the resolution.
Questions? Watch the free course or check the FAQ above.
Read more